

The Ultimate Guide to Cleaning and Organizing Your Kitchen
Having an organized kitchen will definitely make your life easier. Here’s how to organize and clean it like a pro!
Spring is the perfect time for getting your kitchen organized and sparkling clean. Most people dread tackling the kitchen, but with some careful planning and a little bit of elbow grease you’ll have it looking spick and span in no time. With the help of kitchen specialist: Mayfair Granite we have put together the ultimate guide to cleaning and organizing your kitchen this spring!

Photo: Anthony Crissafulli
1. Get Your Supplies Together
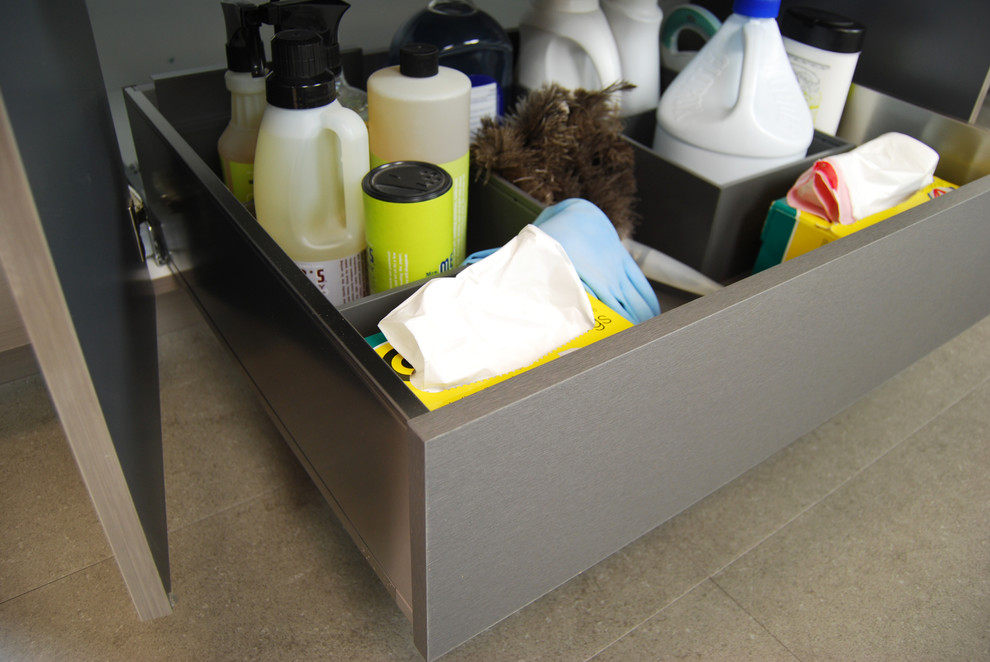
It’s important to have your cleaning supplies ready before deep cleaning your kitchen, as it’s hard to get back into the zone if you have to go out and buy more supplies. Some of the supplies you will need are:
A good multi-surface cleaner or soapy water Dish cloths and spongesA broom and mop Floor cleaner A small bucket with a handleOven cleanerStepladderVacuum cleanerGarbage bags
Now that you have your supplies together you will need to do a quick pre-clean to create space to work in. Wash up and put away any dirty dishes, clear the worktops and remove any clutter that does not belong in the kitchen.

Photo: Dura Supreme Cabinetry
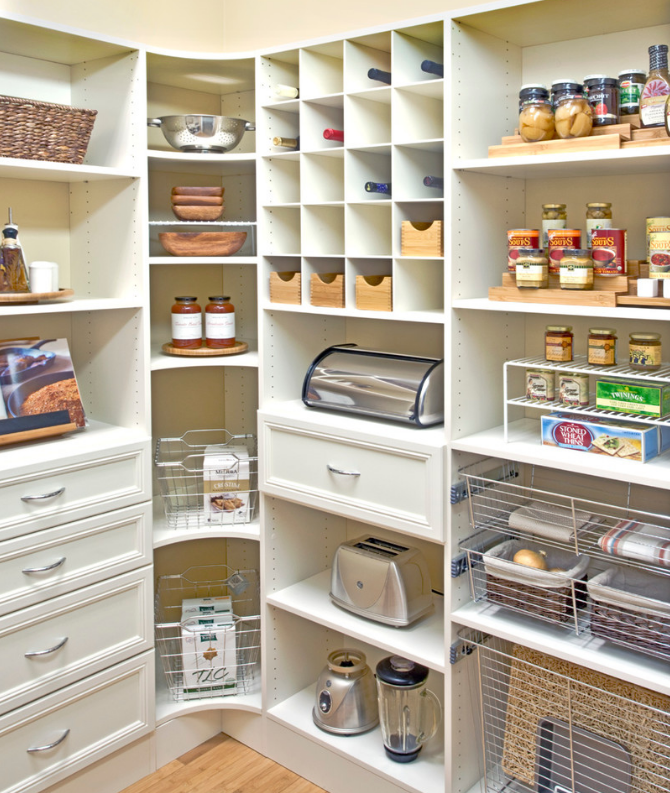
2. Let’s start! Organizing and Cleaning the Pantry
Empty all of the food, condiments and spices out of the pantry and lay them on your worktop. Check each label and throw away anything that is out of date, stale or empty; it’s also a good idea to keep a list of the things you throw out so you can replenish them if need be.
For cooking staples such as flour, pasta and rice it is recommended that once opened that you put them into well-labeled airtight containers to keep them fresh and ready to use when needed.
Wipe down all shelves, sides and doors with soapy water or kitchen cleaner; once dry you can start to refill the pantry. Start by arranging like items together i.e. all condiments or spices in the same area so they are easier to find and always put the oldest items at the front if you have multiples of the same product.
3. Organizing the Fridge/freezer
Put your fridge/freezer into defrost mode or turn it off at the plug, remove all of the produce and place them in a cool spot for organizing. Check all of the labels and throw out any expired food.
Remove any shelves and drawers and clean them really well with hot soapy water or kitchen cleaner. To eliminate tough odors, mix a combination of baking soda, water, and vinegar. Then, wipe down the inside of the fridge/freezer making sure to get into all the hard to reach areas. For stubborn ice build-up use plastic utensils to chip away at the ice until it’s been removed.
Once clean, replace all of the shelves and drawers and place your food back in an organized fashion making sure that produce such as vegetables and condiments and stored together.
4. Cleaning the Oven
Before using an oven cleaner make sure that the kitchen is well ventilated and follow all of the safety precautions on the manufacturer’s label. Remove all of the shelves from the oven, these can be washed separately. Use a spoon or blunt blade to remove excess food residue and apply oven cleaner to the interior as per the labels instructions.
Leave the solution to work for at least 30 minutes (longer the better) and use a medium bristled brush to scrub the interior. Wipe off excess cleaner with a washable cloth and some soapy water, rinsing your cloth regularly to avoid spreading dirt around. Replace the clean shelves and clean the exterior and hob with soapy water or multi-surface cleaner.
5. Clean Other Appliances
Clean all other appliances one by one until they are done. Some appliances such as dishwashers and washing machines come with self-cleaning modes, which are ideal for cleaning the inside, but you will still have to clean the exterior with soapy water or multi-surface cleaners.
6. The Final Phase, Worktops and Floor
The majority of the kitchen should be nice and clean now, so it’s onto the final phase. Remove any remaining clutter from the worktops to get them as clear as possible and clean with multi-surface cleaner; for shiny surfaces such as granite or quartz, glass cleaner can bring back a shine to the surface. For wooden cabinets and doors, use furniture polish to brighten them up too.
For the floor, start by sweeping any dust and debris into a dustpan and discard. Spot clean any sticky or stained areas first then mop the whole floor with a heavy duty floor cleaner.
It may seem like a daunting task to clean and organize your kitchen, but breaking it down into sections really helps to keep you on track, and your kitchen looking great this spring.

Photo: Ellen Grasso & Sons, LLC
MORE KITCHEN IDEAS:
1) Smart Kitchen Makeover: These 7 Must-Have Ideas Will Save Your Life


Leave a Comment