

Handling Your Woodworking Router – Safety Tips
Working with wood? Here’s how to safely handle a woodworking router during your next DIY project!
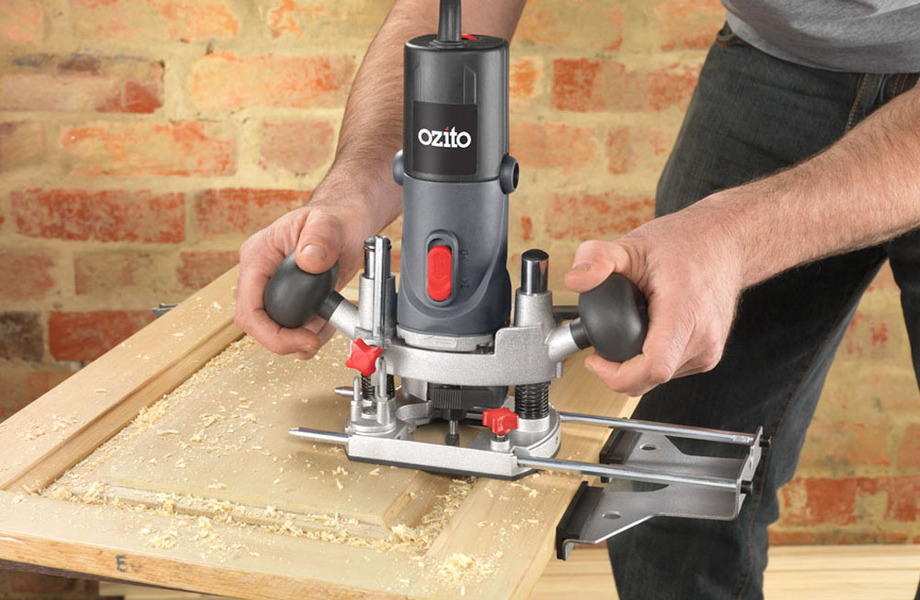
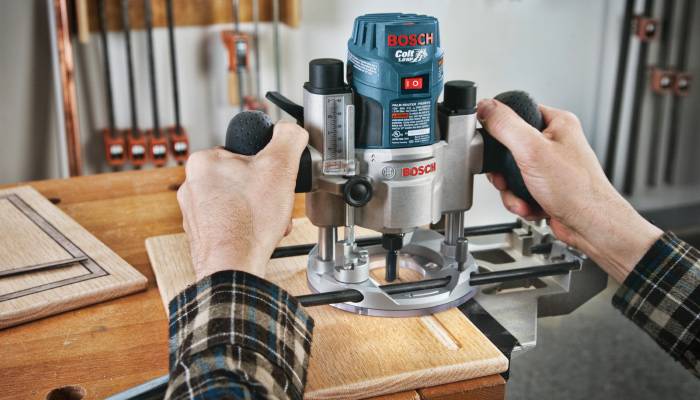 Photo: Bosch Power Tools
Reading this, I will assume you already have your wood router picked out for that next wooden palette DIY project you’re dying to start!. But just in case you haven’t yet, I will insist on you spending ample time in research ensuring you get the best wood router.
That said, learning how to properly use this power tool is an important skill, especially if you plan on taking your DIY project seriously. It’s a great skill to learn and can save you a load of money, by making old furniture look brand new again, and creating your own furniture for your home. Learning the proper skills will also ensure that you save yourself from ending up with wasted wood, numerous headaches, and a decorating disaster! Equally as important is knowing the bit you should use for the various woodworking applications you embark on. You should always use the right tool for the right job.
Work Slow
Router bits are constructed to rotate clockwise. As such, when you are using the router, you should hold it firmly and then work your way from the left to the right side of the wood. This way, you will be feeding the wood into the router bit. When you are routing and working along the grain of the router, the process should be easy, fast and smooth. If working from left to right has you working against the grain of the wood, it is important that you place a piece of wood at the very end of the wood to keep it from blowing out from the vibrations caused. Unless in a special case where routing from left to right is impossible, you should never work the router moving from the right to the left as this will force the router to run on the wood. This can have you losing control in a matter of minutes and can prove to be highly dangerous.
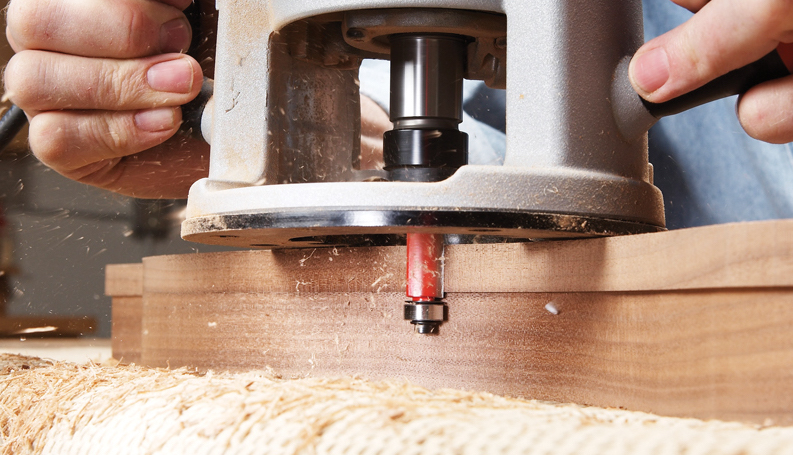 Photo: Wood Router Pro
Use Shallow Cuts
When you starting routing, you just do not get into it – you sort of ease into the process for great results. This means that rather than making an initial deep cut, you should start with several shallow cuts. This will help to protect the wood you are working on and keep it from splintering and making you undergo extra costs. In addition to this making shallow cuts followed by progressively deeper cuts will give you greater control.
The shallow cuts are also perfect in compensating for the inadvertent gouges that are made in the wood by your wood router. Most times these gouges are as a result of uneven pressure or knots on the wood router you are using. Making cuts that are slightly deeper than the depth of the cut closest to the gouges will work to remove them.
Increase Control of Our Router
If you have never handled a router before, the main problem you will have is with control. Being a power tool, it will take some getting used to. However, there are ways you can quicken the learning process. The best and simplest way you can increase your control over the router is by getting a router work bench. You can either build it yourself or have a professional do it for you. If you do not have this, a portable router fence will do just fine.
Router fences attach to handheld routers and help in guiding the router along the wood cutting path. Even better, are router bits. These are the most portable of all. They feature ball bearings at their tips. These rest on the wood being cut and guide the unit smoothly on the wooden path. These router bits can be adjusted using different ball bearing sizes for varying router operations.
Photo: Bosch Power Tools
Sharp Bits
Router bits are designed to be strong sturdy durable and most importantly sharp. As such, while handling them, you ought to take great care. But while they may be sharp when they are new, with constant use and with time, the router bits become dull. Now, you probably are thinking to yourself that they are harmless. But far from that, when router bits are dull, they are most dangerous. Their performance is not the best, and one might be tempted to exert more pressure which with the slightest mishap results in great disaster.
Sanding the dull bits with a 220 grit and a 440 grit (in that order) will temporarily clean and sharpen the bits. Best results are however obtained when sharpening with a sandstone or when a professional does the sharpening. Sharp bits makes work light, easy and fast while dull bits cause the user lots of headaches and struggles not to mention they are not safe.
Conclusion
Learning how to use a woodworking router is of great importance. But even more important is getting the best wood router for the job. Adding to this, pay keen attention to additional woodworking router safety tips including being patient while routing your wood, wearing protective clothing, cutting corners and most importantly clamping the wood you are working on. Working on loosely attached wood is disastrous.


Leave a Comment