

It’s A Cracker! Make Your Christmas Go with A Bang
Save money by making your own Christmas crackers – here’s exactly how!
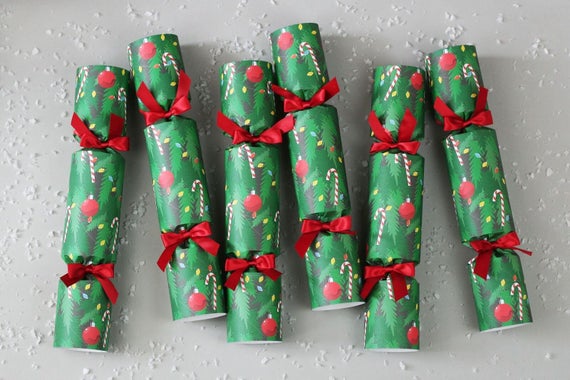
Are you bored of spending a fortune on Christmas Crackers and Christmas decorations, only to be left with a pile of wasted, non-recyclable paper and enough plastic tat to fill a small ocean? Christmas crackers are one of the latest (and undoubtedly most deserving) victims of the single use plastic crusade, meaning that people are thinking more carefully before they buy yet more overpriced stuff that is likely to end up in landfill, anyway. But your Christmas just wouldn’t be the same without pulling a cracker or two and what would we do without bad jokes and sets of mini screwdrivers?
You don’t have to forego the Christmas cracker to reduce your waste this Christmas. Here’s how to make your own Christmas crackers.
You Will Need:
Tissue paper – choose colours that will go with your festive Christmas decoration theme or, if you are really going for sustainability, use old newspapers.
- Glue stick
- Cereal boxes – one box is enough for about 6 crackers – or you can collect loo roll middles.
- Washy tape
- A paper perforator
- Scissors
- Paper – brown paper or recyclable wrapping paper
- Ribbon (fabric, hessian or similar)
- Plain paper
- Cracker snaps
- Gifts – miniature bottles of booze, wind-up toys – you choose!
Top tip – All crafters love a trial run! The measurements below are a personal preference; the best thing to do is to make one cracker that is about the size and shape that you want it and use the first one as a template for the rest.
The Filling
Start by making your filling. Your first step is to make the middle bit; your aim is to cut the cereal box and make it into a cylinder a similar size to a loo roll middle.
Have fun making paper crowns out of your tissue paper or newspaper; remember they need to fold up small enough to fit in your cylinder. Your rough size for an adult paper crown will be about 59 cm long and 9 cm wide.
Find the worst jokes that you can online and print them or write them out before cutting them into small strips.
In the centre of each carboard cylinder, place a cracker snap, a hat, a joke and a toy.
The Cracker
Cut your paper into sheets of about 20cm x 30 cm. Place an empty cardboard cylinder on the paper and make two sets of marks: one either end of the cardboard so that you know where to place it when you assemble your crackers, and one about 2.5 cm either side of the cardboard centre. This second set of marks are where you want to perforate so that the cracker will pull apart easily. Make your two perforated lines (these will probably be about 5cm from each end of the sheet). Quick tip: do a few extra sheets, just in case!
Assembling
Lay your sheet out on your worksurface. Carefully place your pre-assembled roll containing the cracker contents in the middle of the sheet, between the two centre marks. Glue or tape the cracker snaps at each end of the cracker. Roll the paper and use washy tape to secure it down the seam.
It’s A Wrap
This is the tricky bit as you don’t want your perforations to rip. Carefully tuck your paper in around the top of the cylinder then scrunch the paper above the perforated line. Secure it with ribbon or string. If you’re making personalised crackers, use a metallic pen or a personalised Christmas decoration to mark the cracker before leaving it in pride of place on your beautifully laid Christmas table.
And, there you have it: sustainable, recyclable and totally unique Christmas crackers!


Leave a Comment