Let it snow, let it snow, let it snow! Easy Snowy Tree Cupcakes
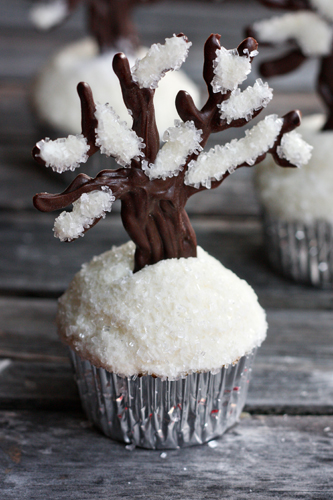
Add a touch of winter wonderland to your desserts this Christmas with these snowy tree cupcakes! All you need is cake mix, sugar, frosting, and chocolate!
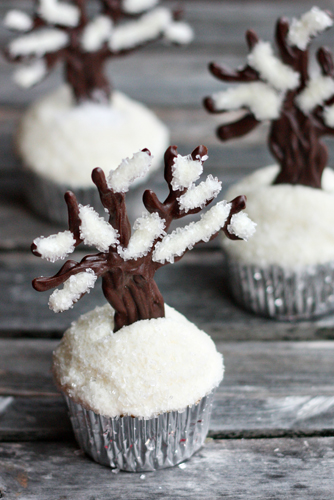
These snowy cupcakes are a must for your dessert tray this Christmas! They’re really easy to make since you can use cake mix and ready-made frosting. Give them a try and we’re sure that you’ll have the most unique cupcakes on the block!
 What You’ll Need:
1) A box of white cake mix
2) 2 containers white frosting
3) Cupcake liners
4) 2 bags of cocoa candy melts
5) 1 bag white candy melts (you can also use white chocolate)
6) Sparkling sugar
7) Granulated sugar
8) Ziploc bags
9) Sheet protectors
10) Tree clip art (there’s tonnes on Google!)
11) Cooking spray
Step #1:
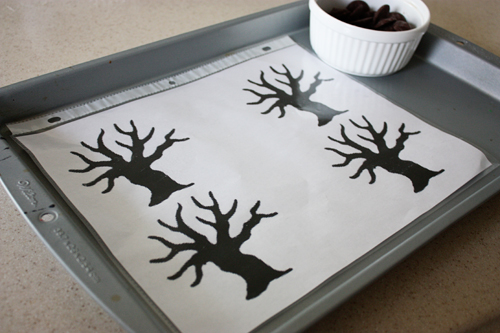
Print out your tree clip art, making several copies of it on one page before printing. Insert your printed clip art into a sheet protector. Grease with a spritz of cooking spray.
 Step #2:
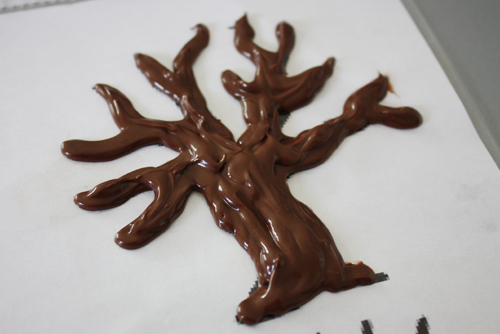
Melt the brown candy melts in the microwave. Place the melted candy melts in a Ziploc bag and snip off the corner. Pipe the candy melts along the tree design until the image is filled. Don’t worry about it being perfect!
 Step #3:
Leave the trees to harden. During this time, bake your cupcakes according to package directions.
Step #4:
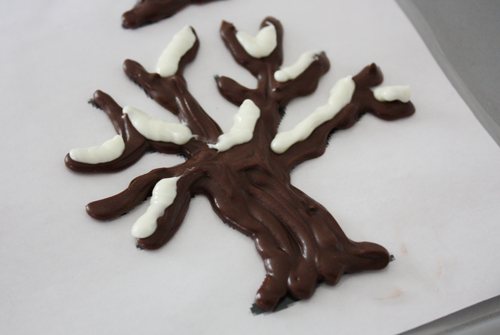
When the trees have hardened, it’s time to add the snow! Melt the white candy melts and place them in a Ziploc bag, snipping off the corner. Pipe the candy melts randomly on the branches.
 Step #5:
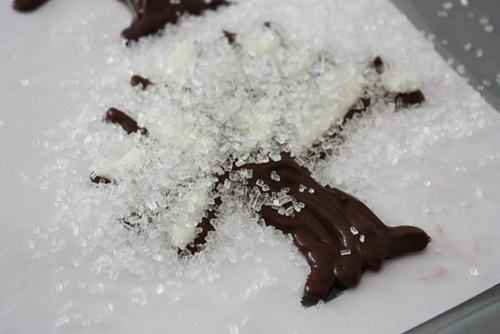
Before the candy melts have hardened, sprinkle the white areas with sparkling sugar. Allow the candy melts to harden completely.
 Step #6:
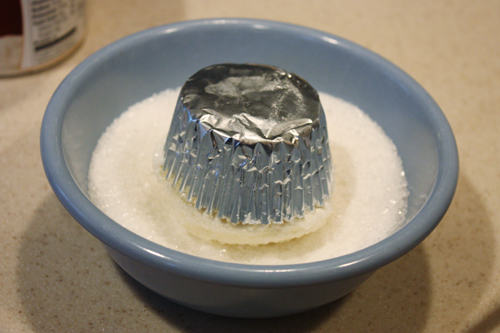
Frost your cooled cupcakes with white frosting and dip them into the sparkling sugar and granulated sugar mixed in a small bowl.
 Step #7:
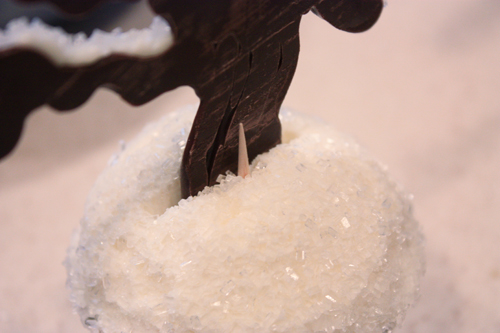
Remove the chocolate tree carefully from the sheet protector. Insert the tree into the frosting on the cupcake. If the tree needs extra support, you can insert a toothpick into the cupcake to hold it up.
 Photos: Not Your Momma’s Cookie.







Leave a Comment