Creepy Halloween DIY: Dripping Bloody Candles
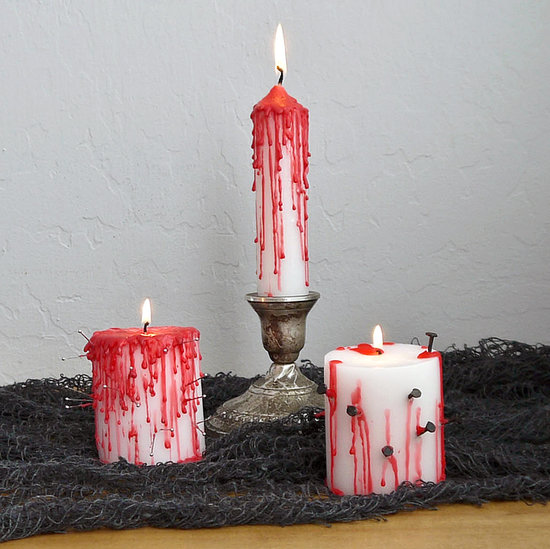
This Halloween DIY is great for some last-minute decorating! Head off to the dollar store for some candles and crayons, and you’re all set to go!
Gothify your home this Halloween with these creepy decorating ideas like our favorite bloody candles! They can be made in under an hour, and are the perfect accessory for your kitchen table, mantle, front steps, coffee table, windowsill, or wherever you like! You can use different colors of candles if you don’t like red, and this project also works with crayons. For a scary touch, add nails to the side of the candle if you want! So, let’s get started!

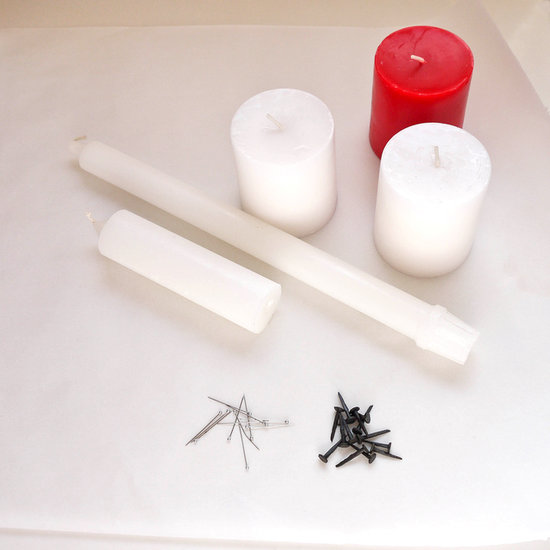
Supplies:
1) Parchment paper
2) White taper candles
3) White pillar candles
4) Red candle (or crayons)
5) Cut tacks
6) Push pins
7) Nails
8) Tinfoil
Step 1:
Cover your work area with parchment paper. Remove any plastic or stickers from the candles.
Step 2:
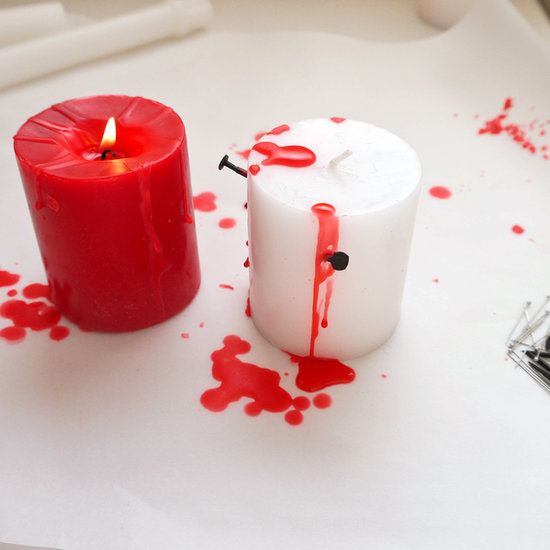
Light the red candle and allow it to drip onto the white pillar candle. If you’re using crayons, hold a lighter under the crayon and allow it to melt and drip onto the white candle.
Step 3:
Press the cut tacks, push pins, or nails into your candle. This will make the candle look like it’s pierced and gushing blood! Scary!
Step 4:
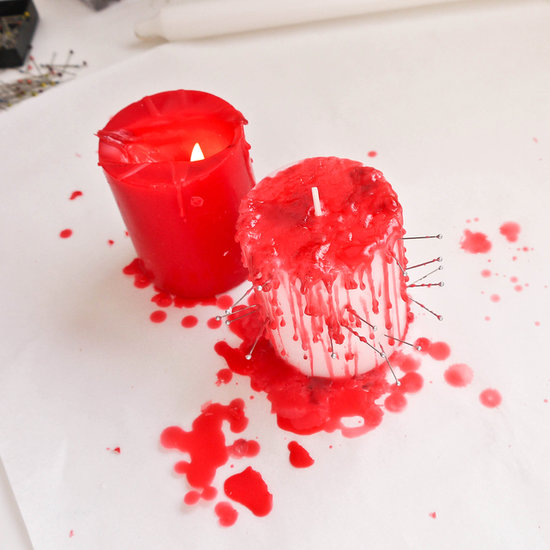
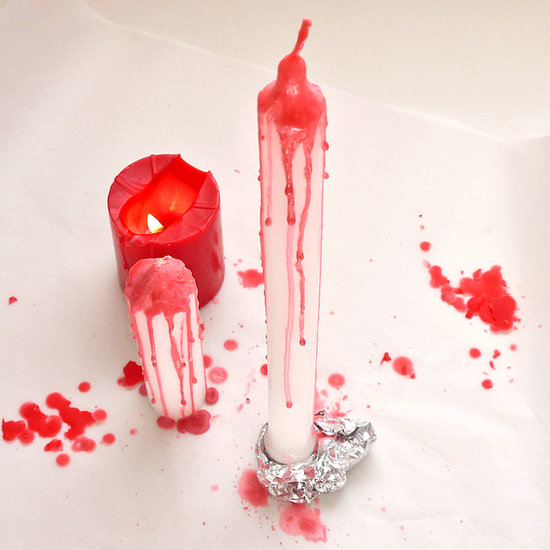
For the taper candles, squish a small amount of tinfoil underneath the candle to hold it upright. Drip the red wax onto the candle and allow it to drip down the length of the taper candle.
Step 5:
Arrange your creepy candles in groups around your home to scare your visitors! You can easily create a spooky home by placing them in glass jars or candlesticks. You can find cheap candlesticks at your dollar store or thrift store. Experiment with different color candles and crayons for a unique look!
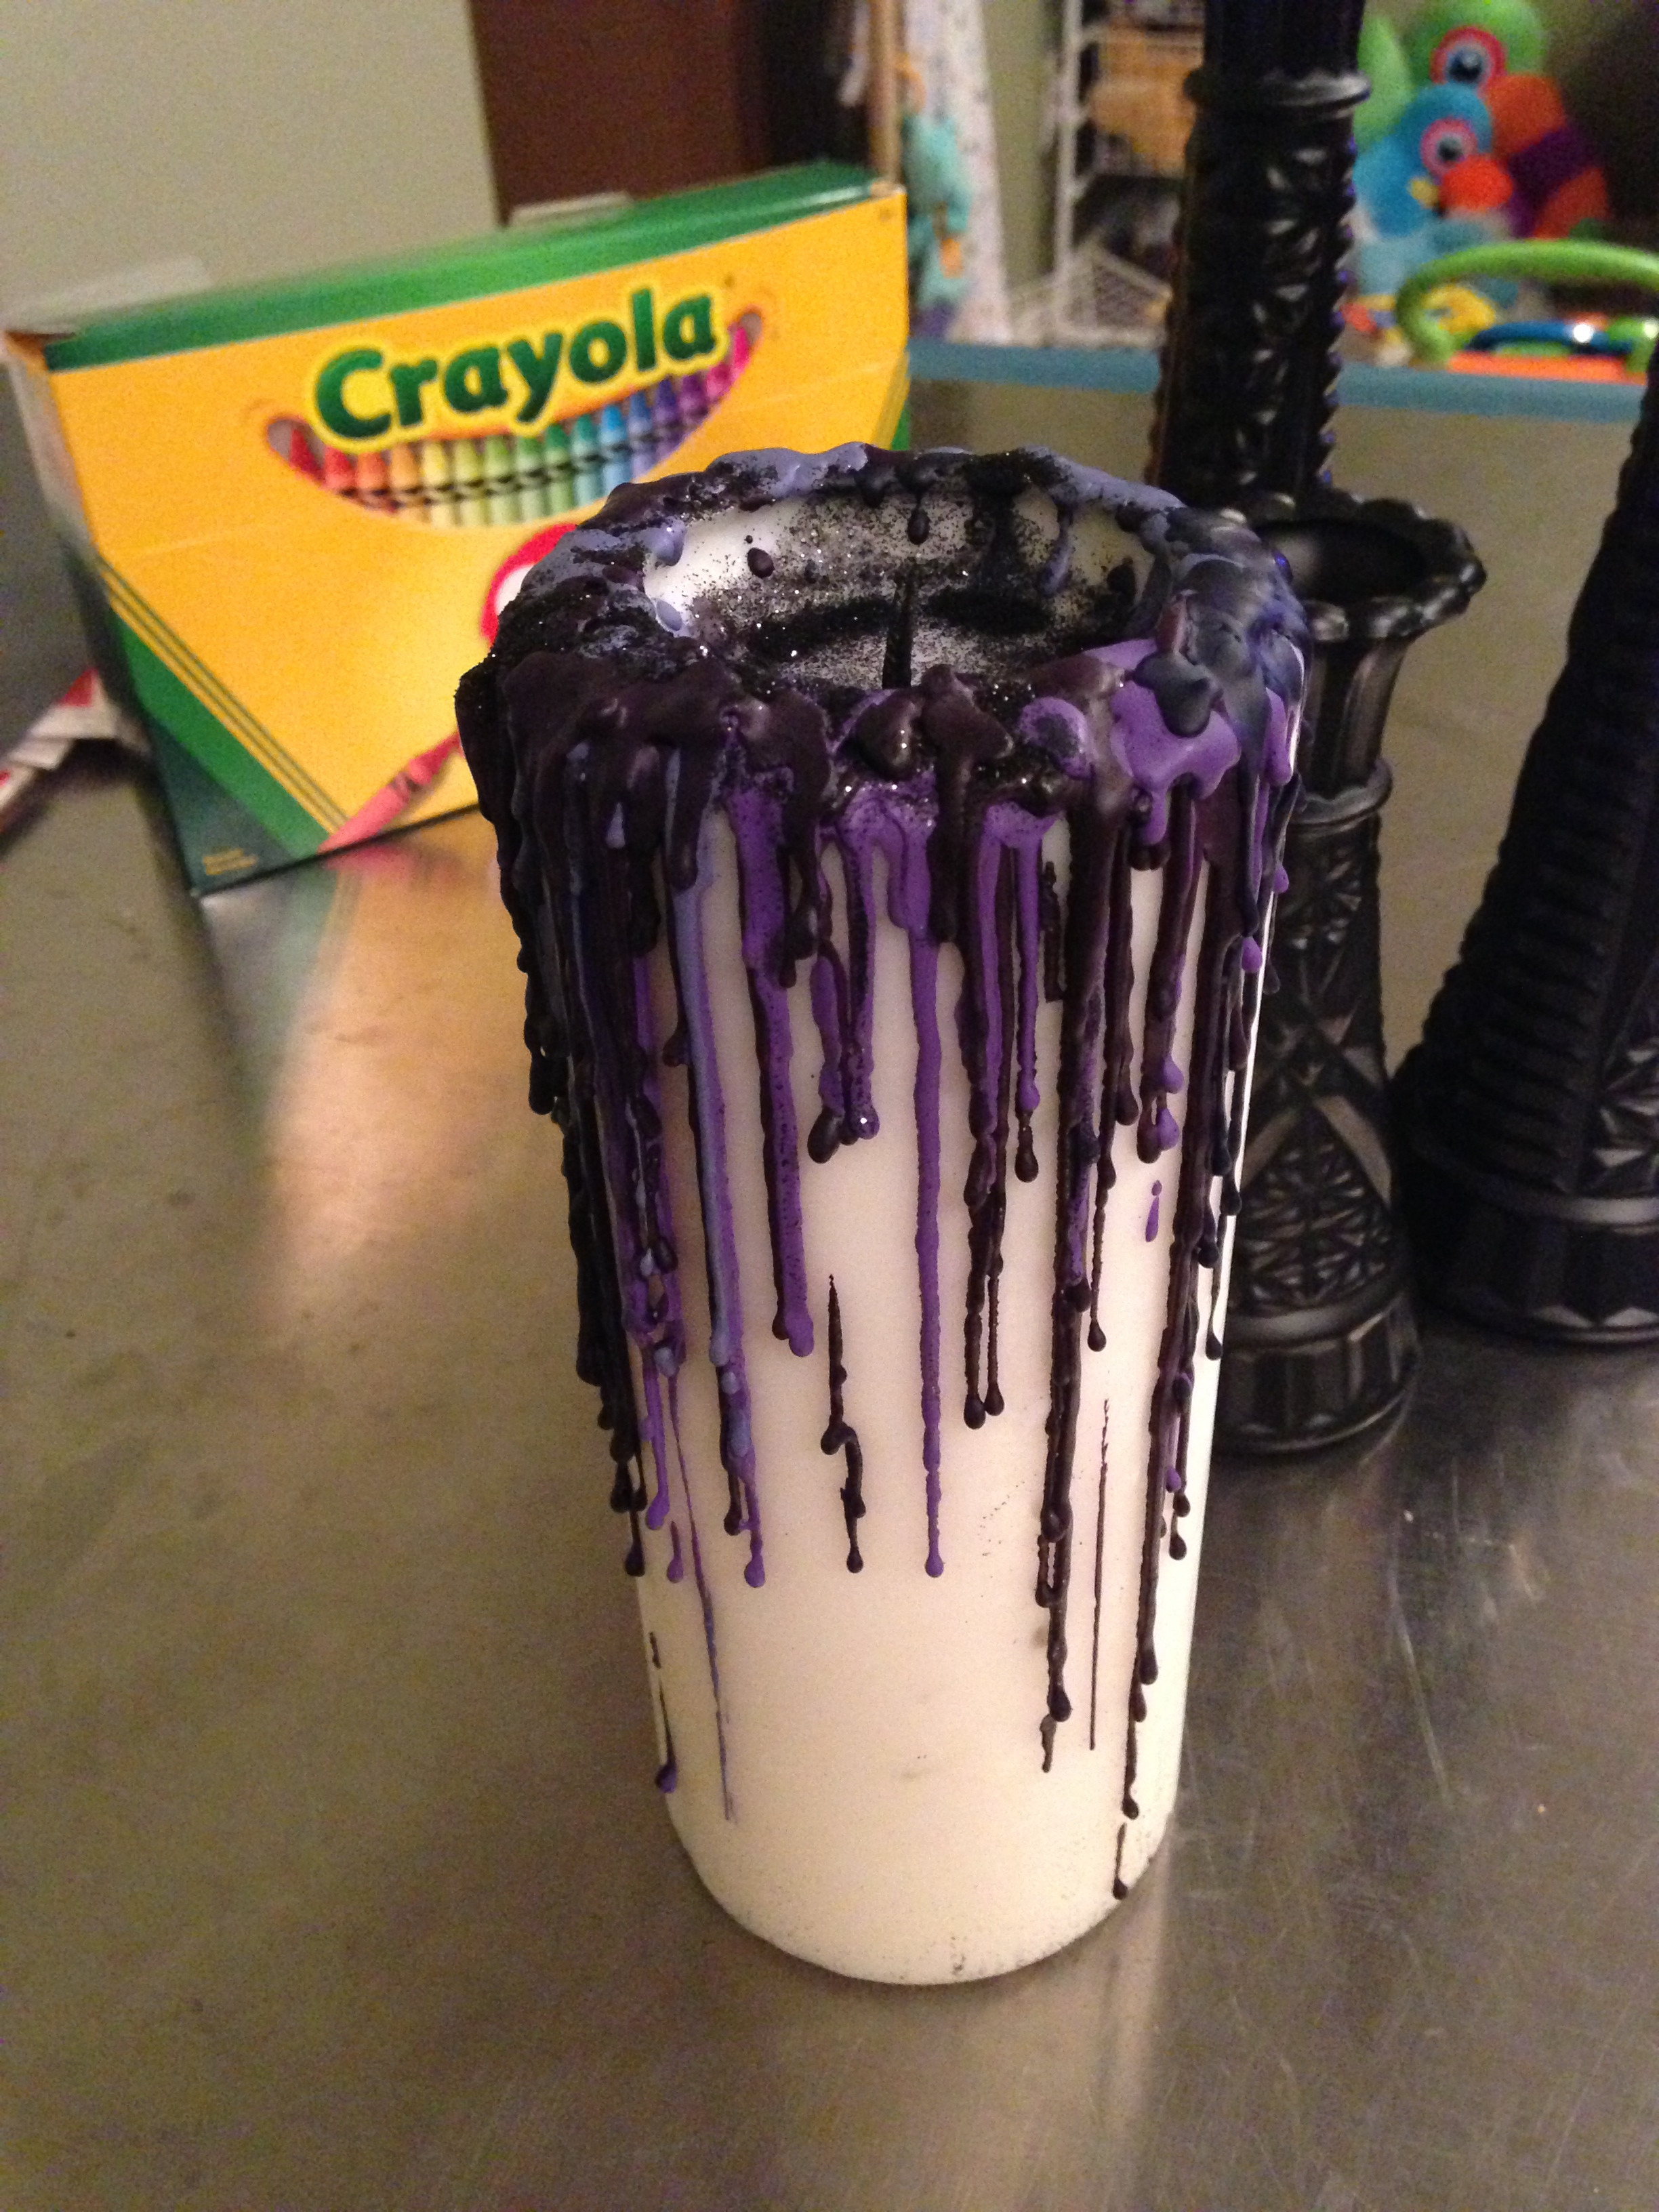
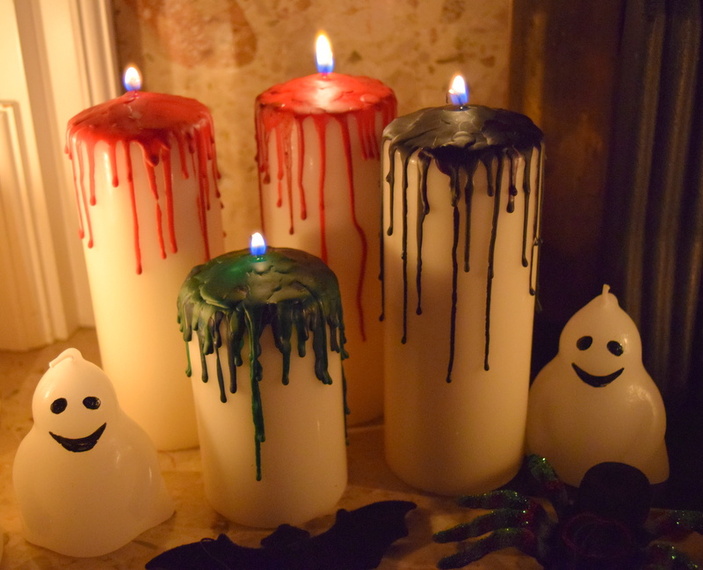 Photos: Pop Sugar, Emiline House.




Leave a Comment