Oven Cleaning: Getting Your Oven Ready for the Season

Get your oven ready for the winter season with a deep clean! Here’s exactly how to clean it!
The change of the seasons usually brings with it the need for a thorough cleanup and presents people with the perfect time to throw open the windows, let fresh air in and embark on a deep cleaning mission throughout the household. However, very often there’s one area that gets neglected in this housekeeping frenzy – the oven. Many people forget to clean this appliance, which typically results in unpleasant situations, such as unappealing, burnt odours, uneven cooking of their food and even potential health and safety hazards.
Luckily, this can be prevented by following the oven cleaning guide below, comprised of essential advice, instructions and tips by professional oven cleaners. It will give your oven the proper attention it requires and guarantee that it will be ready to perform optimally for the season ahead.

Why Spring Cleaning is Essential
Ovens are one of those kitchen appliances that can turn into a culinary crime scene really quickly, which usually ends up in dripping greasy streaks on the interior parts or sludgy food residue at the bottom. That’s why experts recommend cleaning your oven at least every 3 to 6 months, which should usually fall in line with the start of the new season. There are several good reasons for doing that.
1. Residue Buildup
Over time, ovens accumulate a layer of cooking residue, spills and splatters, which not only look unpleasant but can also affect the flavour of your food. If you’ve ever noticed a strange taste or an unpleasant smell when cooking in your oven, the chances are it’s because of old food remnants burning inside the appliance. Proper cleaning can eliminate this issue and ensure your dishes taste as good as possible.
2. Hygiene Concerns
A dirty oven isn’t just a visual problem but also a hygiene concern. As food residue accumulates inside it, it becomes a breeding ground for harmful bacteria and allergens, which can lead to health complications, especially if you or any of your family members have allergies or respiratory problems. Keeping your oven clean is a simple step that will help you minimise such risks and maintain a healthier cooking environment.
3. Energy Efficiency
A clean oven is more energy-efficient because when food residue builds up on its walls and heating elements, it acts as insulation, making it harder for the appliance to reach and maintain the required temperature. This results in longer cooking time and higher energy bills. By giving your oven a thorough cleaning you’ll not only improve its performance but also reduce your carbon footprint and monthly bills.
How to Clean an Oven
Before diving into the cleaning process, you’ll need to gather the right supplies and take the necessary safety precautions.
1. Supplies and Preparation
The items you’ll need for this task include:
- Oven cleaner or DIY cleaning solution made of baking soda and water;
- Liquid dish soap;
- Rubber gloves;
- Scrubbing pads or sponges;
- A wire brush;
- A bucket or a basin;
- Oven-safe racks and accessories;
Having these supplies on hand will make the cleaning process smoother and a lot more effective.
2. Safety Precautions
Safety should always come first when cleaning your oven.
To ensure that, start by disconnecting the power source to avoid any accidental heating and provide proper ventilation in the room you’re working by opening the windows or turning on an exhaust fan. Also, put on a pair of rubber gloves to protect your skin from the cleaning agents and consider safety goggles if you’re using strong chemicals.
With these precautions in place, you should be ready to start cleaning.
Step-by-Step Cleaning Guide for Your Oven
- Step 1: Preparation. Begin by removing the oven racks and accessories. These items can be soaked separately in warm, soapy water to loosen any grime on them. While they soak, focus on cleaning the oven’s interior.
- Step 2: Cleaning the Interior. Apply your cleaning solution to the oven’s interior, paying special attention to the areas with visible residue. Let it sit for a while to break down the grime. Scrub the interior with a scrubbing pad or sponge, removing all stuck food leftovers.
- Step 3: Tackling Tough Stains. For stubborn and burnt-on stains, a paste mixture of baking soda and water should be able to remove them. Apply it to the stains and let it sit for a few hours or even overnight for better results. Afterwards, use a pad to scrub the food residue and the stains gently. This method is both very effective and gentle on your oven’s interior surfaces.
- Step 4: Cleaning Oven Racks. To clean the oven racks and accessories, use a scrubbing pad or a wire brush to remove any residue. If there’s tough, caked-on grease, soak the racks in a solution of warm water and dish soap. Afterwards, scrub them clean, rinse and dry them before placing them back in the oven.
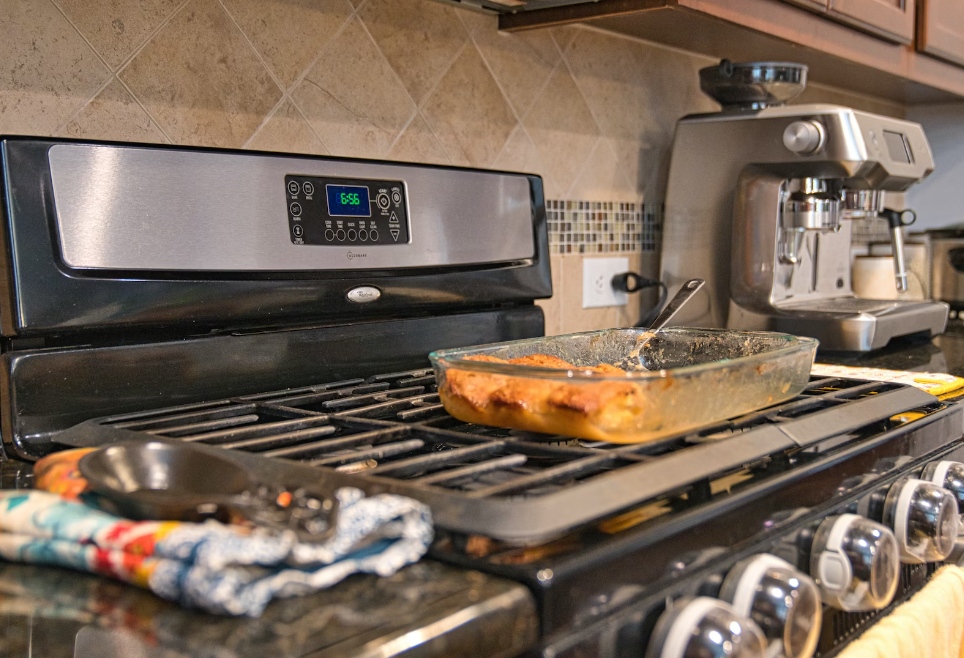
- Step 5: Cleaning the Oven Door. The oven door shouldn’t be forgotten during the cleaning because it can also accumulate splatters and food residue. To take care of it, use your cleaning solution or a paste mixture of baking soda and water to clean the glass panel and the surrounding areas. A clean oven door not only looks better but also allows you to monitor your dishes more easily, reducing the need of opening it and letting the heat out.
- Step 6: Cleaning Exterior Surfaces. When taking care of your oven, don’t forget to clean its exterior as well. Use a damp cloth or sponge dipped in a mild cleaning solution to wipe down these surfaces, and pay special attention to any stainless steel finishes, as they can show fingerprints and smudges more easily.

Additional Oven Maintenance Tips
1. Regular Cleaning Schedule
To avoid a major tough cleaning session every season, cleaning experts highly advise to establish a regular cleaning schedule for your oven. Depending on how frequently you use it, a quarterly or biannual deep clean can greatly help prevent excessive residue buildup.
2. Preventing Future Buildup
To minimise residue buildup in the future, consider using oven liners or cooking sheets to catch any spills and splatters. These items can be easily removed and cleaned, preventing residues from adhering to the oven’s interior surfaces and keeping it cleaner.
Final Words
A clean oven isn’t just a matter of appearance. It’s also essential for maintaining better food quality, kitchen hygiene and more energy efficiency in your household. By following the steps in this guide and establishing a regular cleaning routine, you’ll be able to make sure that your oven is prepared to work optimally in the season ahead, providing a smoother and more pleasant dining and cooking experience.