Make This Hanging Bat Centerpiece For Your Halloween Party!
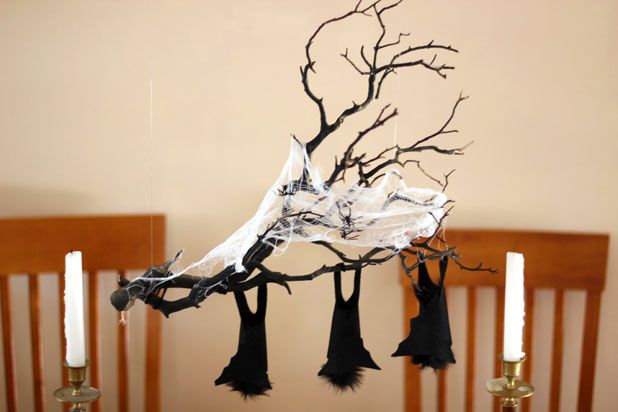
This hanging bat centerpiece is the perfect addition for your Halloween party! It’s easy to make, and only requires basic items like felt, fake fur, and a branch!
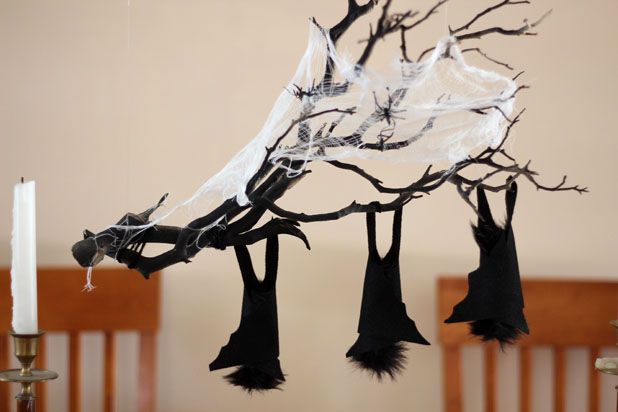
We’re loving this creepy-cute hanging branch centerpiece! It’s extremely cheap to make and you can put it together in under an hour! Hang it above your table at your Halloween party, we’re sure it will be a hit!
Supplies:
1) A branch
2) Black felt
3) Black fake fur
4) Cheesecloth
5) Black yarn
6) Black spray paint
7) Clear fishing line
8) Fake spiders
9) Hot glue gun and glue sticks
10) Two hooks
11) Scissors
12) Rubber bands
Step 1:
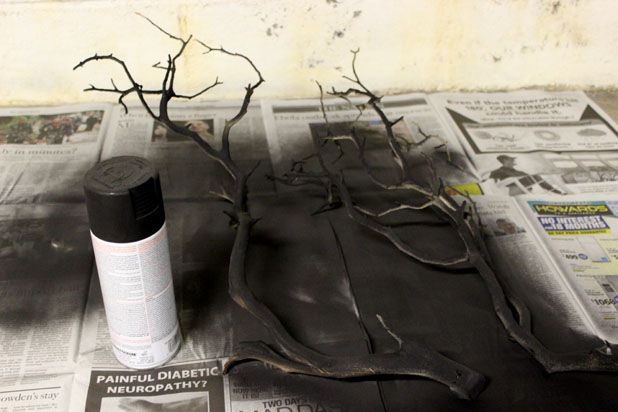
Spray paint the branch using black spray paint. Use a branch that’s gnarled and twisted for a creepy effect. If you can’t find a large enough branch, you can use two smaller ones instead.
 Step 2:
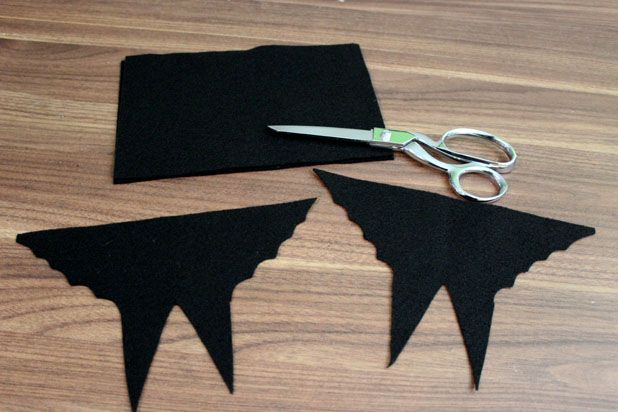
To make the bats, cut 8 1/2″ x 11″ sheets of black felt in half. At the bottom of the pieces, cut out 2 inverted triangles (these will be the legs), and then cut a scalloped edge from the legs to the top corners.
Step 3:
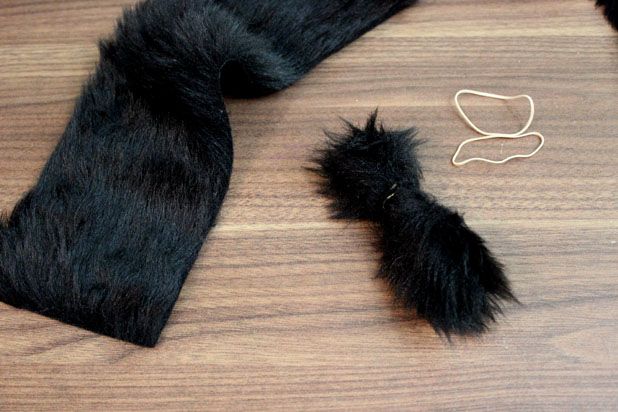
For the bat’s body, cut out a 3″ x 4″ piece of fake fur. Roll it up lengthwise and secure it with a rubber band.
Step 4:
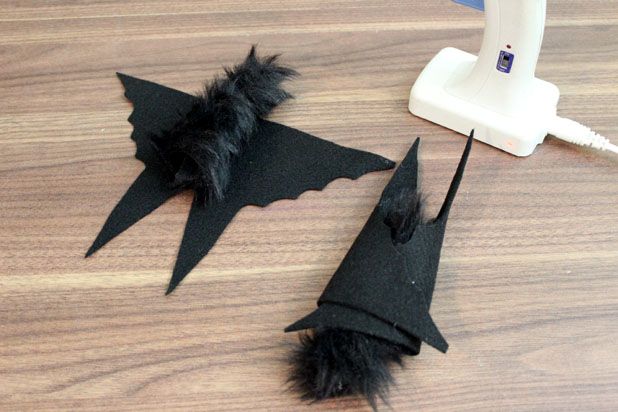
Place the fur in the middle of the felt bat wings and fold the wings on top of each other. Glue the wings together using hot glue.
Step 5:
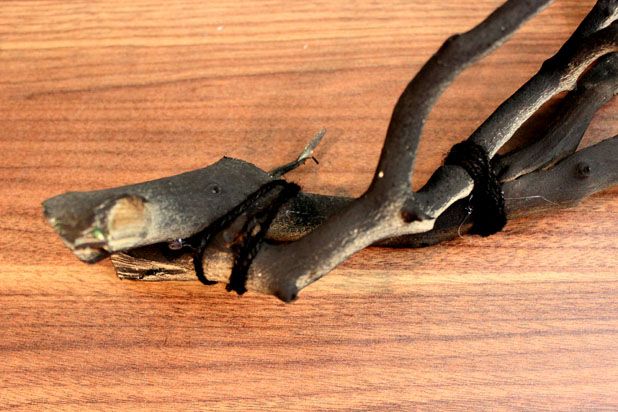
If you have more than 1 branch, you can tie them together using black yarn.
Step 6:
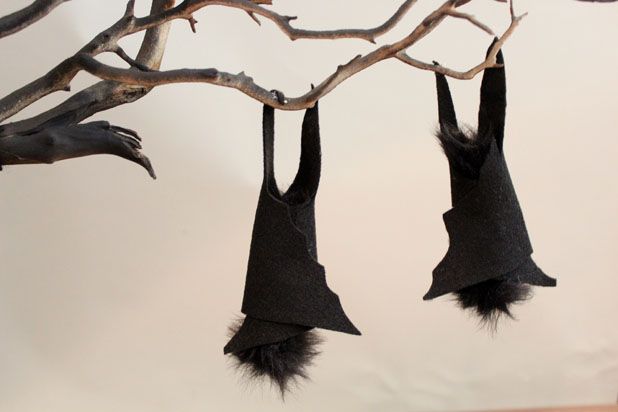
Glue the tips of the bat legs to the branch, making it look like the bats are hanging upside down.
Step 7:
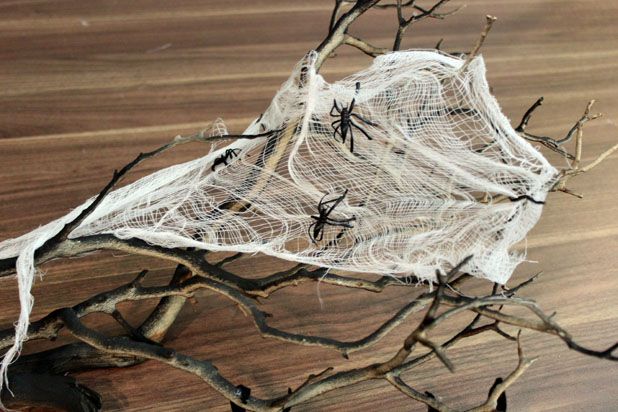
For the creepy cobweb, stretch the cheesecloth over the branch and allow it to tear in spots. Glue a few fake spiders to the cheesecloth.
Step 8:
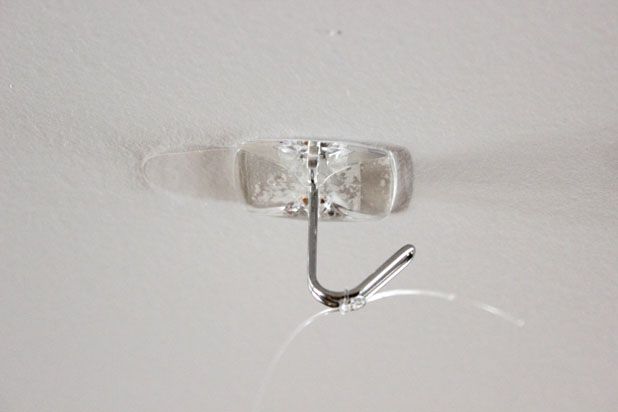
Secure your hooks to the ceiling. You can use hooks that have a removable adhesive backing if you don’t want to damage your ceiling. Place the hooks above where the branch will hang and tie a piece of fishing line to the hooks.
Step 9:
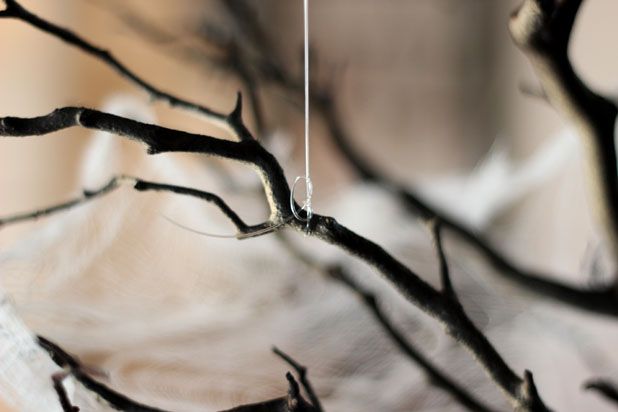
Tie the other end of the fishing line to the branch.
Step 10:
Adjust the height of the branch if needed and cut off any excess fishing line. All finished!
 Photos and idea: EHow.







Leave a Comment