DIY: Tiered Hanging Pots
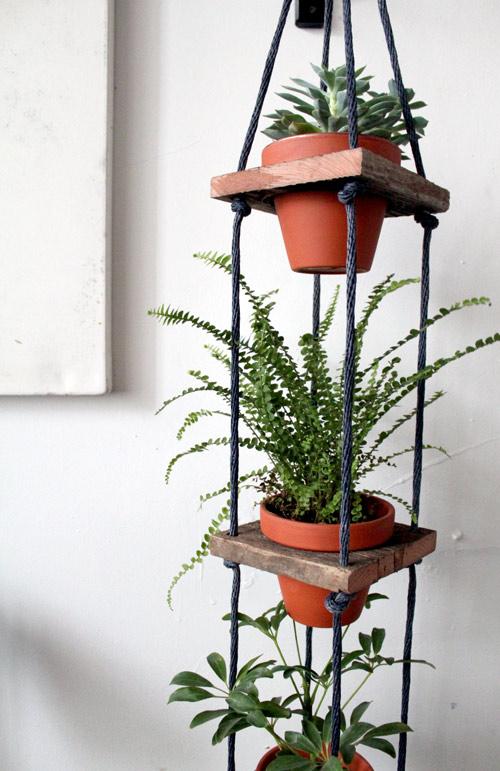
If you don’t have a lot of space on your windowsill or counters for you plants, hanging planters are the answer! Make your own tiered hanging planter with scrap wood and rope in this DIY!
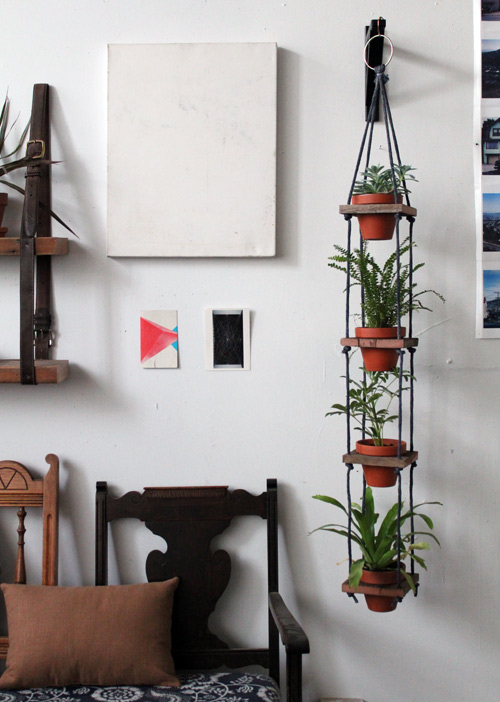
This tiered hanging planter can be made in a day, and with basic woodworking tools. What’s great about this planter is when you water the top plant, the runoff from the previous pot drips into the plants below. All you need to do is place a little dish or bucket underneath to catch any excess water, and it makes watering all 4 plants a breeze!
What you will need:
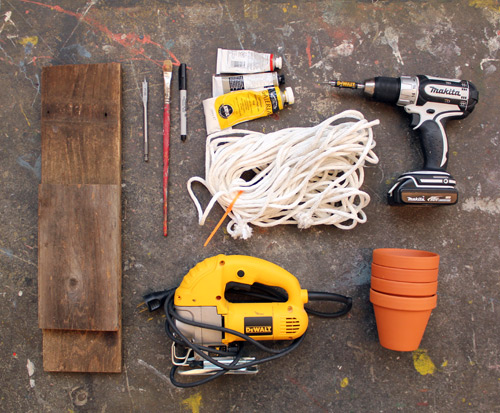
– scrap wood
– jigsaw
– terracotta pots
– rope
– 3/8″ boring bit
– paintbrush and paint
– drill
– plants
– metal ring
Step 1:
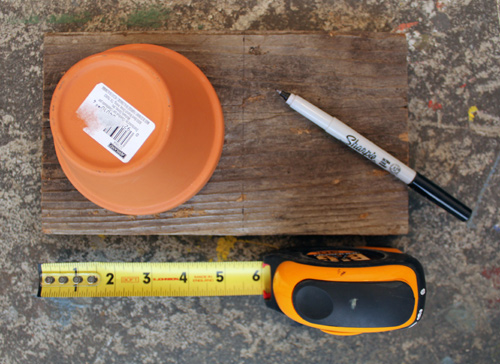
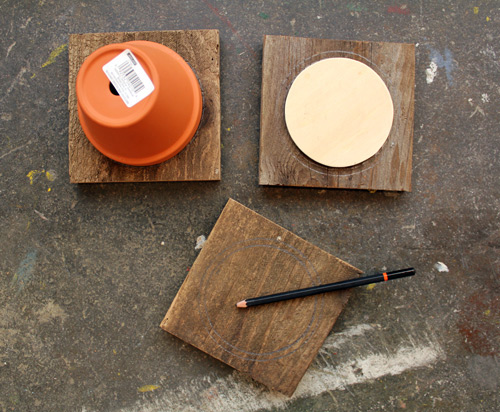
Measure the plank of wood and mark it to create a square with 3/4″ to 1″ of space around your pot.
Step 2:
Trace the lip of the pot onto the wood. Trace a circle within the circumference of the one you drew but spaced 1/4″ from the outer circle. You can also use a circular template that’s 1/4″ inches smaller that the radius of the pot to do the same thing. You’ll end up with 2 concentric circles. One has a radius of 1/4″ smaller than the first. Repeat with all 4 squares.
Step 3:
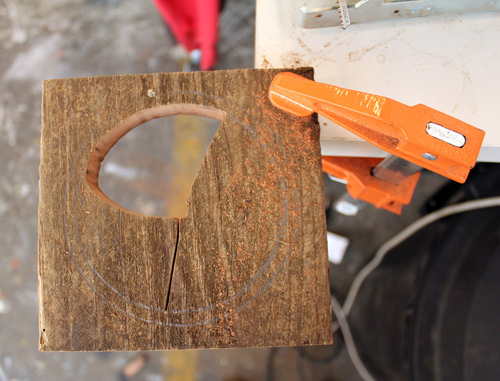
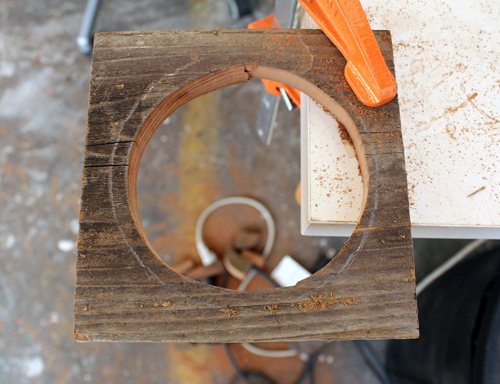
Clamp the first piece of wood to a stable surface. Drill a hole into the center of the circles with the 3/8″ boring bit. This will provide space for the jigsaw blade to enter the wood so you can begin cutting. Work slowly and in sections. Use the jigsaw to cut out the shape of the inner circle. Repeat with all 4 squares.
Step 4:
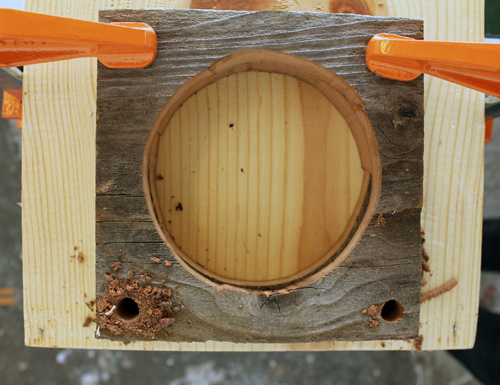
When you’ve cut out the inner circles, clamp a single square down to a piece of scrap wood. Using a ruler, make a dot in the 4 corners of the squares, 1/2″ in from each side. Use the 3/8″ boring bit to drill holes through the wood at the 4 corner marks. Repeat with all 4 squares.
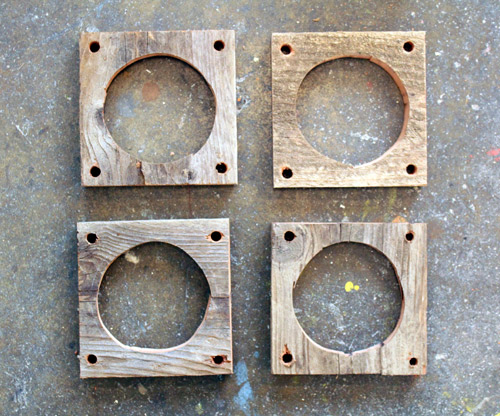
Step 5:
If you like, you can paint the sides of your squares. You can also paint your rope if you want a different color. Only paint the 2 cut edges on each square, and position the squares on the ropes so that the unpainted and painted edges alternate when it’s hanging.
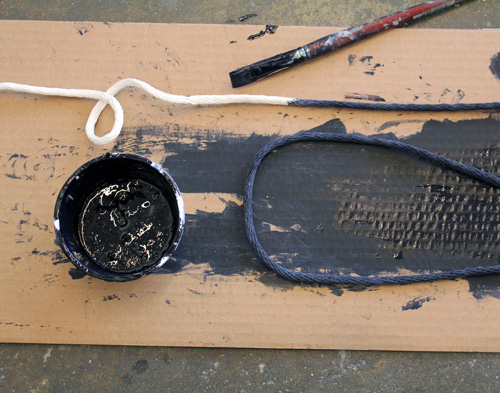
Step 6:
It’s now time to hang your squares! Space your plants 12″ apart (choose more or less depending on the size of your plants). Cut 4 lengths of rope and tie them together in a knot 6″ from the top. Use the 6″ rope strands to secure the ropes to the metal ring.
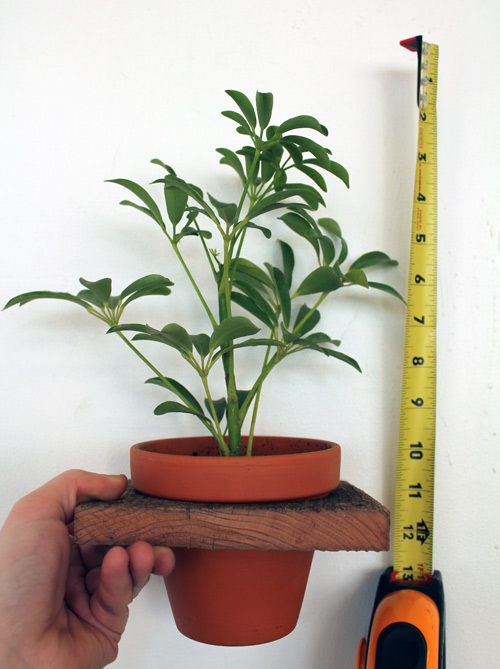
Step 7:
Hang the ring and slide the first wood square onto all 4 strands, about 12″ from the top knot. Tie a knot directly underneath the wood square on all 4 ropes. Place the plant into the opening, making sure it’s level.
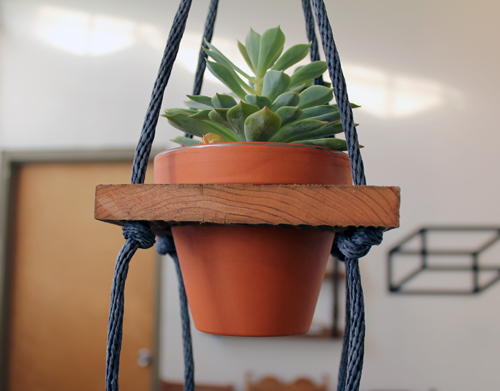
Step 8:
Repeat step 7 with the remaining 3 squares. After the last square is on and the knots are tied underneath, cut off any extra rope.
Finished! Find a sunny spot for your new planter and fill the squares with your plants.

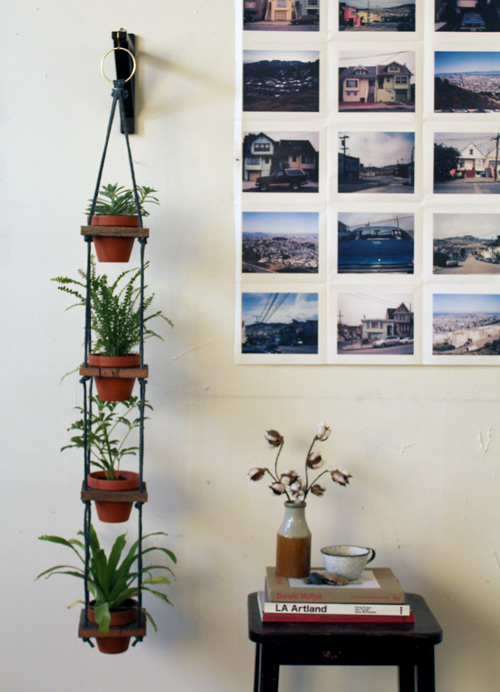
Photos and idea: Design Sponge.





Leave a Comment