

How to Age Terra Cotta Pots – 4 Different Ways
Love the look of aged terra cotta pots, but hate the price? We’ve got 4 of the best ways to age brand-new pots for cheap!
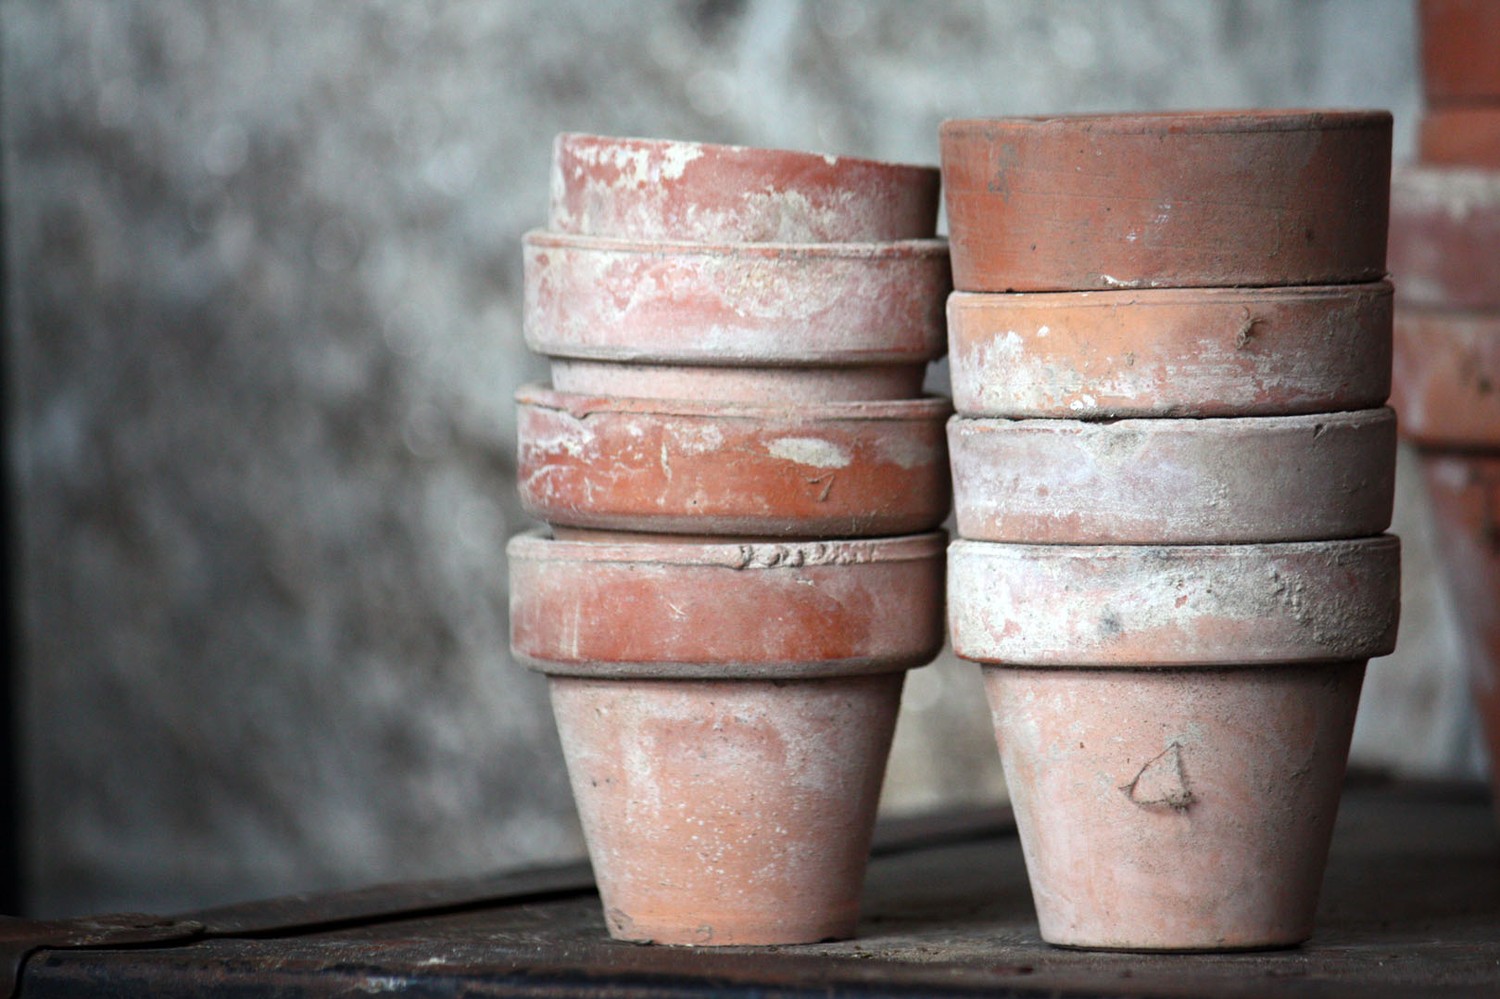
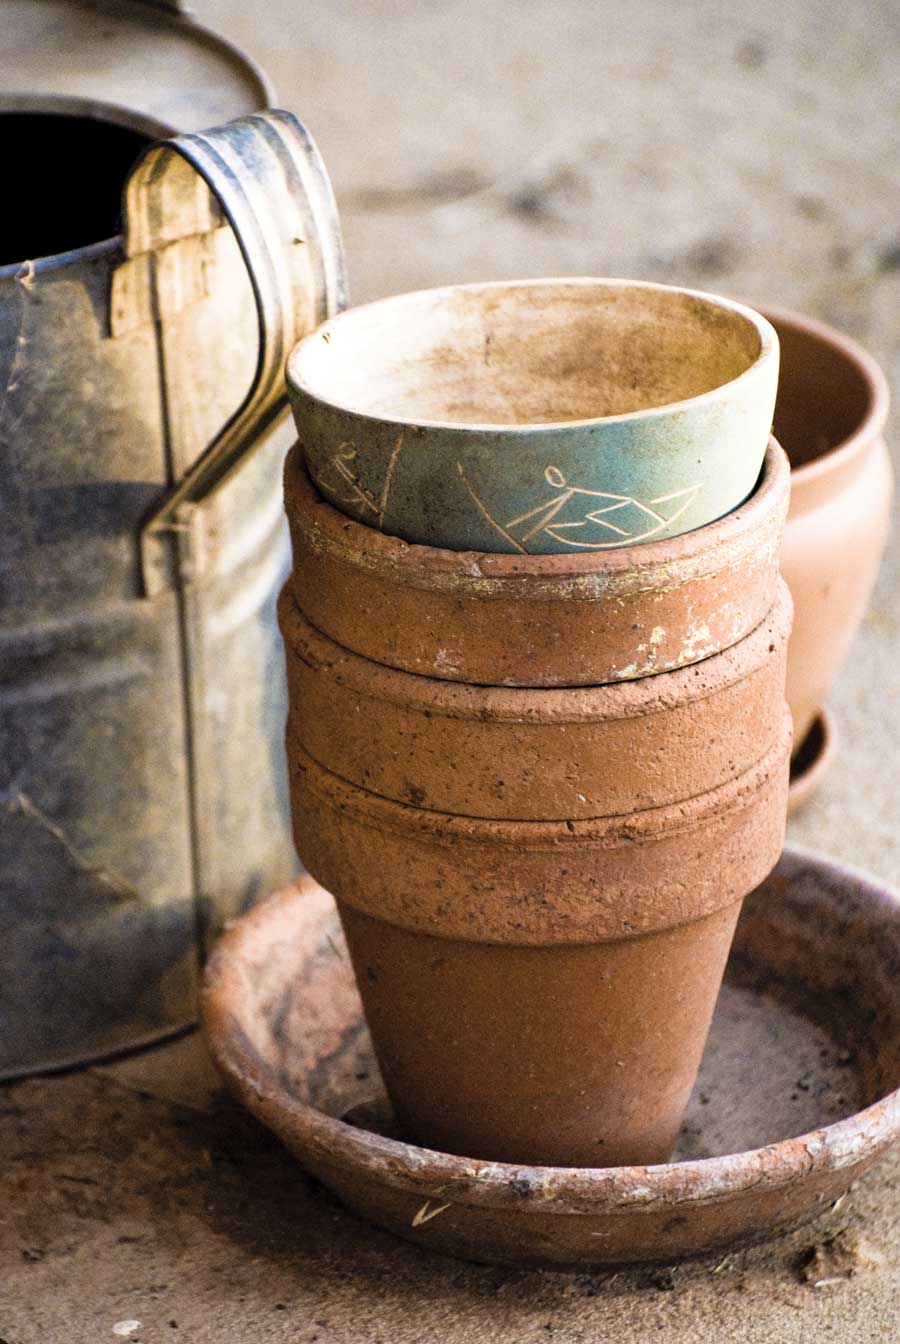
We love terra cotta pots, and who doesn’t? They are so versatile and work well in any garden. But, sometimes the new pots are just a bit too orange, and would look better if they had an ‘aged’ look. Those aged terra cotta pots for sale are just a bit too expensive, so here are 4 ways how to do it yourself!
1. The Yoghurt Method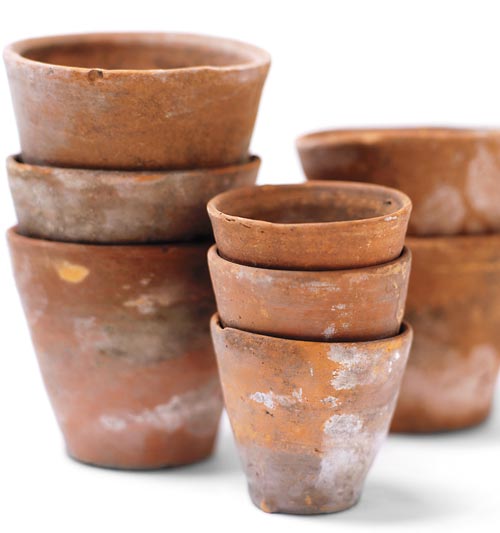
First, soak your pot in water for about 15 minutes. Take it out and using a foam brush, brush on yoghurt in uneven directions. Let the pot sit outside in a cool, moist place for 4-6 weeks. The final effect will be a green patina effect.
2. The Lime Method
Mix equal parts garden lime and water in a bowl until you get a paste. Brush on the mixture onto the pot until it’s completely covered in a thick layer. When dry, use sandpaper to smooth out the pot, and be sure to rub some areas more aggressively than others for a natural look. The final step is to seal the pot with 3-4 coats of a matte sealer. This gives pots a white, chalky look.
3. The Moss and Buttermilk Method
Head to the woods and gather some moss. Remove as much dirt as you can and tear it up into small pieces. In a bowl, combine buttermilk and moss pieces and mix. You can now brush the mixture onto your pots, and when finished, place the pot in a shaded place. You should soon see moss start to grow onto the pot.
4. The Clay Soil Method
Rub the soil over the pot, and add water as needed if the soil doesn’t stick. Then, place the pot in a shaded area for at least 1 month. Get out a wire brush and brush the pot to create a textured surface.
Photos: Canadian Gardening, Mother Earth Living.


Leave a Comment