Top Interior Painting Tips & Techniques for Fantastic Results
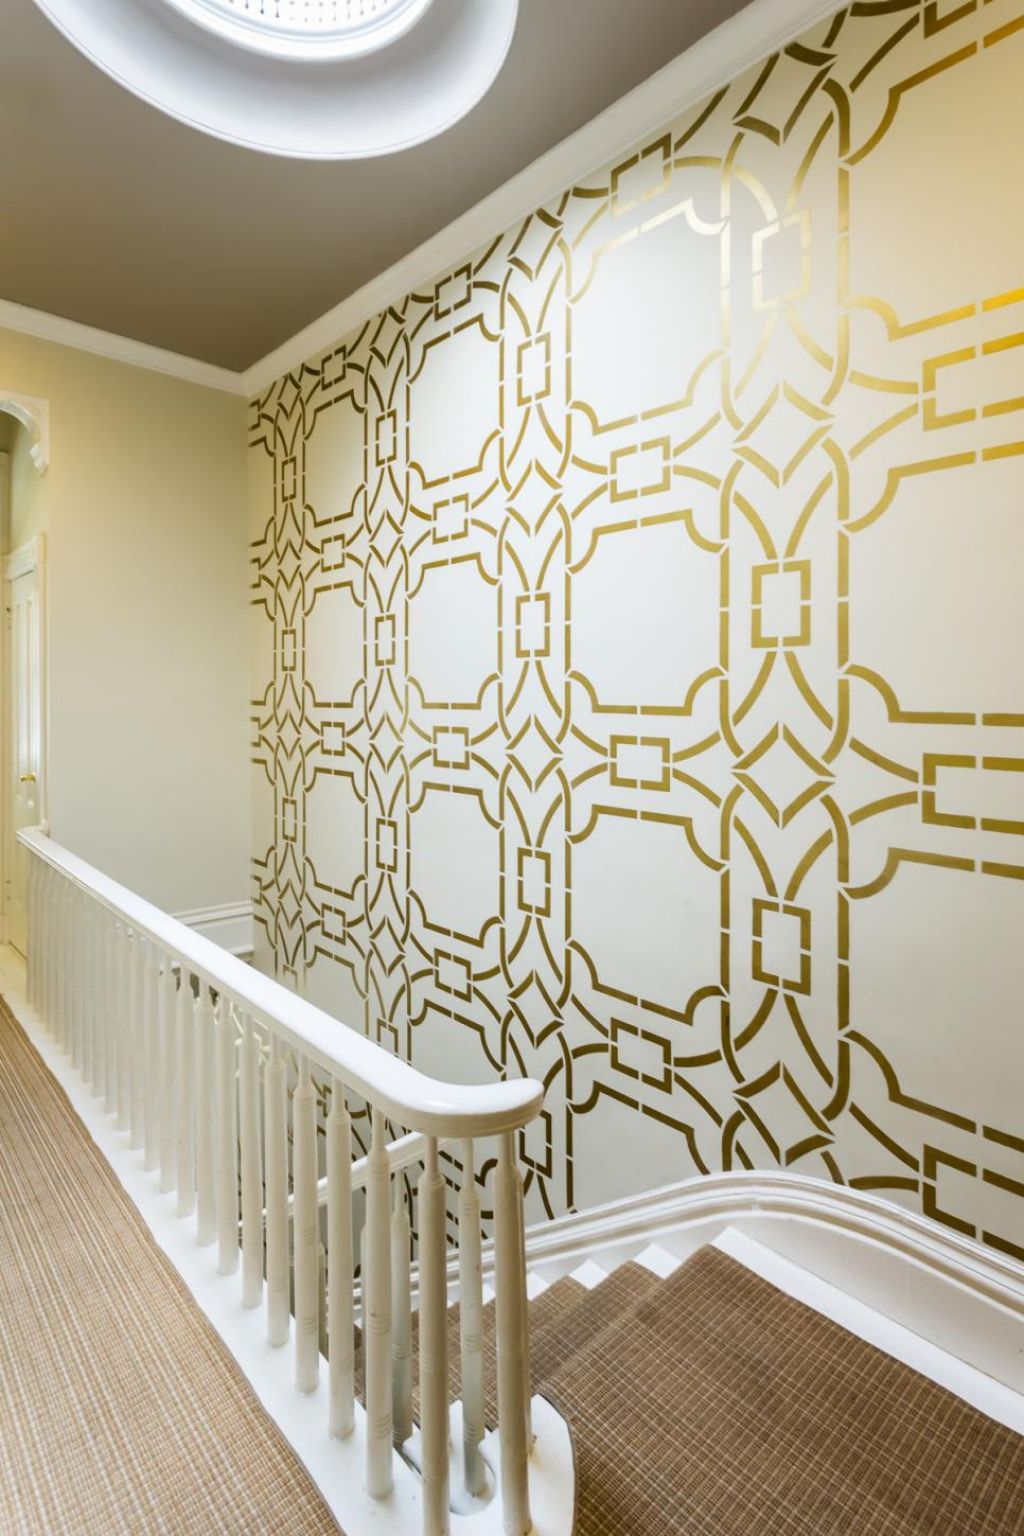
If you fancy trying your hand at painting, there are various tips and techniques you can follow to achieve great results.
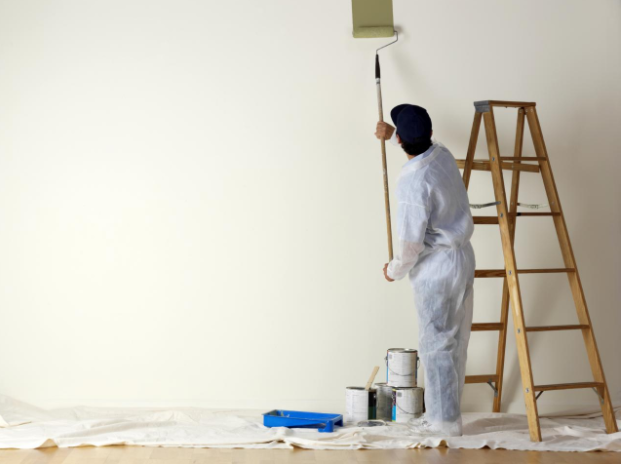
Completing a paint job professionally will create a vibrant environment in your home which is visually stunning, and will create a luxe look for less without having to break the bank. It will also transform rooms which you can consequently be proud to call your own. If you feel as if independent painting isn’t for you, there are various professionals on hand, who are well equipped to tackle your interior and exterior painting needs. To discover which professional is best suited to your individual needs and preferences, online research is recommended to discover painters in your geographic location who will do right by you.
Here are some top tips and techniques to help you on your journey to effective painting, many of which are deployed by professionals.
Avoiding Lap Marks
Lap marks occur due to buildup of uneven layers of paint, mostly occurring when you roll over paint that’s partly dry. The best way to prevent this situation from arising is to maintain a ‘wet edge’, so that every time you initiate a stroke with your roller it overlaps the previous stroke.
Maintaining a wet edge is best achieved by starting near the corner of your room and running the roller down the height of the wall, remembering to move backwards when necessary to even out thick spots. Never let the roller become dry and keep the open side of the roller frame next to the area that’s complete, utilizing a technique that is less likely to leave paint ridges.

Photo: Xtend-Studio
Mix Several Cans of Paint
Paint color has a tendency to vary from one can to the next, and often opening a new can in the middle of the wall can result in a noticeable color difference and lack of consistency. By mixing cans of paint together in a big bucket at the beginning of your job, this eradicates the issue, and if you overestimate and have paint left over at the end of proceedings, you can always pour this back into cans.
Use Tape
By taping the edge of your walls you protect areas you want to remain clear and keep the rest of your decorating looking clean. Once you have finished your job, it is important to remember that you can’t simply pull the tape off, since there will paint that has formed between the wall and tape. Pulling the tape off will bring dried paint with it, so your best bet is to cut it loose with a sharp utility knife, any time 24 hours after completion. Experiment to ensure the paint is hard enough to slice cleanly, and pull it up at a 45 degree angle.
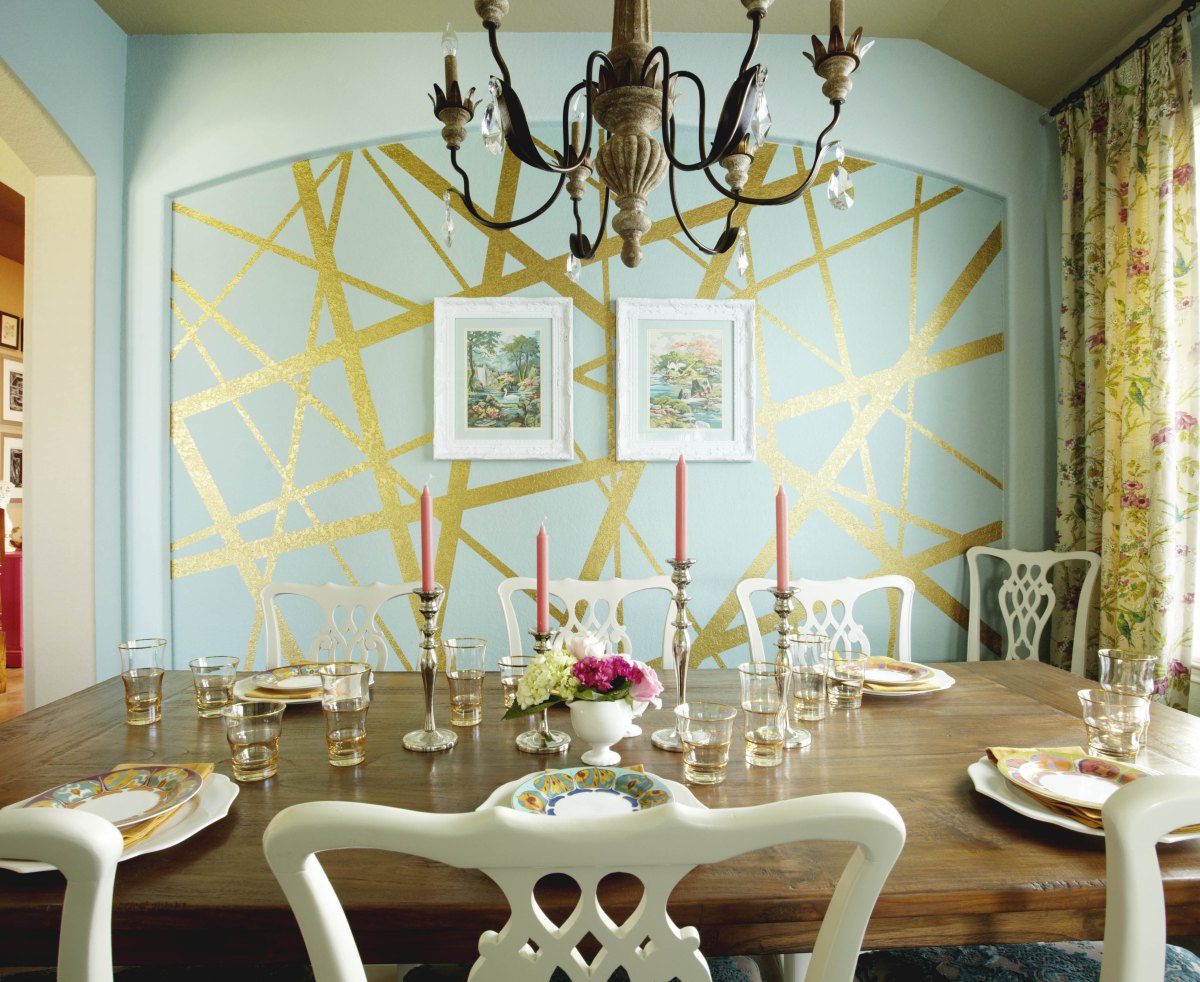 Photo: Homedit
Paint Trim First
Follow a certain order when painting your rim, which should be as follows: paint the trim first, followed by the ceiling, then the walls. This makes the job significantly easier, especially in reference to logic and trimming the tape you’ve applied.
When you paint the trim you don’t have to be neat, but it is important to ensure you get a smooth finish on the wood. If the trim paint contaminates the walls there is no need to worry because you’ll paint this later, and 24 hours after completing the job you can proceed to the ceiling, then the walls. Take a look at this beautiful home with sleek, white molding freshly painted:
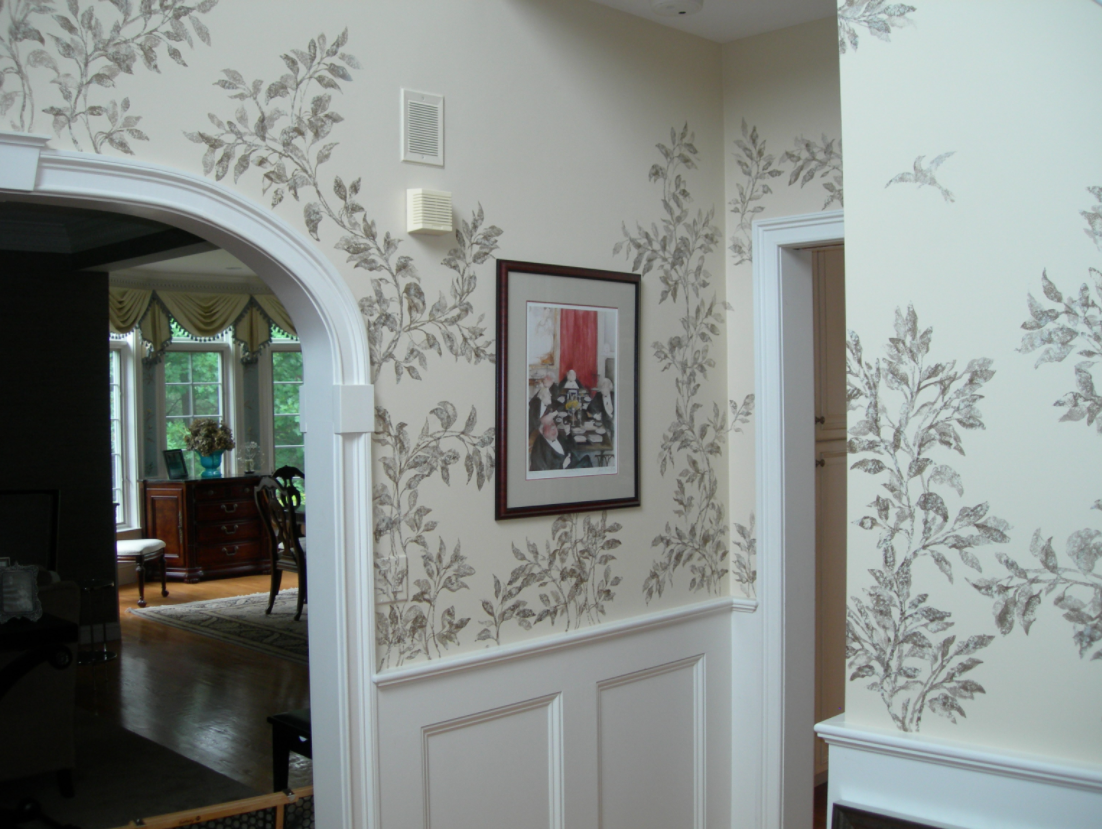 Photo: Cute Design.co
Prime and Texture Walls
To avoid dull spots that stick out when light hits them, and to create a consistent texture with minimal flashing, applying a coat of primer is highly recommended. This seals the paint, and it’s best to use a roller to feather out the edges, with a nap thickness that correlates with the surrounding wall.
I hope you have found this article informative, and if you would like to contribute anything to the discussion please comment below.




Leave a Comment