

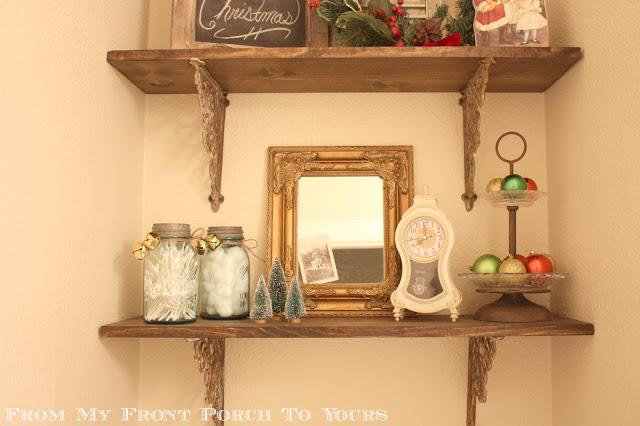
Shabby Chic DIY: Make Your Brand New Iron Brackets Old and Rusty
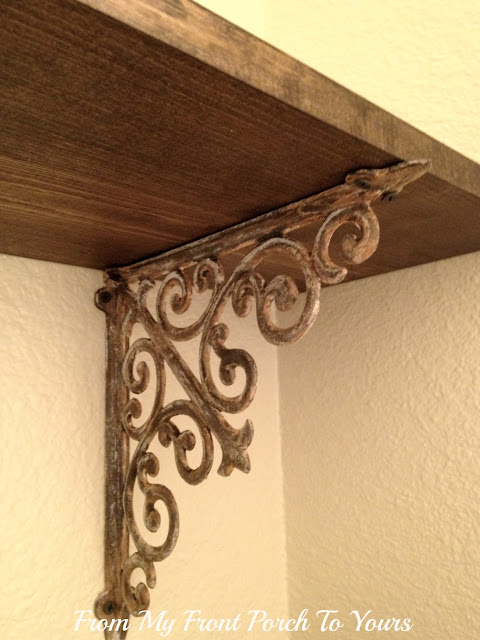
Are your iron brackets looking a bit too new? Check out this tutorial on how to make them look old and rusty!
We just love shabby chic! When our furniture looks too new for our liking, the only way to remedy that problem is to make it look like its been in the rain for years! Wear and tear is the name of the game, and this tutorial is perfect for any shabby lovers out there! Iron brackets are an inexpensive way to add a bit of flair to regular shelves, but sometimes they don’t really match the rest of our decor. This tutorial will show you how to make them look old and rusty for cheap!
Supplies:
1) Iron brackets (you can find them at Hobby Lobby)
2) Chalk paint (for this project, Annie Sloan Old White was used)
3) Sponge brush
4) Paper towels
5) Antiquing Medium
6) Clear matte spray paint (optional)
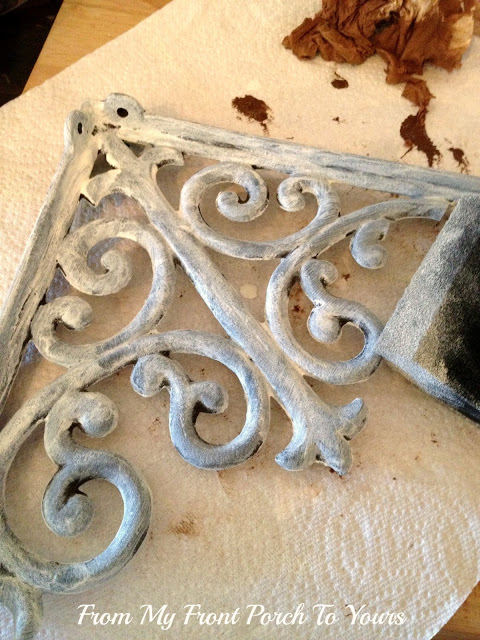
Step #1:
Take your sponge brush and paint the entire bracket. You don’t have to worry about it being perfect.
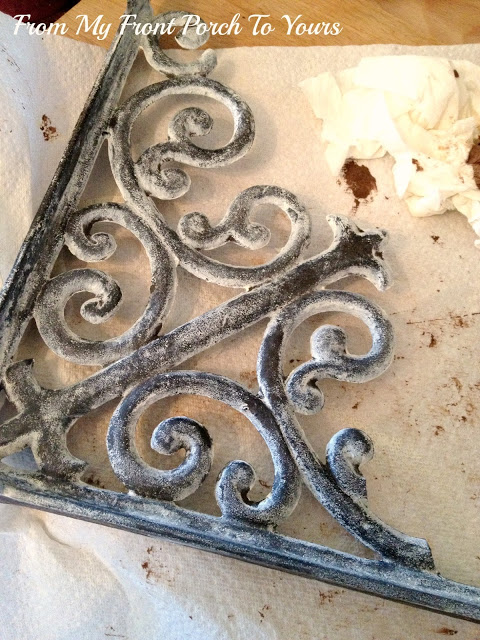
 Step #2:
Take a damp paper towel and begin wiping off the paint. Don’t wipe off everything! We still want the bracket to have a weathered look.
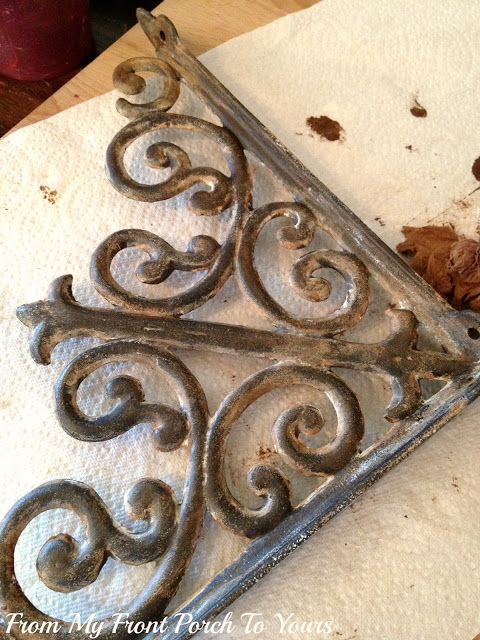
 Step #3:
Take the antiquing medium and add a small amount to a damp paper towel. Rub the antiquing medium over the entire bracket.
 Step #4:
If you want to seal your brackets, you can give them a coat or two of clear matte spray paint. Allow the spray paint to dry between coats and you’re done!
 Photos: From My Front Porch to Yours.


Leave a Comment