How to Make the Most Perfect Roast Duck This Christmas!
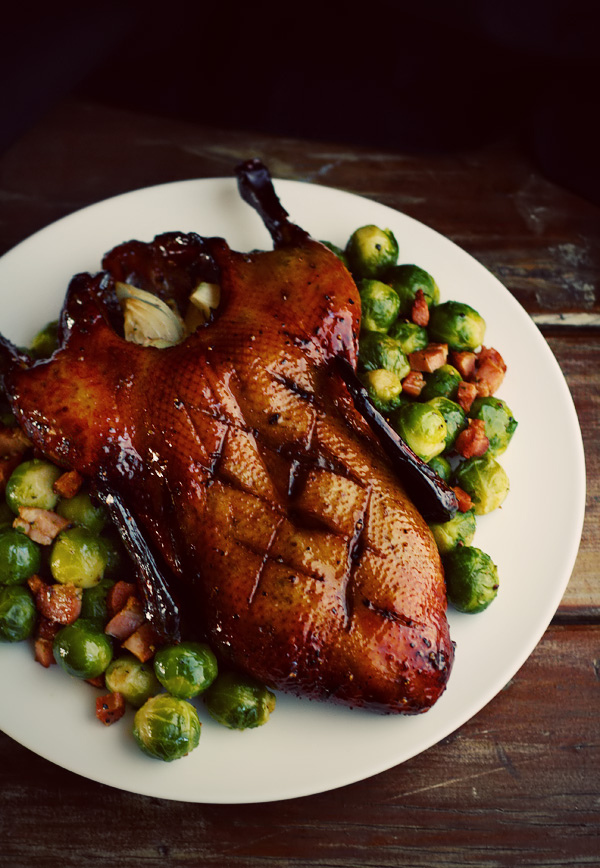
Make this Christmas extra special by serving up roast duck! We’ll take you through the whole process, step-by-step!
We just love roast duck, but unfortunately it’s one of those dishes people get insecure about when preparing. Have no fear, we’re going to show you the whole process, and you’ll be roasting your own in no time! Serve this duck with roasted brussels sprouts and potatoes, and you’ve got a meal fit for a king! Take a look at the recipe below and make it for your Christmas dinner this year!
 To roast the perfect duck it does take a few hours, but it’s incredibly easy to do. This method ensures a duck with crispy skin, moist meat, and no grease. If you’re wondering what to do with all the duck fat that will be leftover, here is a list of things you can use it for:
1) Duck fat goes great with potatoes. Add the duck fat to mashed potatoes instead of butter.
2) Rub it on chicken skin before roasting. It will give your chicken a bolder flavor.
3) Add it to roasted root vegetables, along with garlic, pepper, and salt.
Roasting the Duck
What you will need:
1) A whole Pekin duck that’s 5-6 lbs.
2) Salt
If you like, you can add a glaze to your duck. This one is sweet and spicy:
Sweet and Spicy Hot Roasted Duck Glaze:
1) 1/4 cup honey
2) 1/4 cup molasses
3) 3 tbsp orange juice
4) 1 tbsp soy sauce
5) 1 1/2 tbsp Sriracha chili sauce
Step #1:
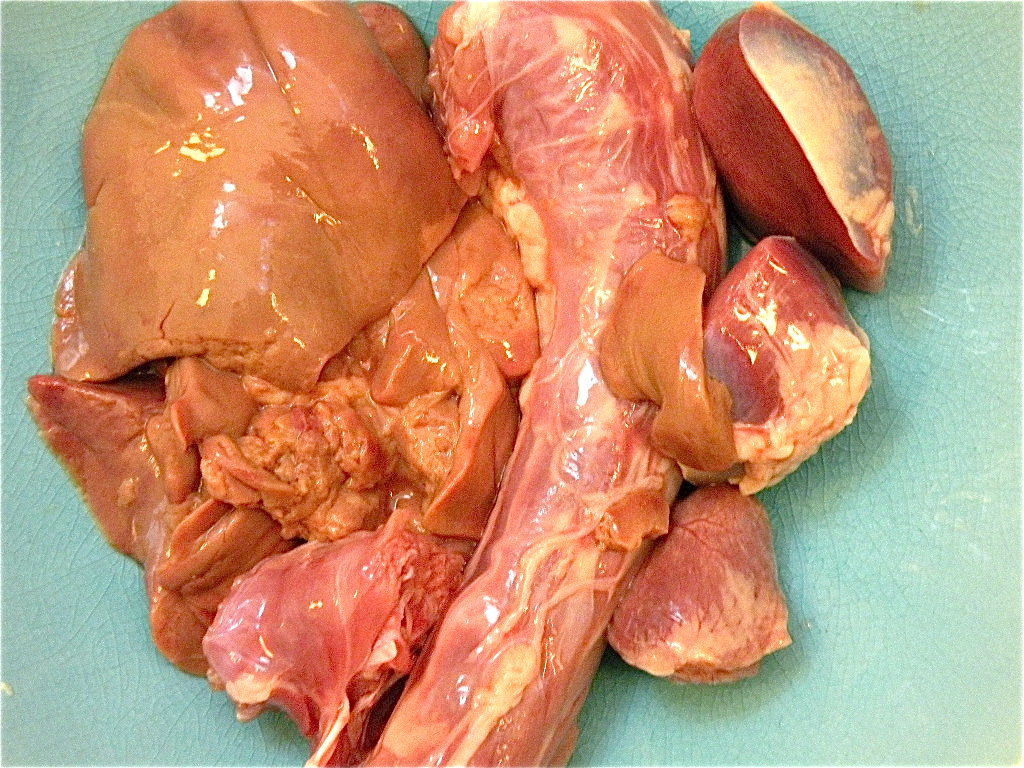
Take the duck out of it’s packaging and take out the innards. The innards will usually be wrapped in paper.
 You can freeze all the innards except the liver, and add them to the stock. The liver can be made into a pate by frying it with a little bit of butter, garlic, salt, and pepper. Mash the liver and spread it onto buttered toast. Yummy! If you aren’t sure which is the liver, it’s the brown thing on the top left of the photo below.
 Step #2:
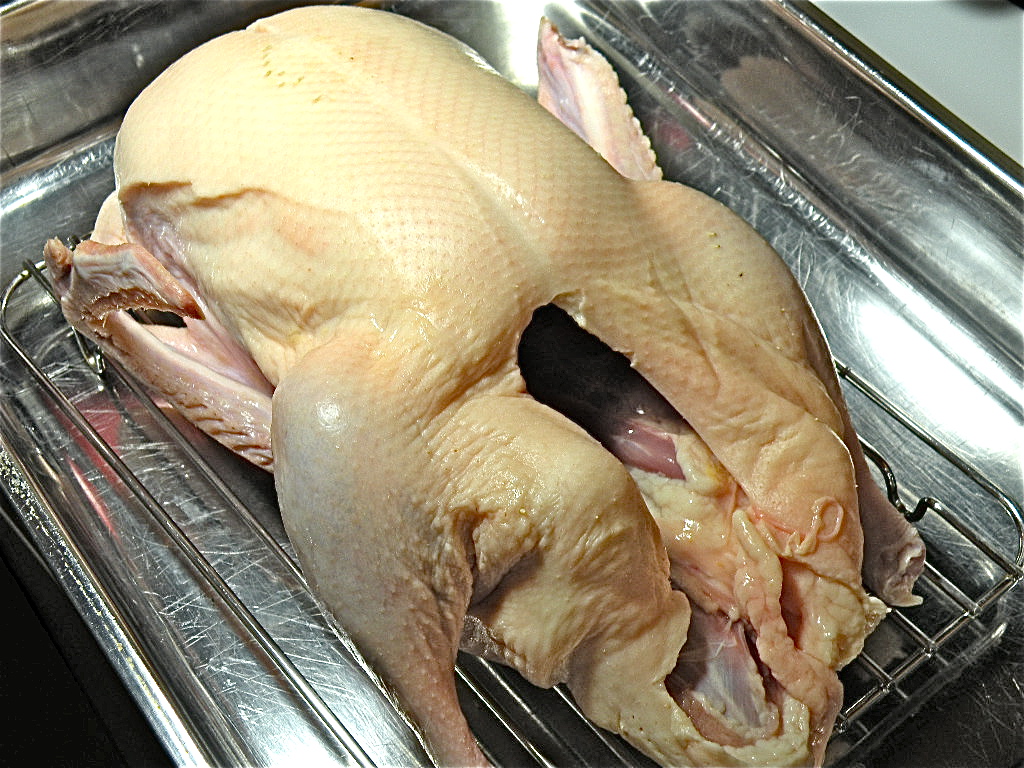
Preheat your oven to 300 F. Rinse your duck under cold water and pat it dry using paper towels. Place a rack in a deep roasting pan and place the duck on top. Sprinkle salt inside the cavity.
 Step #3:
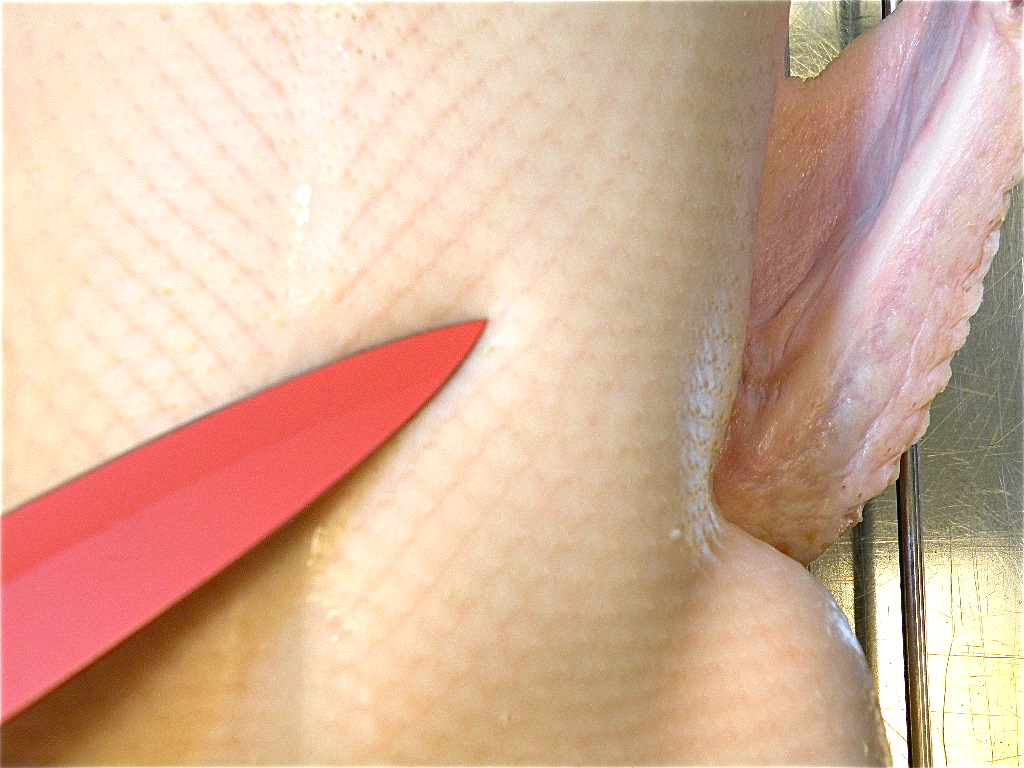
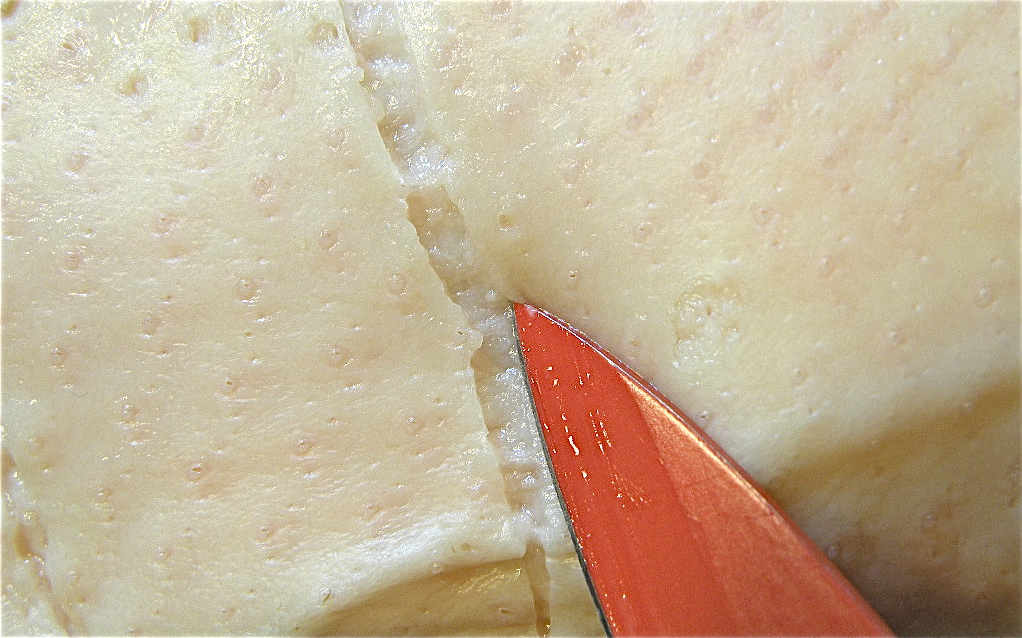
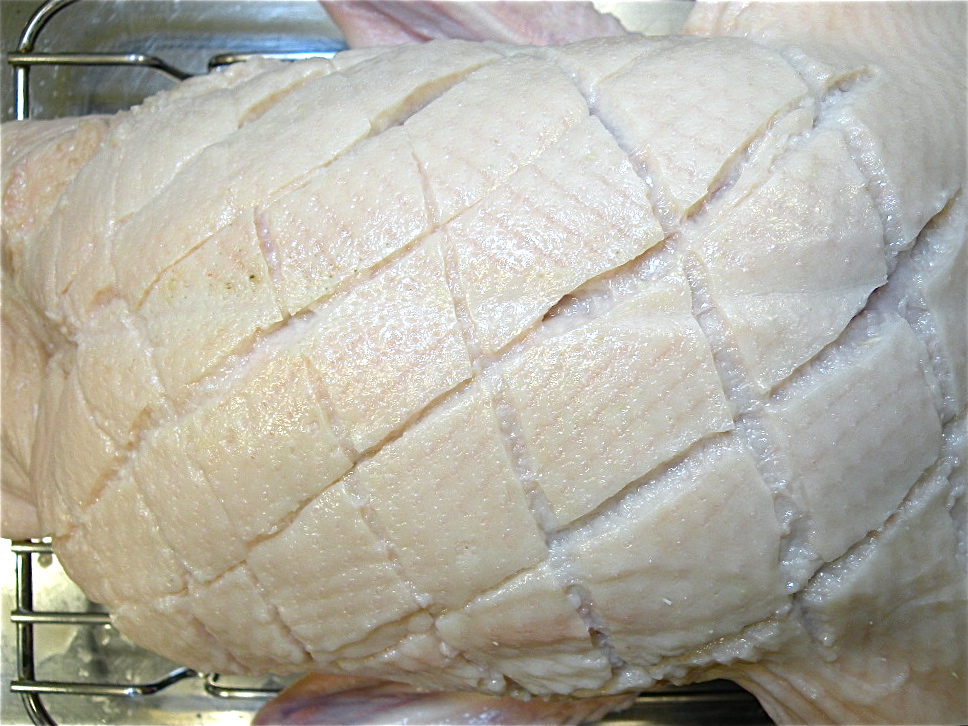
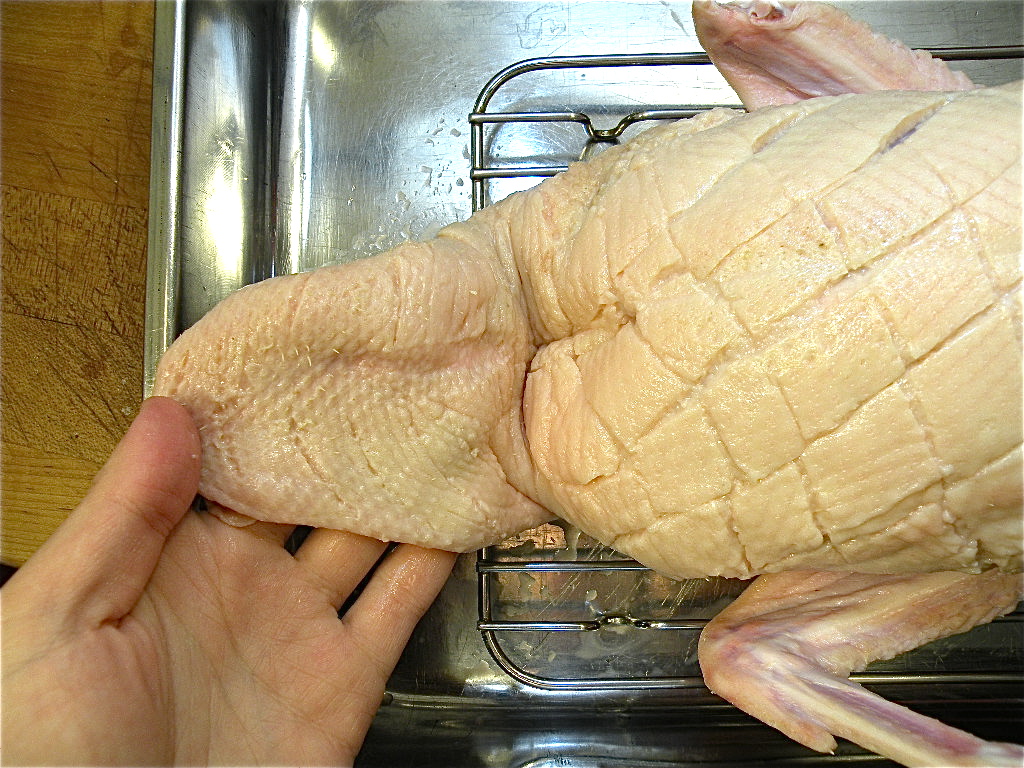
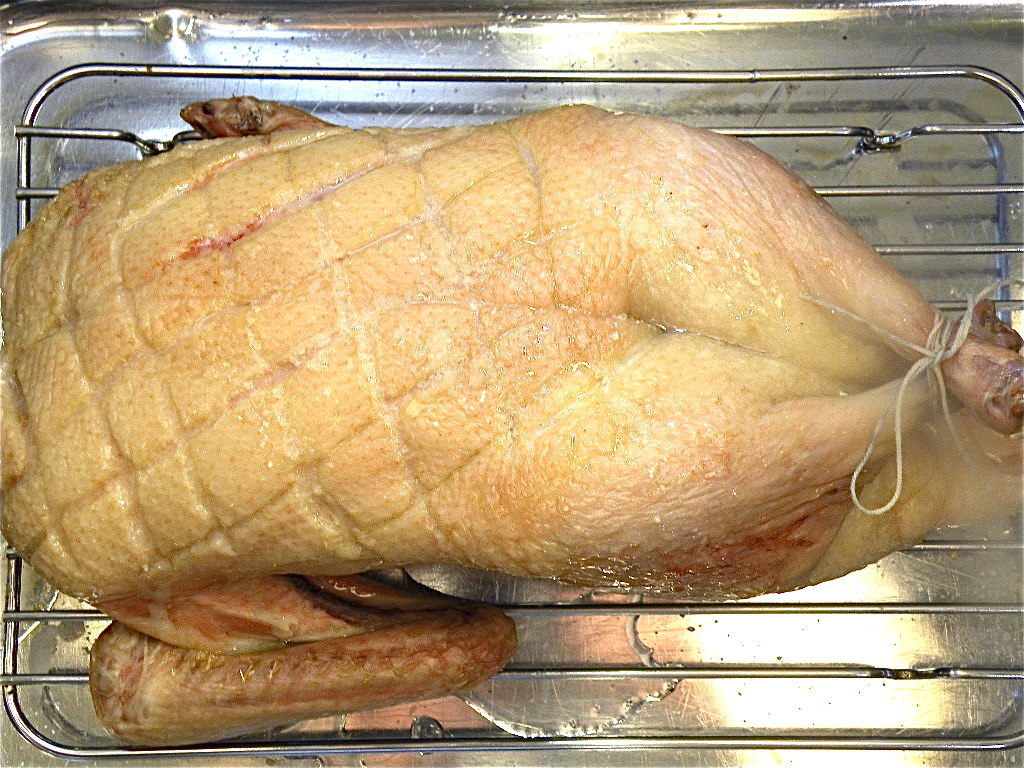
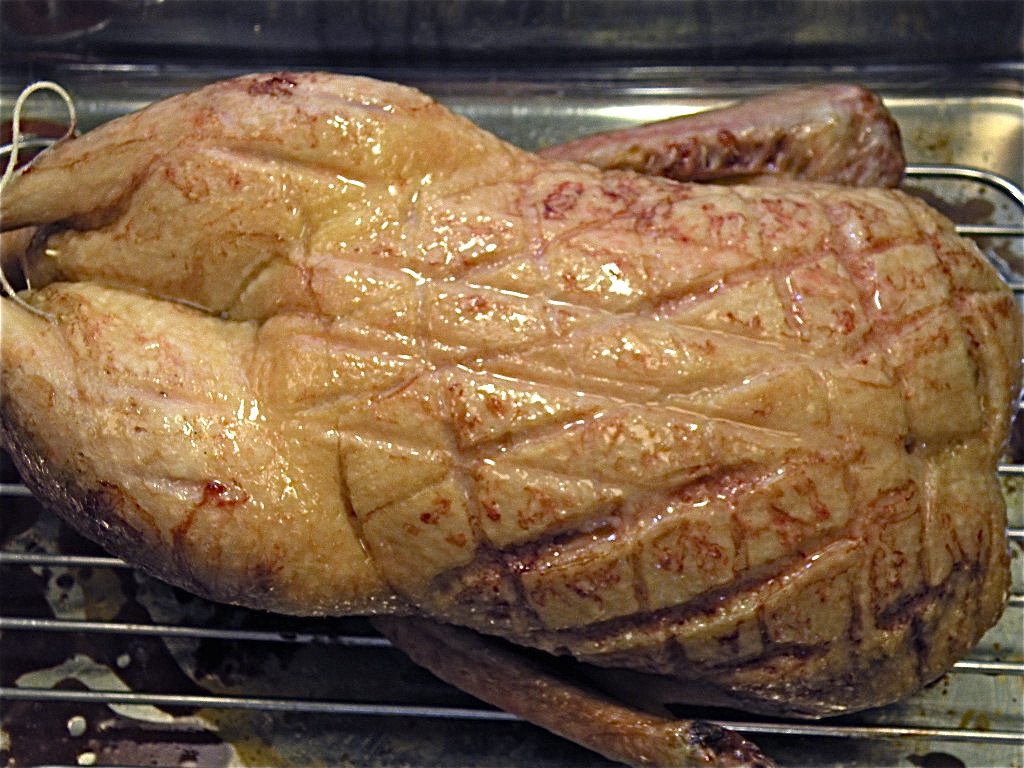
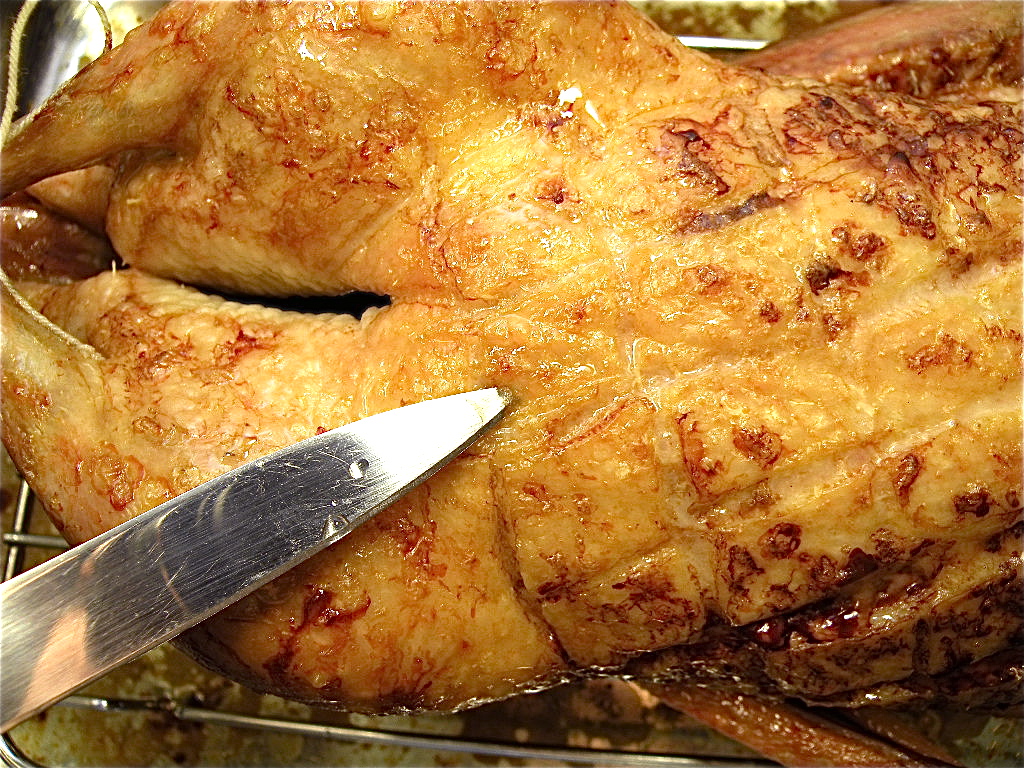
Using a sharp knife, score a diamond pattern into the duck’s skin on the breast. The key is to cut through most of the fat and not cut into the meat.
 Your duck should end up looking like this:
 Step #4:
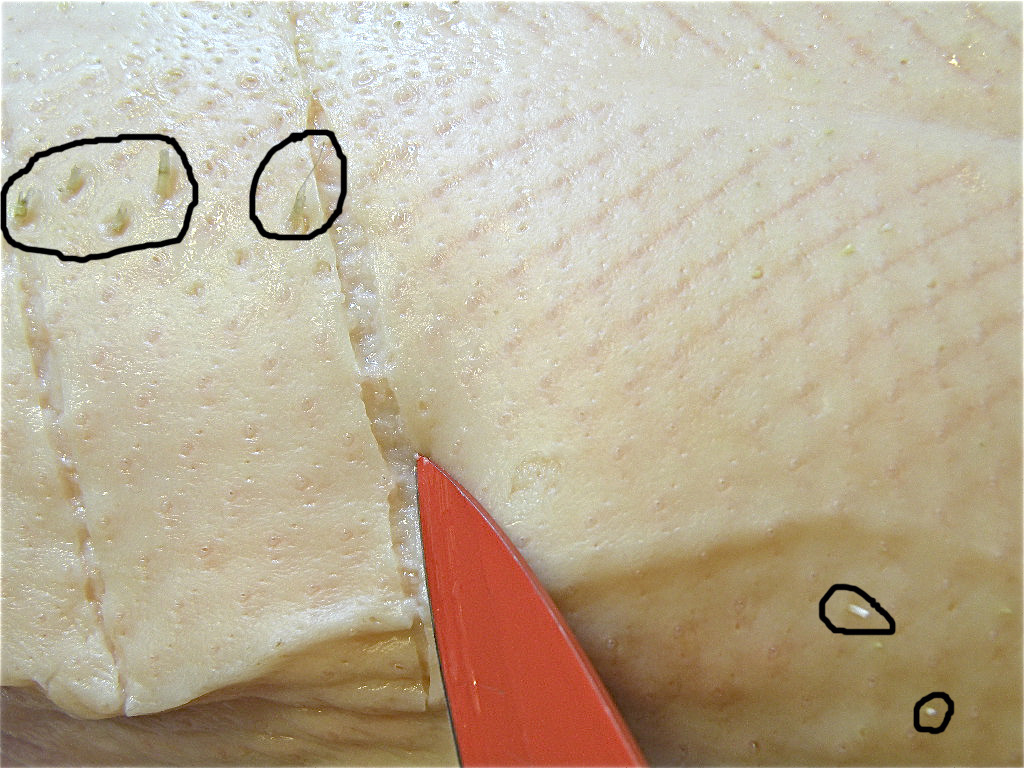
Your duck won’t have any quills, but sometimes there might be a few left. Take those out.
 Step #5:
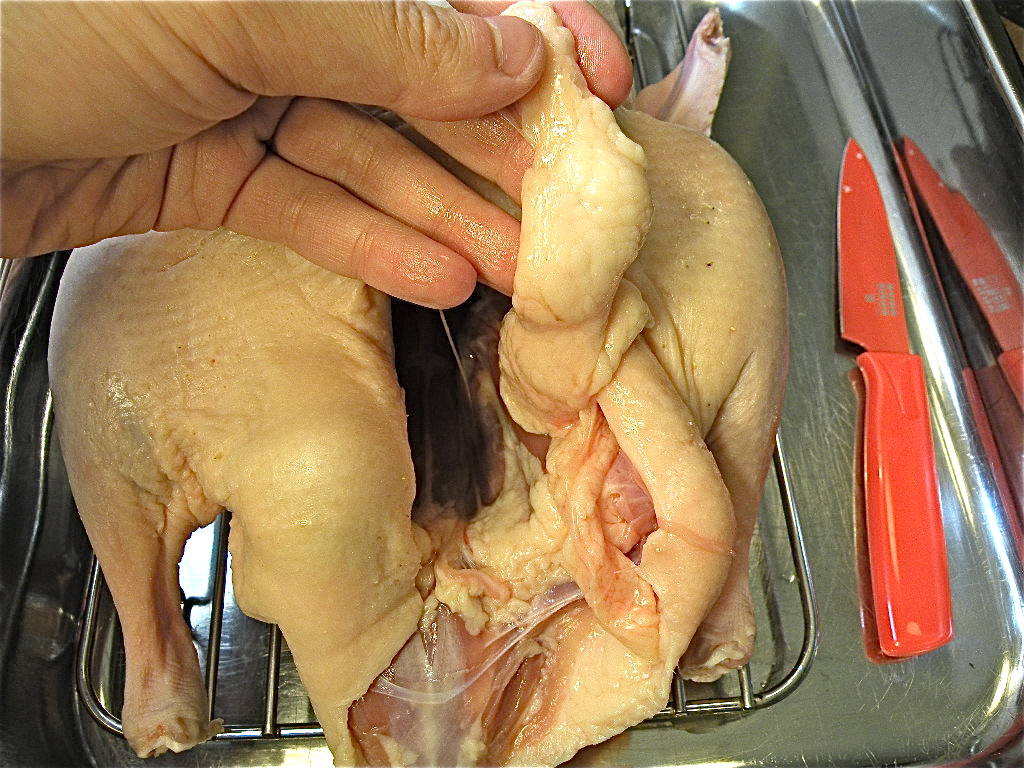
Cut off any excess skin that’s around your duck’s cavity. You can toss the skin, or you can keep it on if you want to get out as much fat out of your duck as possible.
 Step #6:
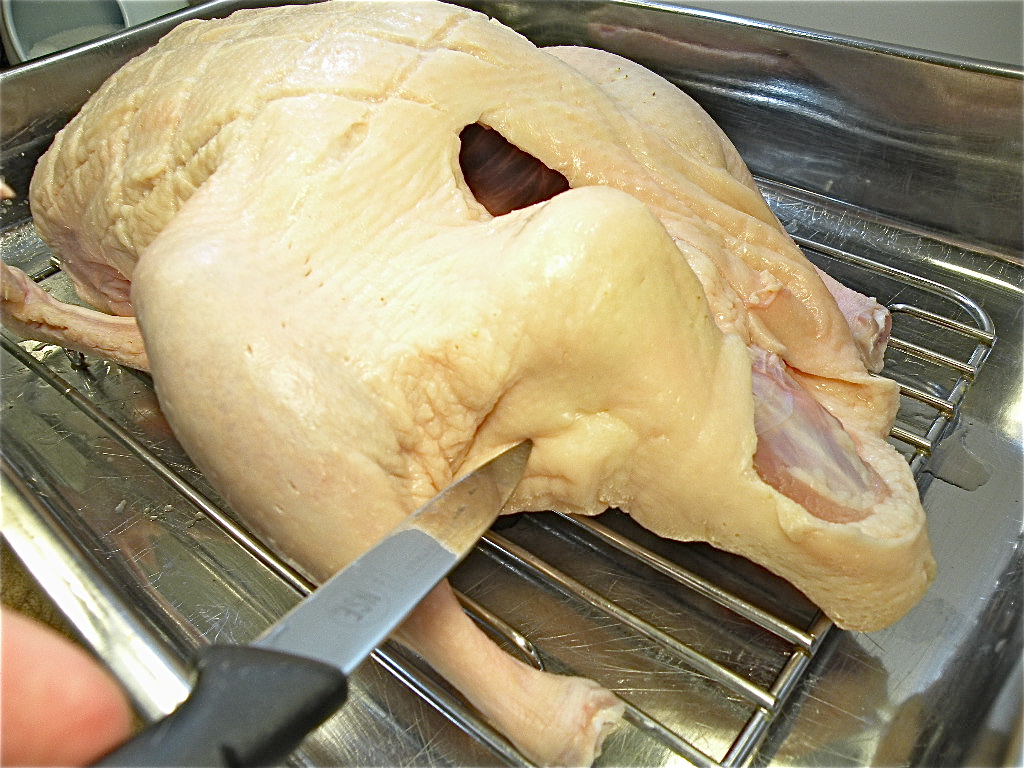
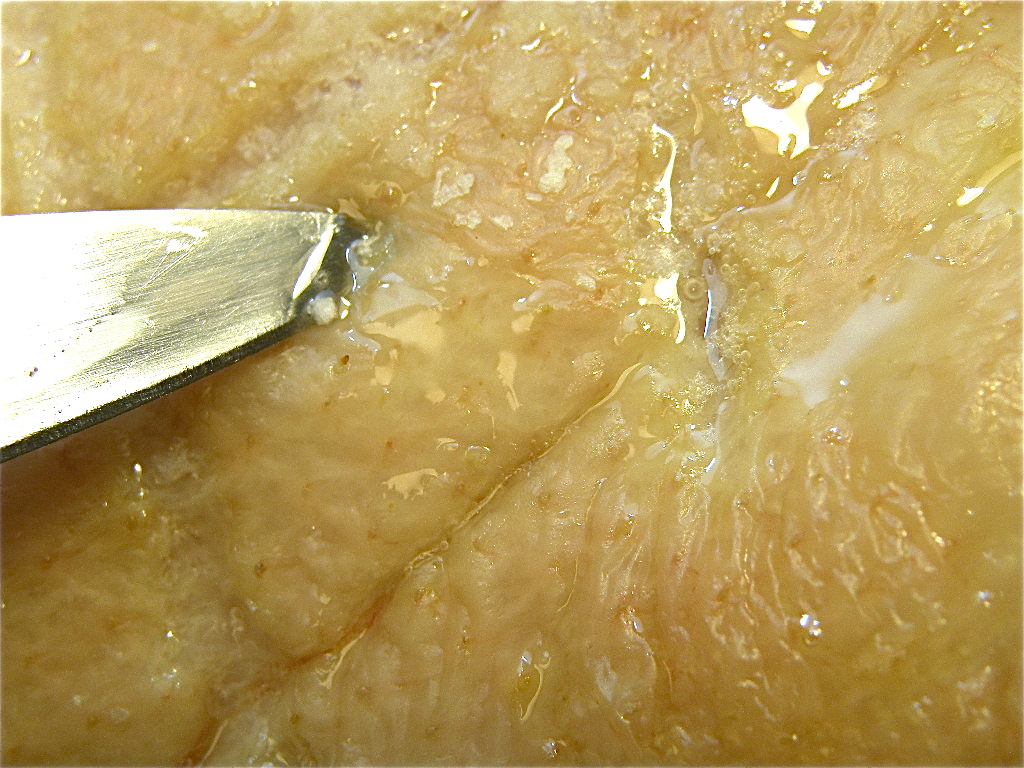
Prick the duck with a sharp knife all over. This will allow the fat to drain easily. The more fat the duck drains, the crispier the skin will be. When you’re pricking the skin, take care not to prick the meat.
 Step #7:
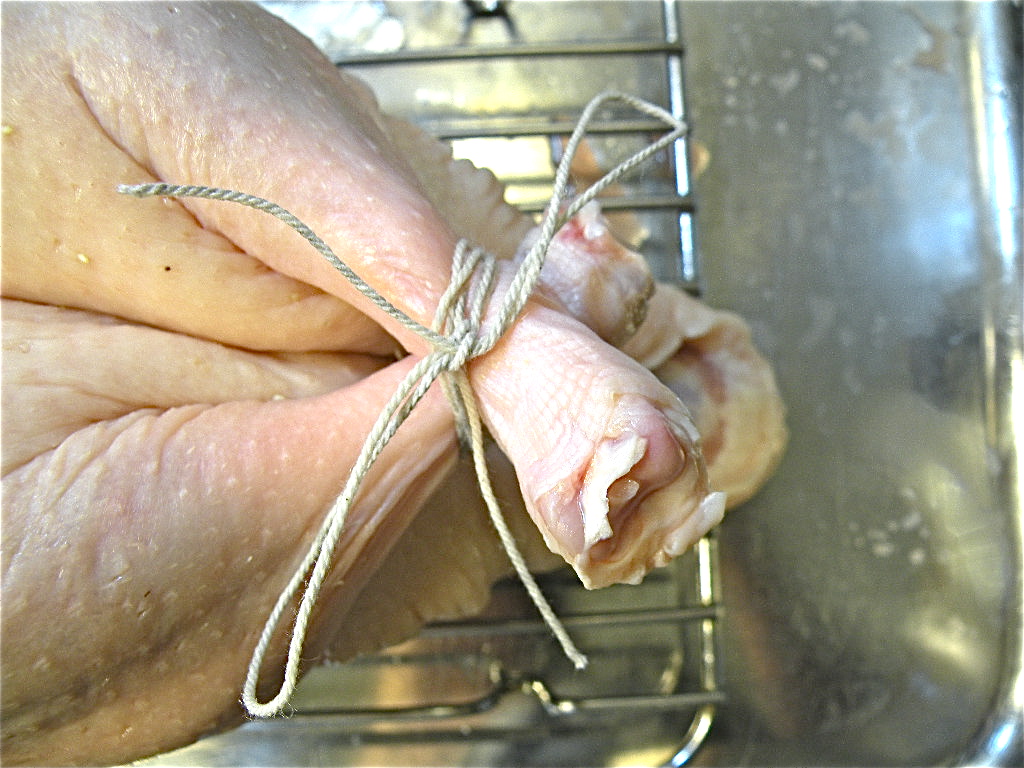
Tie the legs together using butcher’s twine.
 Step #8:
Fold the wings under the duck.
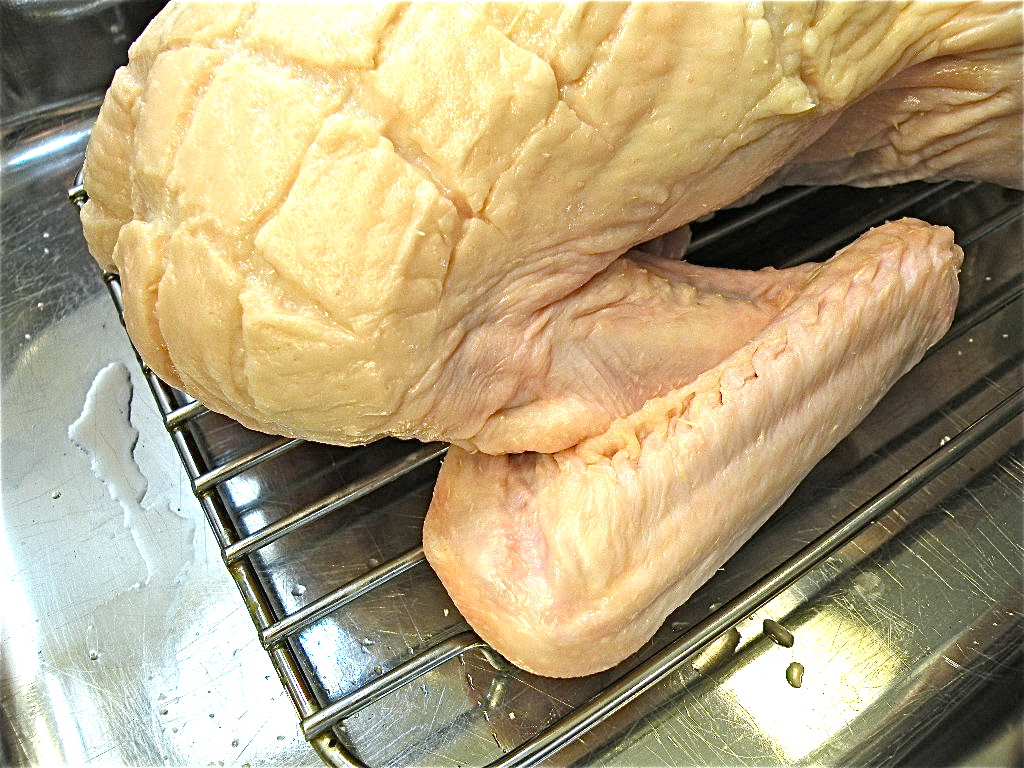 Step #9:
Sprinkle salt over the duck and place it into the oven.
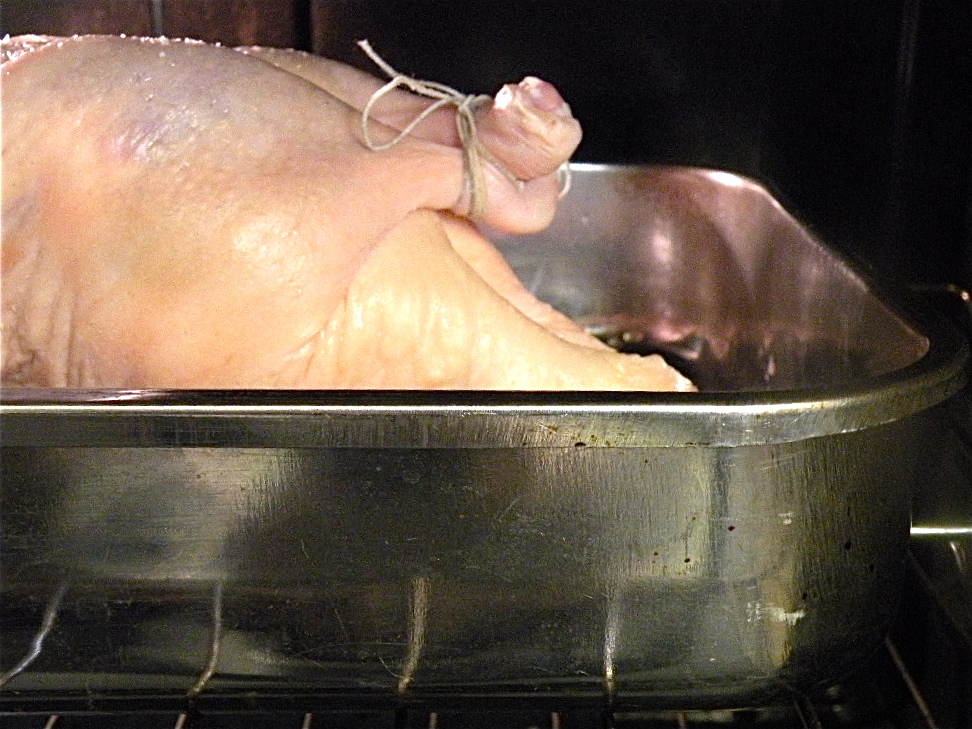 Step #10:
Allow the duck to roast for 1 hour. When the hour is up, take the duck out of the oven. The skin will still be pale, and only slightly crisp. Pierce the skin again with a knife and you should see more fat drip out. Make sure to poke extra well around the legs, since that’s where a lot of the fat is. Flip the duck over, so that it’s breast-side down. Place the duck back into the oven and roast it for another hour.
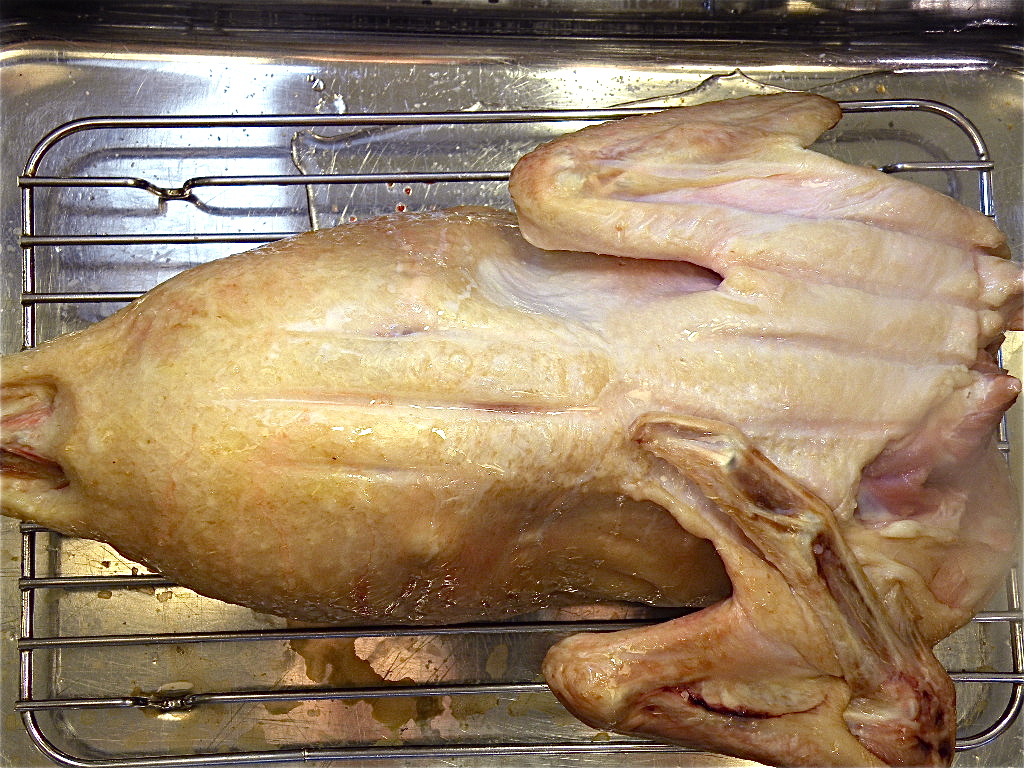 Step #11:
When the second hour is up, take the duck out of the oven again. The skin will be more brown this time. Prick the skin all over again and flip the duck so that it’s breast-side up. Place the duck back into the oven and roast it for another hour.
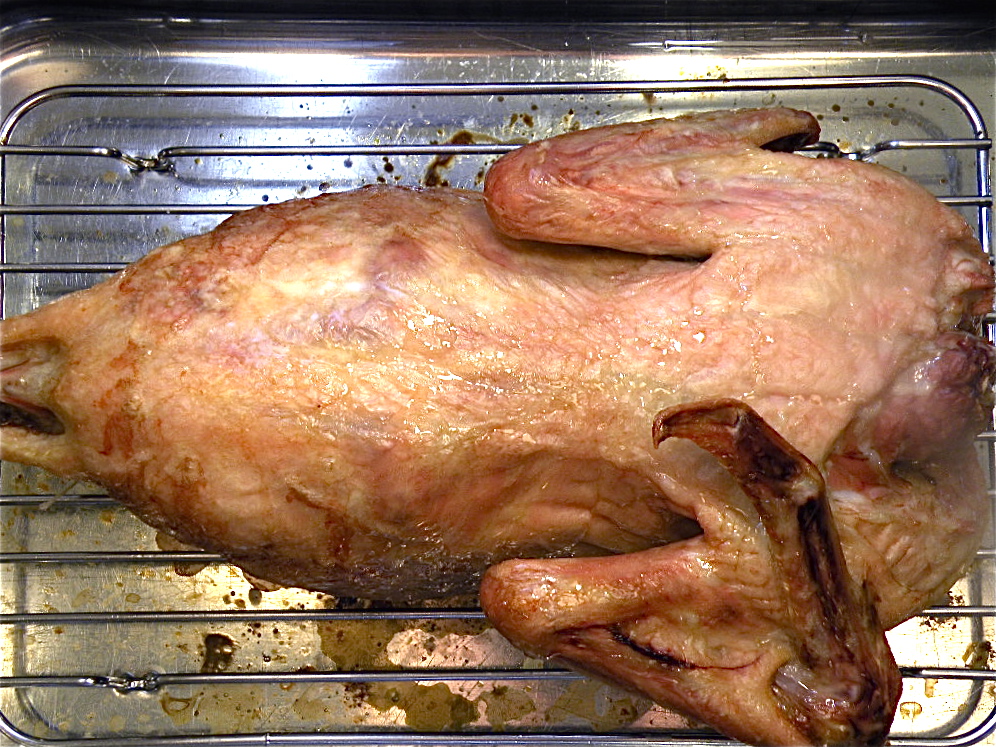
 Step #12:
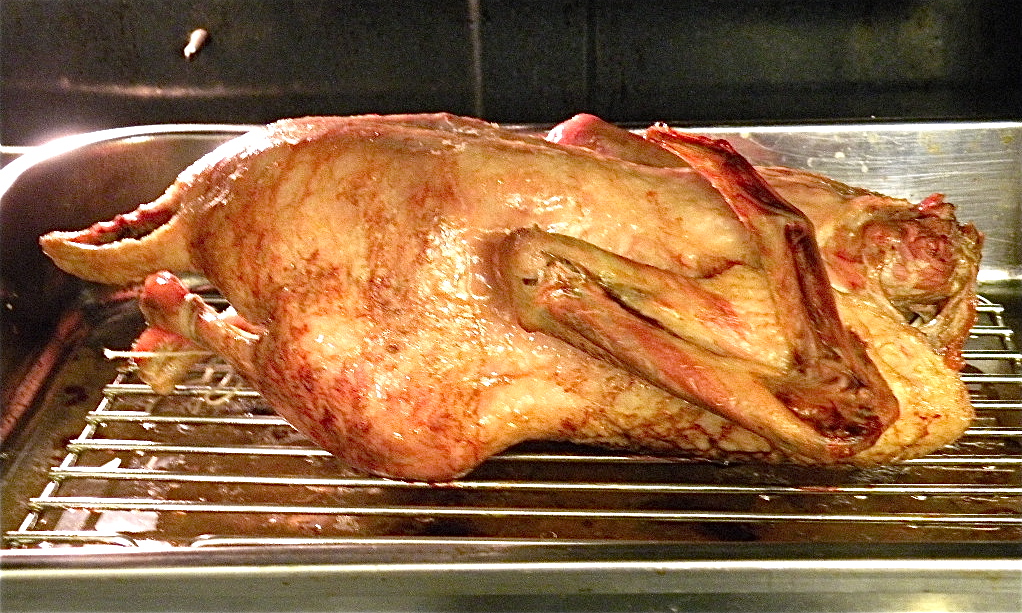
When the third hour is up, take the duck out of the oven. The duck should be browner, and the skin crispy. Prick the skin and flip the duck so that it’s breast side down.
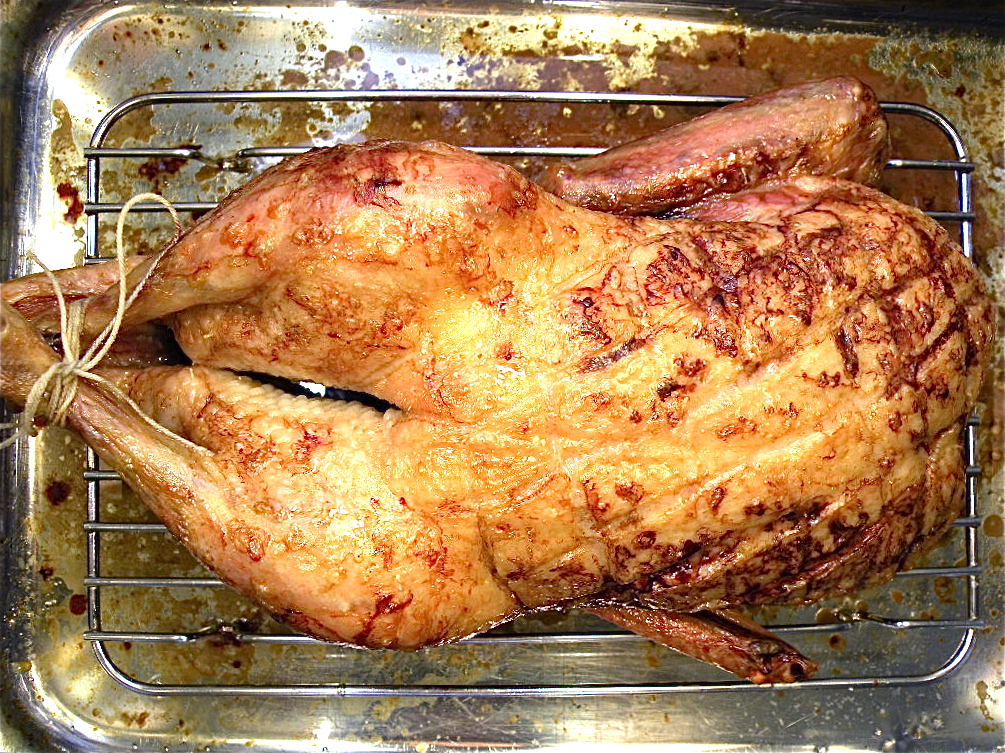
 Step #13:
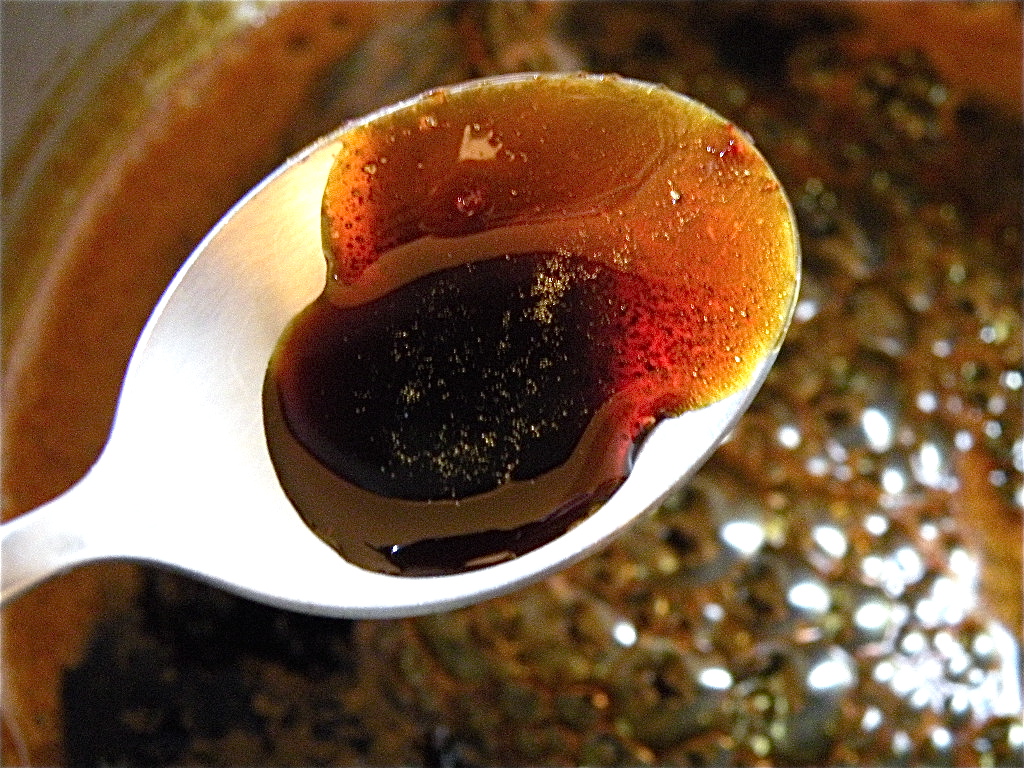
In the last hour while the duck is roasting, it’s time to make the glaze. In a saucepan, add honey, molasses, orange juice, soy sauce, and hot sauce. Mix well and bring to a simmer. Whisk the mixture constantly on medium-high heat. It will become thick. Set your glaze aside until your duck is finished.
 Step #14:
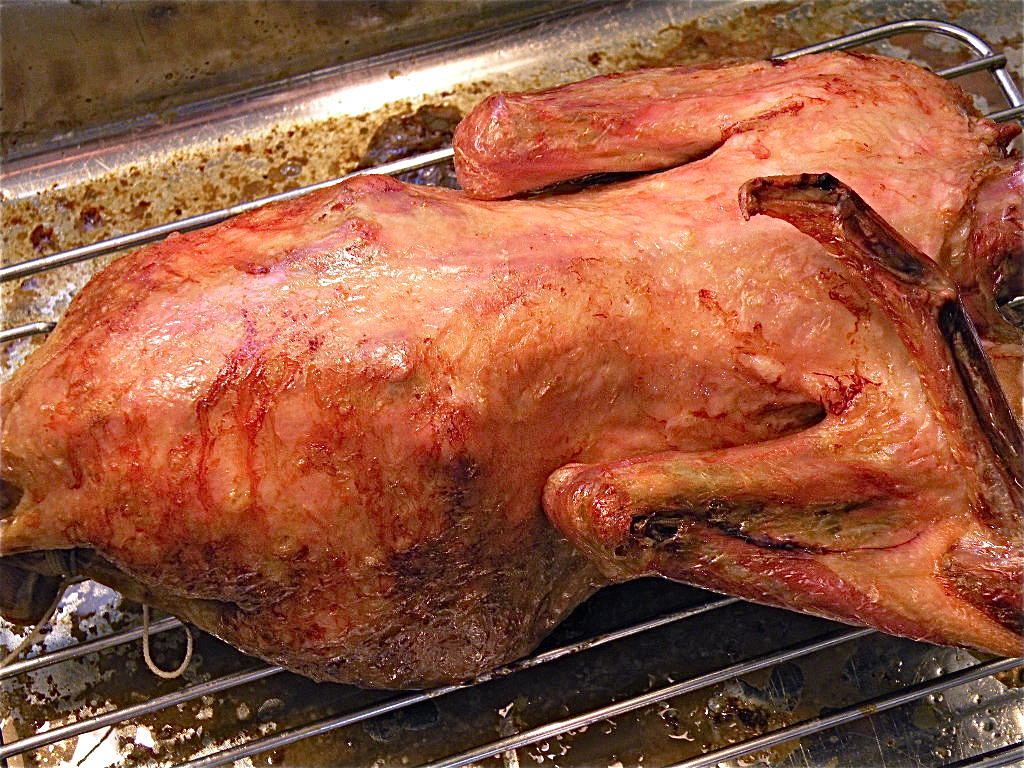
When the fourth hour is up, take the duck out of the oven and turn up the heat on your oven to 400 F. The duck should look like this:
 Step #15:
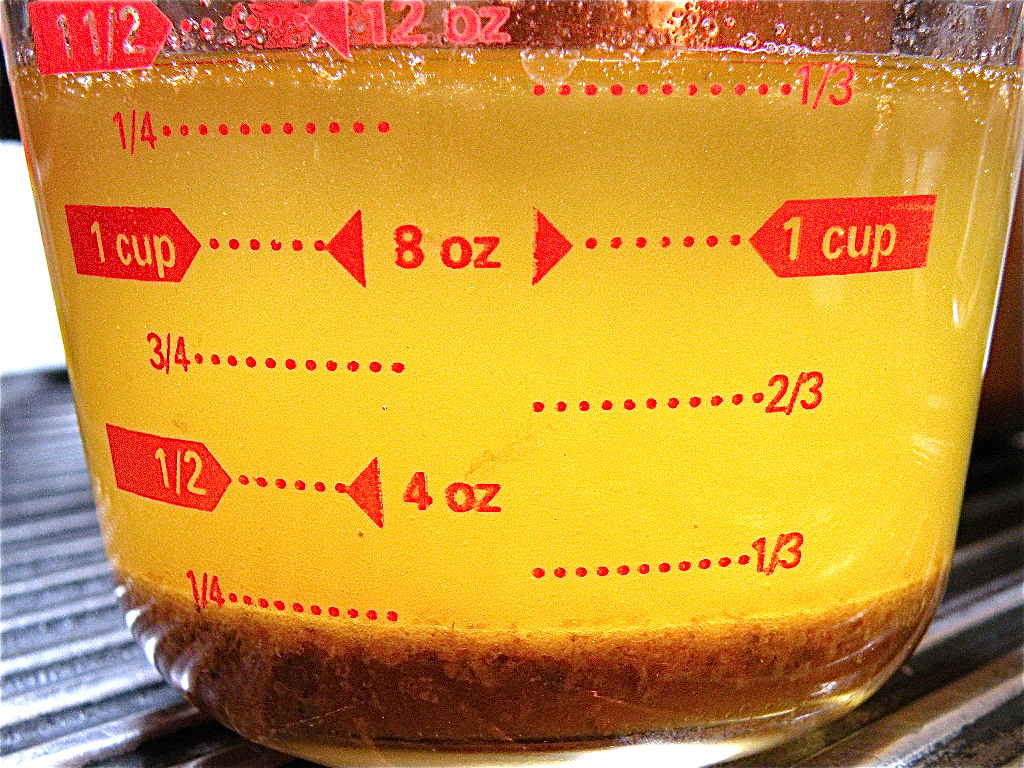
If you want to save the duck fat, take it out of the pan now. Take the duck rack out and pour the duck fat into a container. Do this before glazing the duck.
 Step #16:
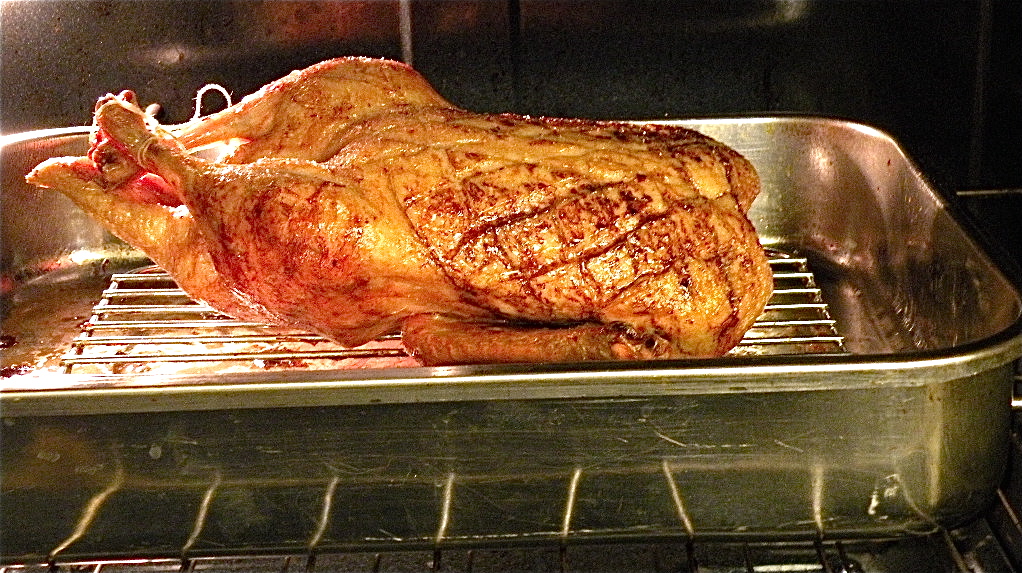
Put the duck rack back in the pan. Flip the duck over so that it’s breast-side up. When the oven heats up to 400 F, place the duck back into the oven for around 10 minutes. This will help the skin crisp up more.
 Step #17:
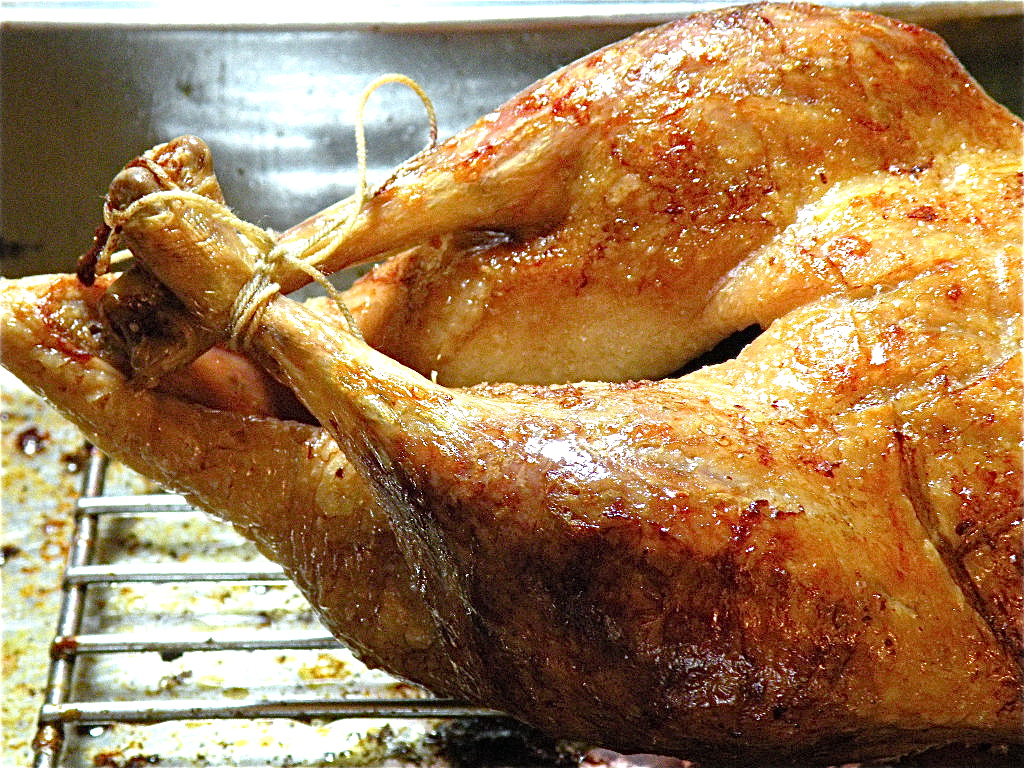
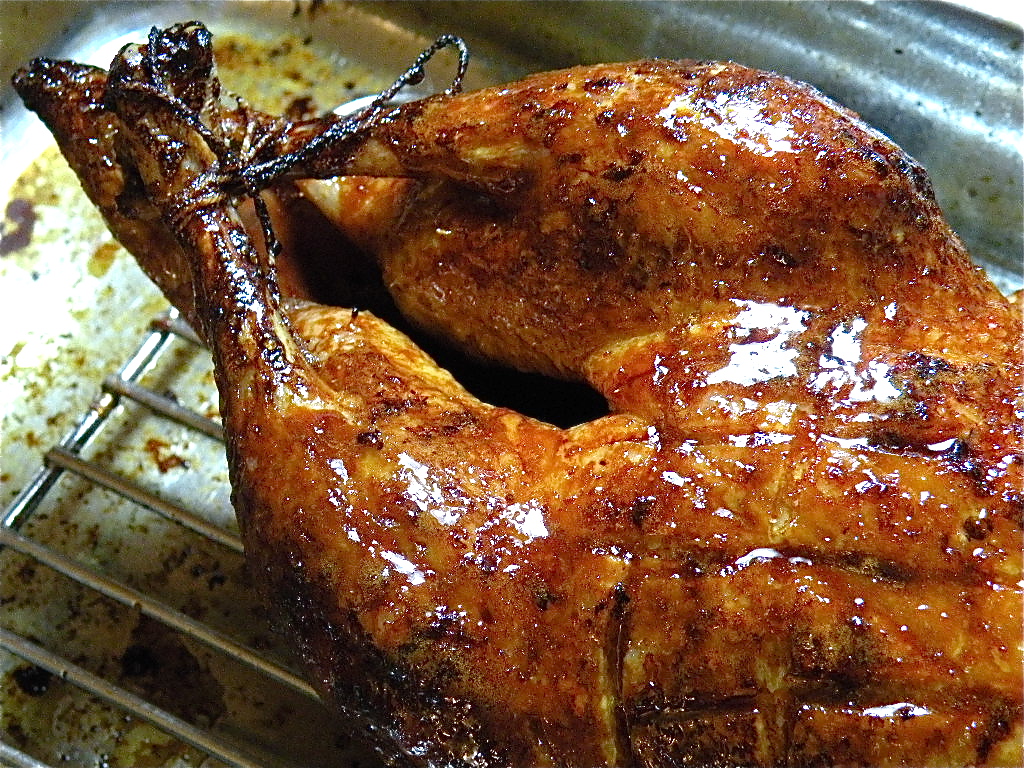
When the 10 minutes are up, take the pan out of the oven. The skin of the duck should be crisp and brown like this:
 Step #18:
Brush the glaze onto the duck until it’s covered completely. Place the duck back into the oven for 5-7 minutes.
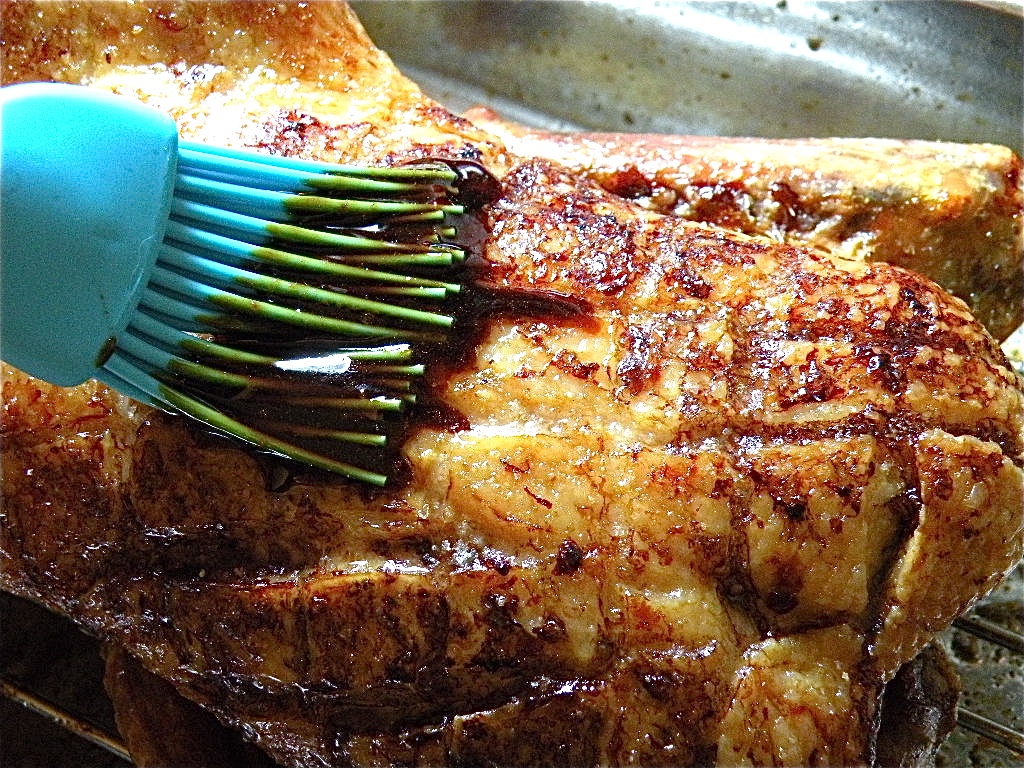
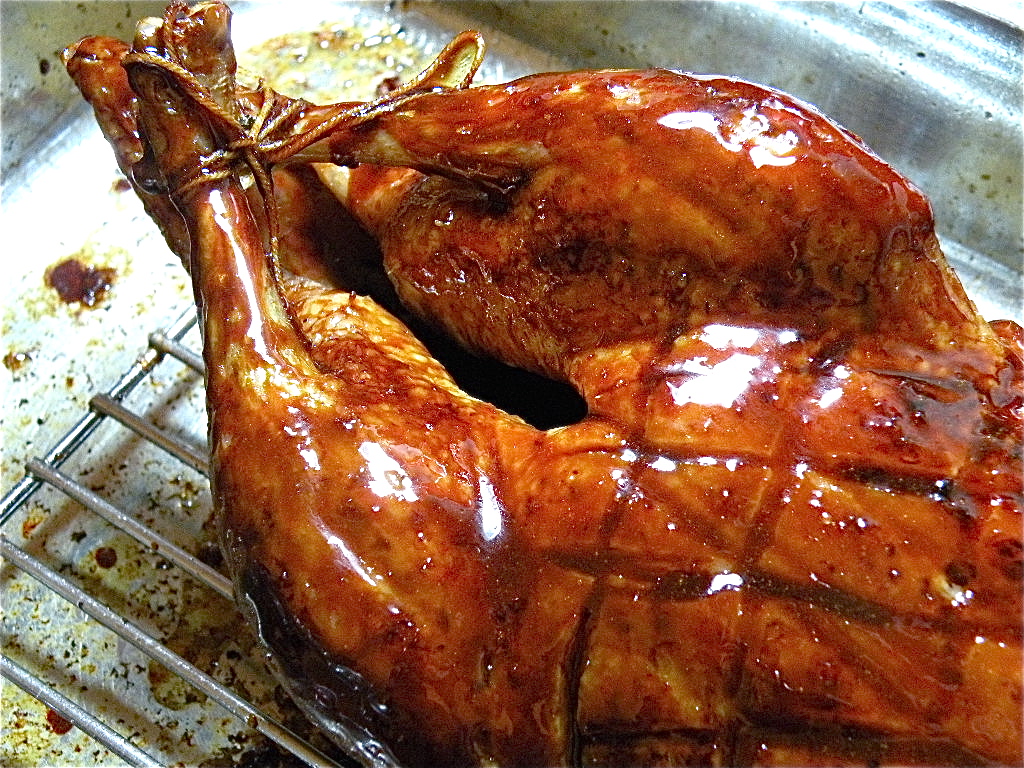 When the duck is finished, it should look like this:
 Step #19:
Allow the duck to rest for 10 minutes, then cut and serve. Enjoy!
 Photos: Jemma Watts, Citrus and Candy, The Hungry Mouse.





Leave a Comment