Repairing Eaves and Overhangs
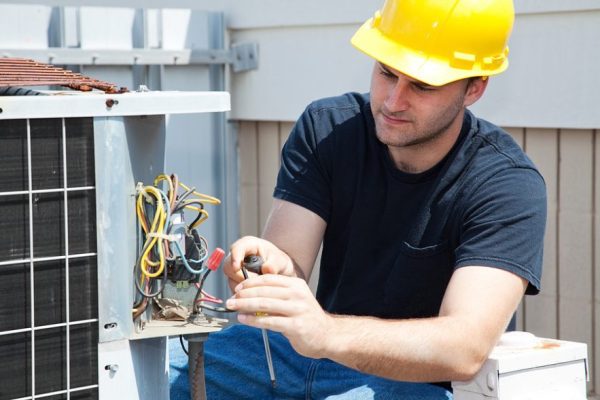
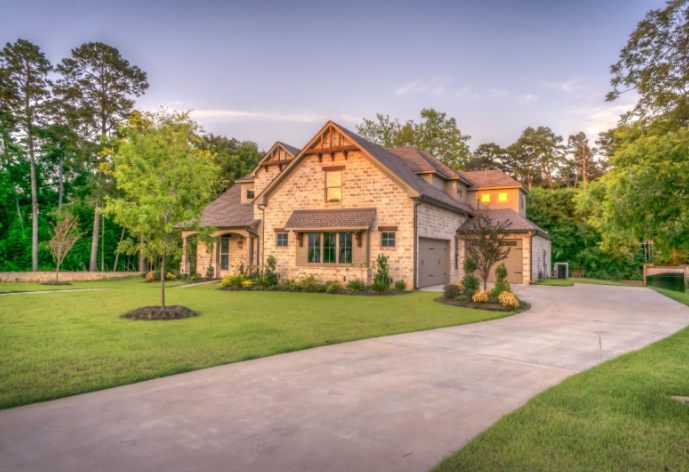
Roofs play a critical role in buildings, so they must be of high quality, made of durable materials, and well-maintained from the start. You won’t make a mistake if you leave roof installation to professionals because they have the necessary skills, experience, and tools. Also, skilled roofers can handle all repairs on these complex structures on top of your house.
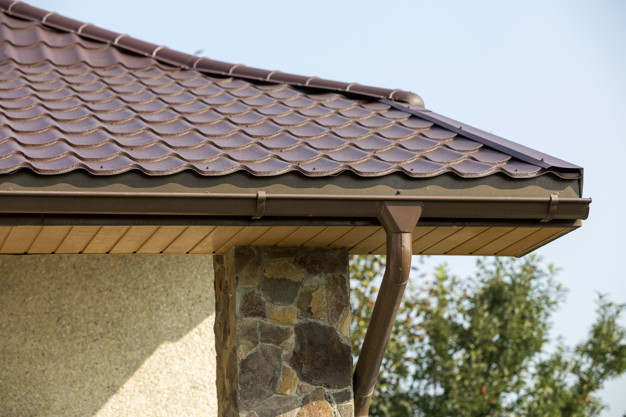
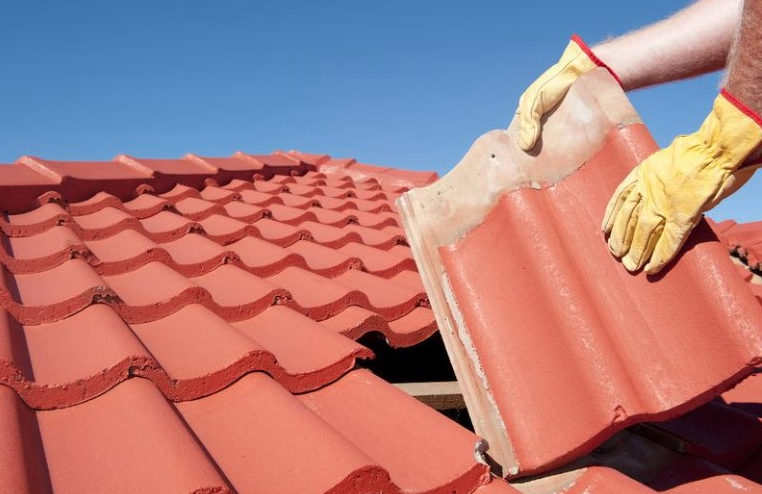
Although hiring roofing experts is always a good option, especially if you don’t have time, there are also some roof repairs you can handle yourself. These are problems caused by water damage, most often on eaves and overhangs. These protruding parts of your roof protect the walls from water and therefore suffer additional exposure to the elements.
Tips for Repairing Roof Eaves & Overhangs
On eaves and overhangs, material deterioration occurs most often due to a lack of airflow, a large amount of water that has entered the structure, the rot spread, or bird and pest nesting. It may seem like a severe problem, but eave repair is actually a simple DIY project you can handle alone.
Checking for Leaks
The first step before starting a DIY roof repair is to really make sure it’s necessary. Some telltale signs clearly indicate a problem with the eaves and overhangs. These can be visible leaks and moisture traces, missing or damaged soffits, cracking, curling, and noticeable gaps through which insects, birds, or small rodents enter.
If you notice one or more of these signs, it’s clear that it’s time for roof repair. However, before you begin, you have to inspect the damaged parts and safely remove the pest or bug nests first. If you have noticed or suspect that hornets or wasps are nesting there, it’s best to call exterminators.
Provide Access to the Damaged Part
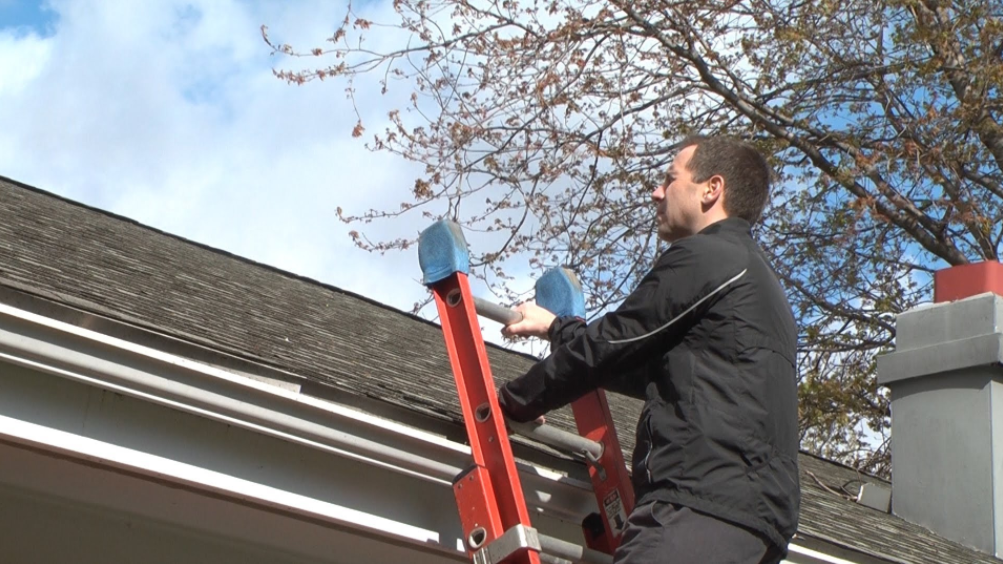
The good thing about this DIY roof repair is that you can do it without climbing on the roof. Of course, you’ll need a ladder to reach overhangs and provide safe and unhindered access to damaged eaves. Make sure to place ladders on a flat surface and get a helper to hold them while you do the work.
In this step, you should remove the gutters, nails, fasteners, and rack mold. The latter is an overhanging element that holds and strengthens the shingles, giving a finishing touch to your roof. For this job, you will need a flat bar. Gently pull it under this rack and separate it using the lever principle.
If the physics doesn’t help, try prying off the shingle rack with a utility knife instead of a flat bar. Apply constant but not too much force. If the rack doesn’t break but splits from the roof, you can use it again. But if it’s rotten and visibly damaged, replace it.
Remove Fascia
After removing the shingle rack, you can assess the condition of the fascia. This supporting structure performs an important function for shingle and guttering stability. If it’s damaged, now is the time to replace it. If it’s not damaged, leave the board for later.
For this step, you also need a flat bar, and by the same principle as in the previous step, separate the fascia board from the rest of the roof. If a part of the fascia happens to be damaged or broken, remove it.
It’s advisable to prepare the new board before you start the repair so that it can dry before installation. It doesn’t have to be wooden because you can make new eaves from PVC, fiber cement, aluminum, or galvanized steel. See the comparison of these materials on this web source.
Get the Soffit Away
Soffits cover the undersides of the eaves. They are often in the worst condition since they retain water, so don’t be surprised if these boards fall apart at the slightest touch. Remove anything that seems damaged. Also, here you’ll often find a lot of bugs, termites, and various other creatures that have found their home on your eaves.
At this point, it’s a good idea to wear protective gloves and goggles so that pieces of wooden boards don’t hurt you. In case the roof soffit pieces are damaged, measure their gap dimensions so that you can cut the appropriate plywood pieces for the new soffits.
In case the rot has spread to the rafters (beams that make up the main structure of the roof), but not too much, grab a reciprocating saw and cut out the damaged parts. Use them as molds to make a new one from pressure-treated lumber. Inspect the rest of the beam to make sure that the damage is not greater. If multiple rafters are damaged, remove and replace them one at a time to avoid roof instability.
Install New Parts
Pay a lot of attention to the rafter installation because these roof parts must be completely stable to support the new eaves. Tighten the replacement rafter piece to the rest of the structure. Use clamps and wood screws to hold everything in place. Fasten the screws and move to another section.
After you finish with the rafters, you have to install new soffits. Before that, it is important to apply wax-based sealant or wood putty on all the edges. That’ll prevent water penetration and further damage. Then put these new boards in place, and add more sealant, just in case.
Let everything dry, then put the fascia back. Tighten it with nails and add another layer of sealant. The final step is to put the shingle mold back and, eventually, repaint them. After they’re completely dry, in just a couple of hours, you’ve fixed the entire eave. On the following website, find helpful tips on conducting DIY roofing repairs.
DIY roof repairs can help you save the time and money instead of waiting for an available roofer. You can solve some minor damage with basic tools and no previous roofing experience. So if you’ve spotted a damaged eave or overhang, take matters into your own hands and repair your roof quickly and easily.