Give Your Old Birdbath a Makeover This Spring Using Old DVDs!
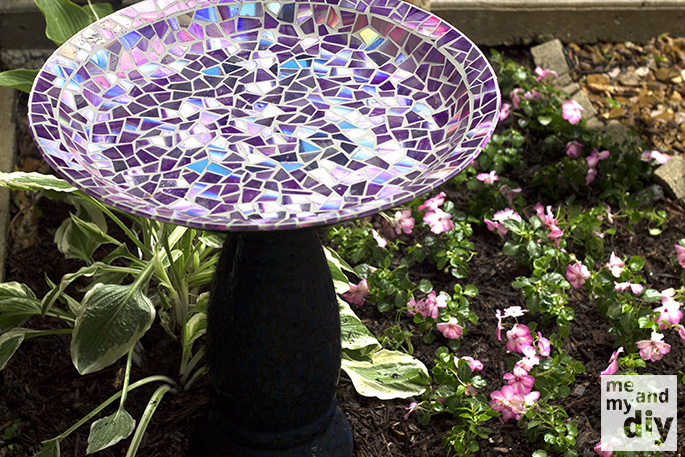
Spring is coming up soon, so get ready early by revamping your old birdbath using old DVDs!
If you’re looking for the perfect centerpiece for your garden this spring, this disco birdbath is for you! Revamp that broken birdbath that’s been collecting dust in your garage with this easy facelift! Don’t have a birdbath? Build your own out of terracotta pots! We’re loving this easy tutorial from Patricia’s Pots, which takes you through the whole process, step-by-step. Give your feathered friends their own place to party (and recycle in the process!) by getting started on this awesome birdbath today!
 What you will need:
– An old birdbath or a birdbath made from terracotta pots
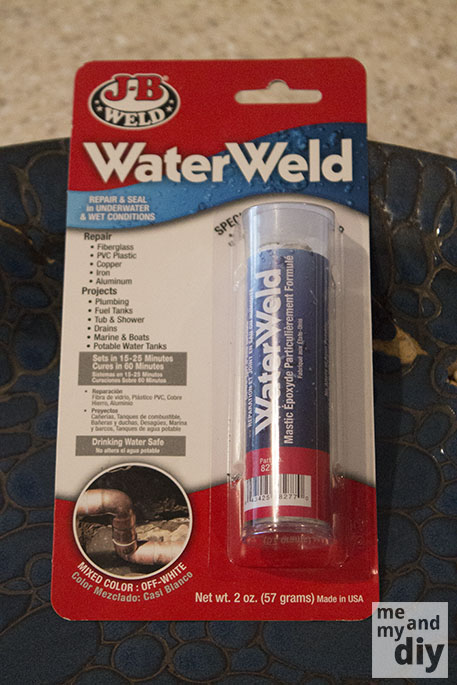
– Water Weld (just in case your old birdbath has any cracks)
– Old DVDs
– Clear spray paint
– Liquid Nails Clear Seal glue
– Mapei Keracolor Sanded Grout with Polymer with Grout Boost mixed in
– An old spatula
– Damp rag
– An old butter knife
– Sandpaper
– Scissors
Step #1:
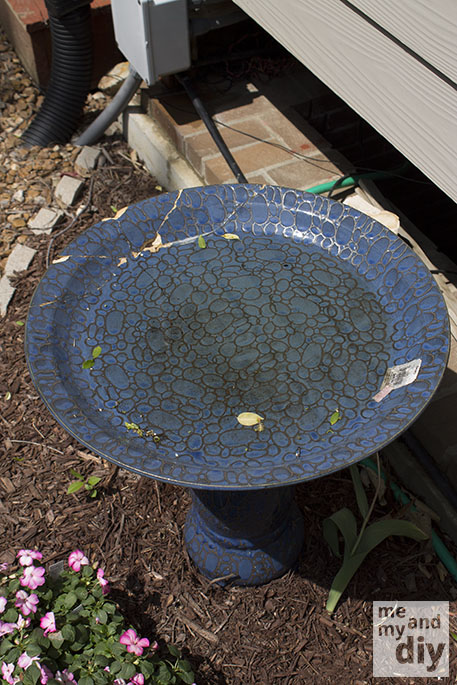
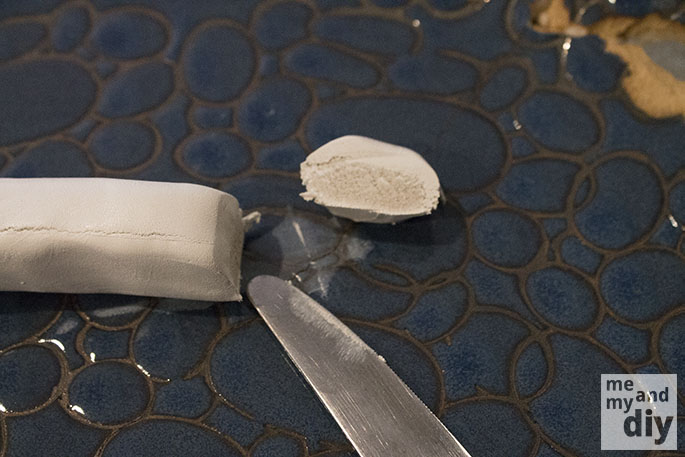
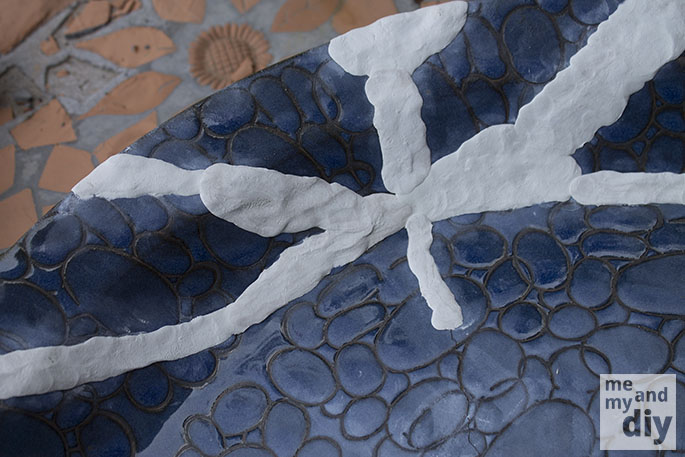
If your old birdbath has any cracks in it, you need to fill them in. Water Weld is perfect for the job since it repairs and seals cracks that are going to be wet or underwater. It’s also drinking water safe, which makes it perfect for the birds! Take the Water Weld (it comes in a tube of clay) and kneed it together well. Take your old butter knife and slice the Water Weld into smaller pieces.
 Step #2:
Smooth the Water Weld over the cracks using the butter knife, making sure to push it into the cracks well. Leave the Water Weld to sit for 60 minutes.
 Step #3:
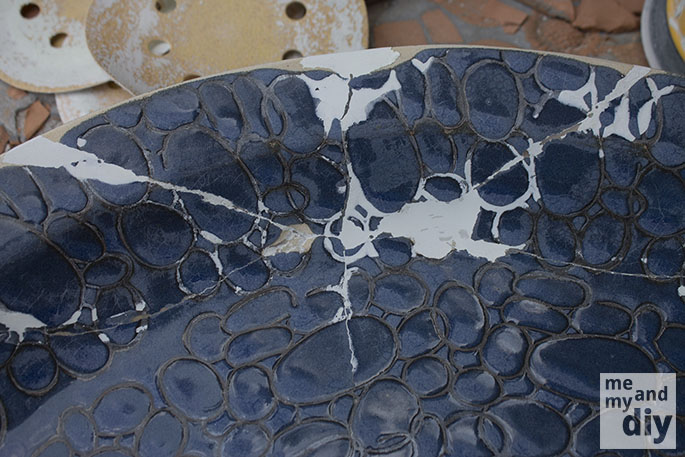
Take the sandpaper and sand down the Water Weld until the surface is smooth.
 Step #4:
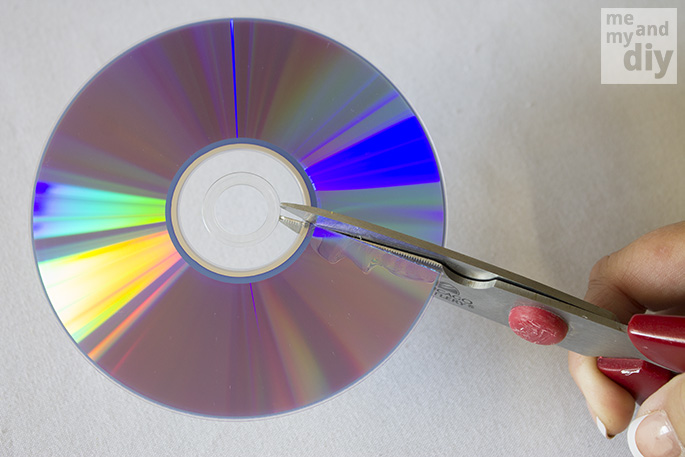
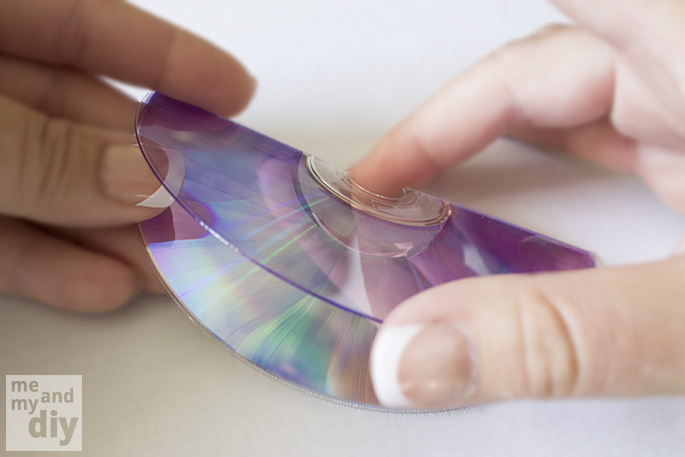
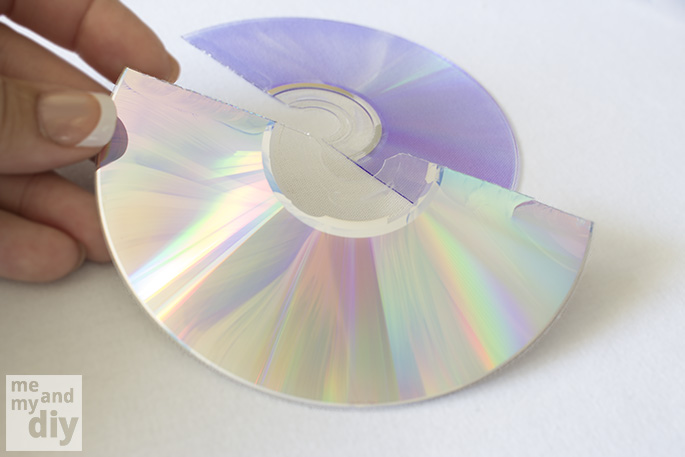
Now you’re ready to decorate! Since DVDs are made up of two layers, you’ll need to separate them in order to get to the nice shiny side that’s inside. Take the DVD and make two cuts. Cut from the outer edge to the middle, and repeat the same process on the other side. You should now have two halves. Run your fingertip around the edges to loosen the layers. Separate the layers and you will be left with a thin, shimmery layer you can use for decorating your birdbath.
 Step #5:
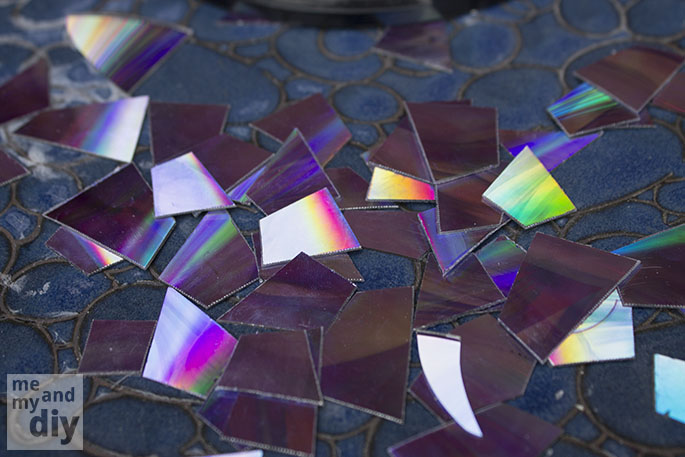
Cut the silvery part you saved into small pieces. This birdbath needed about 20 DVDs worth of pieces to cover it completely.
 Step #6:
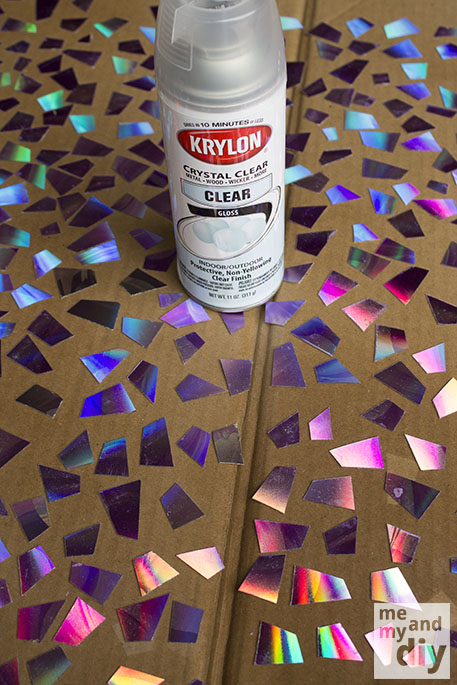
Take your clear spray paint and spray paint all the pieces. This will prevent the shiny part from flaking off.
 Step #7:
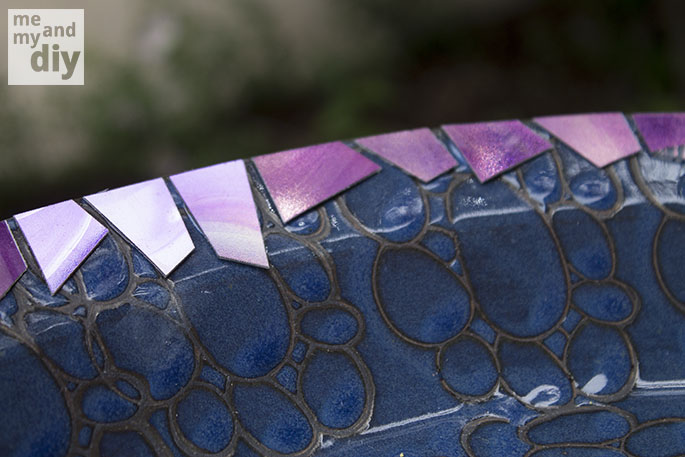
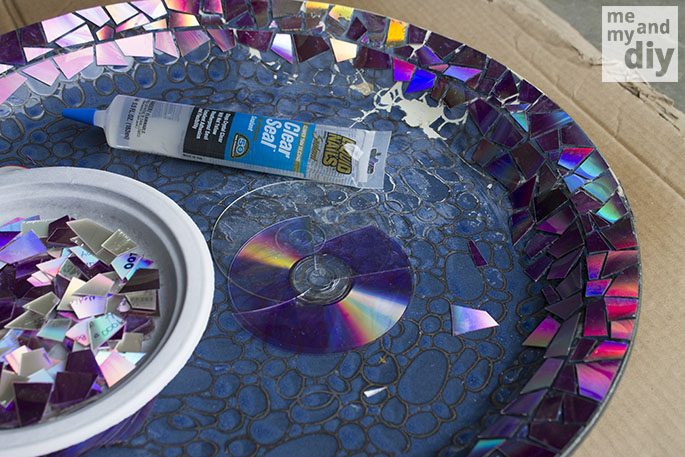
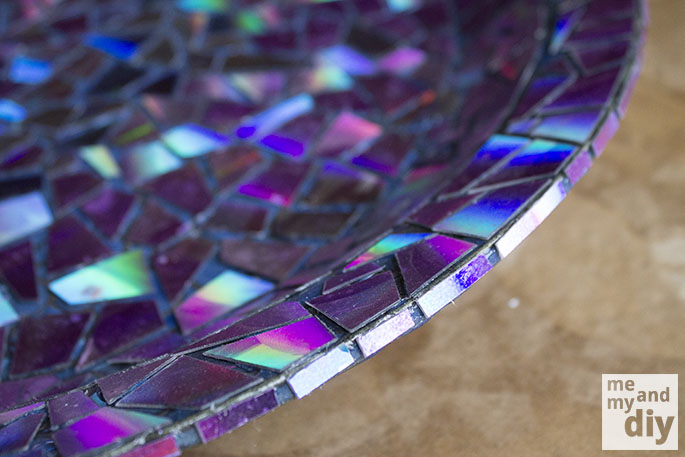
Once the spray paint has dried, begin gluing the pieces onto the birdbath using Liquid Nails Clear Seal. Cover the rim of the birdbath first, then work your way towards the middle.
 Step #8:
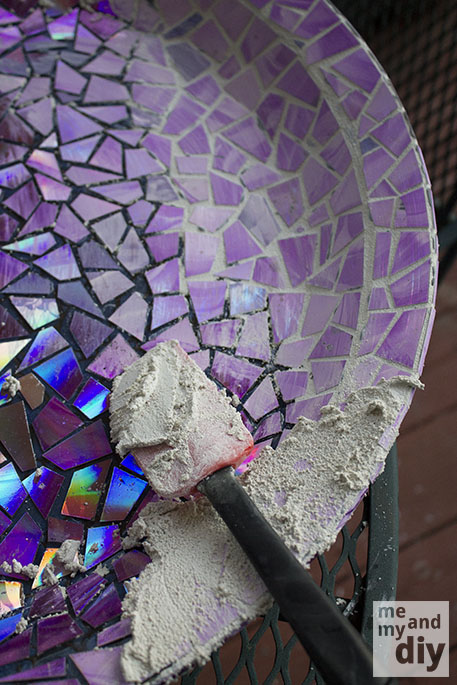
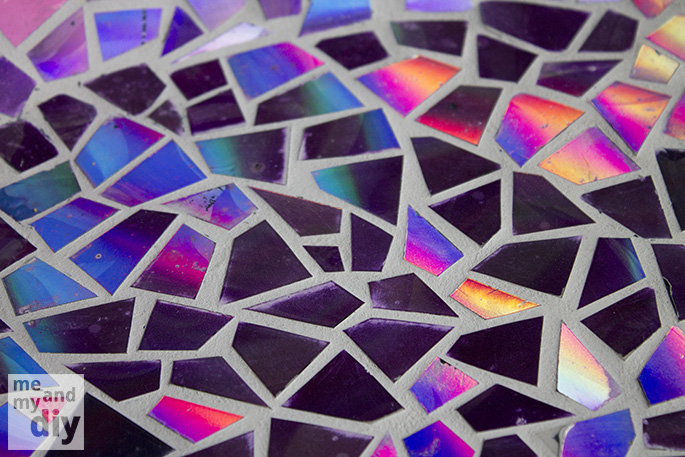
When you’ve covered your birdbath and the glue has dried, it’s time to mix the grout. You can use Mapei Keracolor Sanded Grout with Polymer in white with Grout Boost mixed in. When you’ve mixed the grout, take your old spatula and spread the grout between the DVD pieces. Use a damp rag to wipe off the excess grout.
 Step #9:
Leave the grout to dry for about 3 weeks before placing it outside. This is why this is the perfect project to get started on while it’s still chilly out! It’ll be ready for your feathered friends just in time for spring!
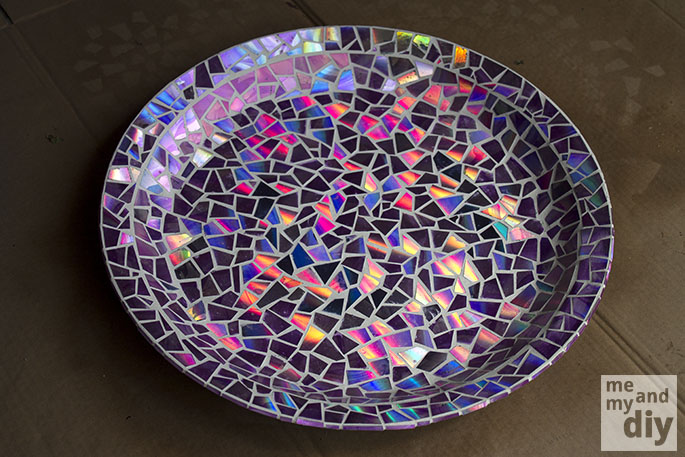
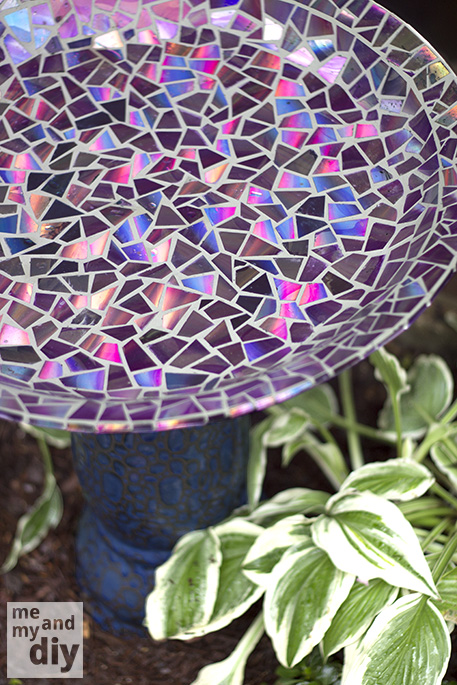 Photos and idea: Me and My DIY.




Leave a Comment