

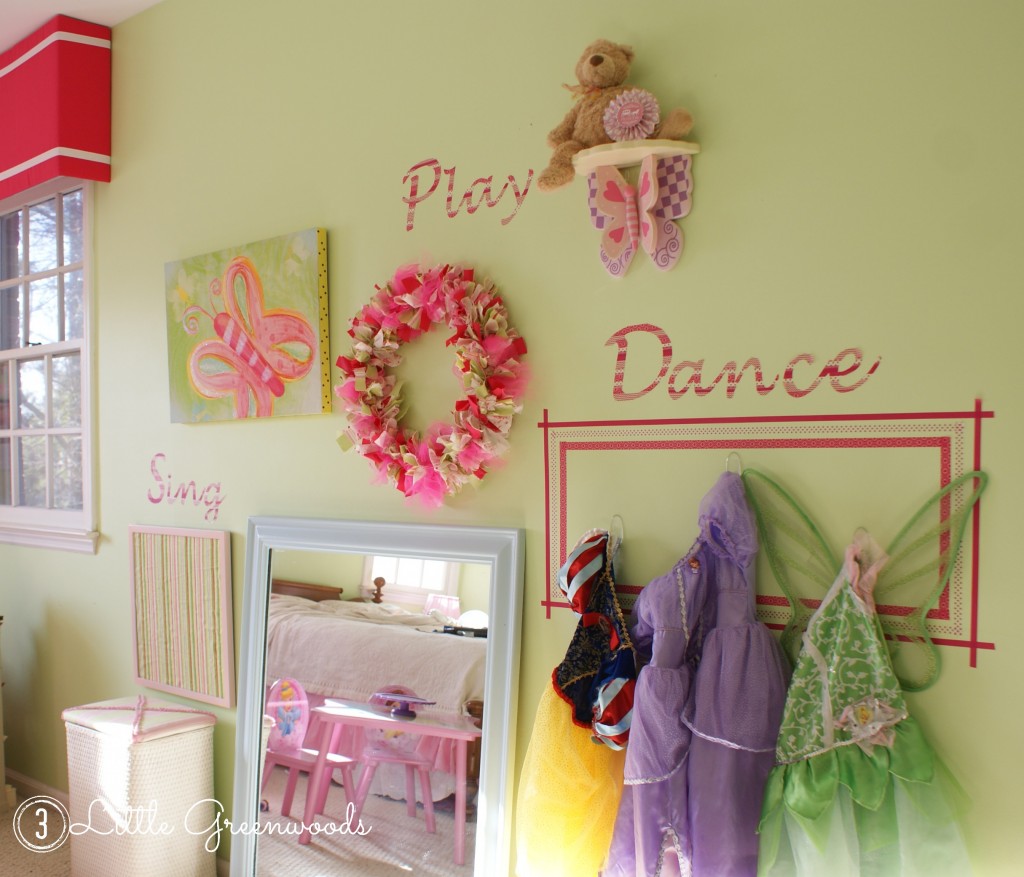
Budget Decorating: How to Make Your Own Customized Wall Decals Using Washi Tape!
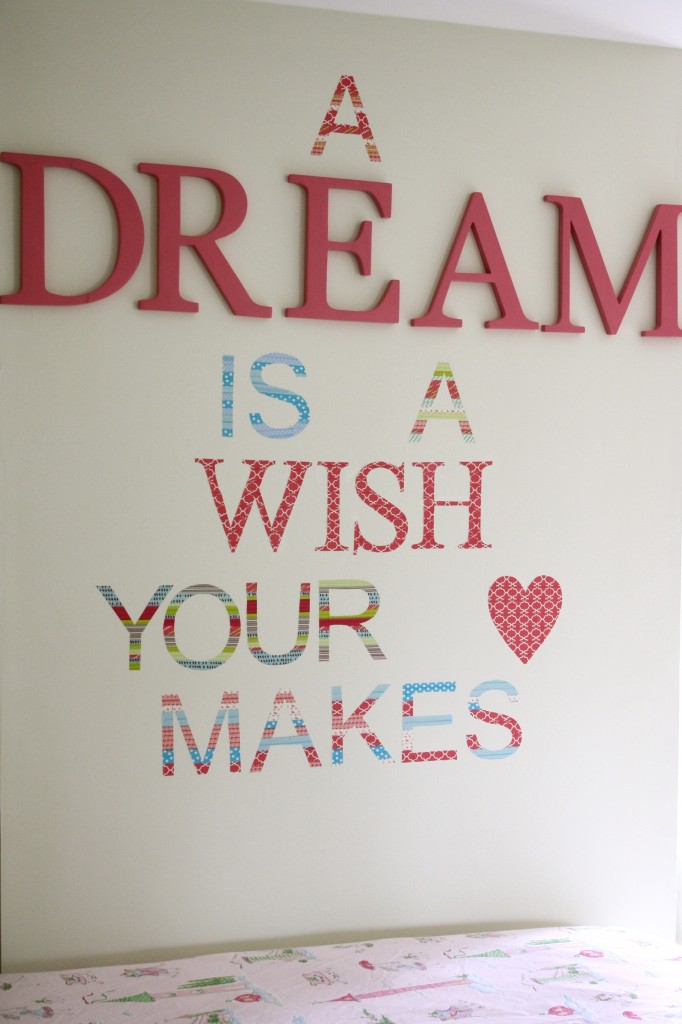
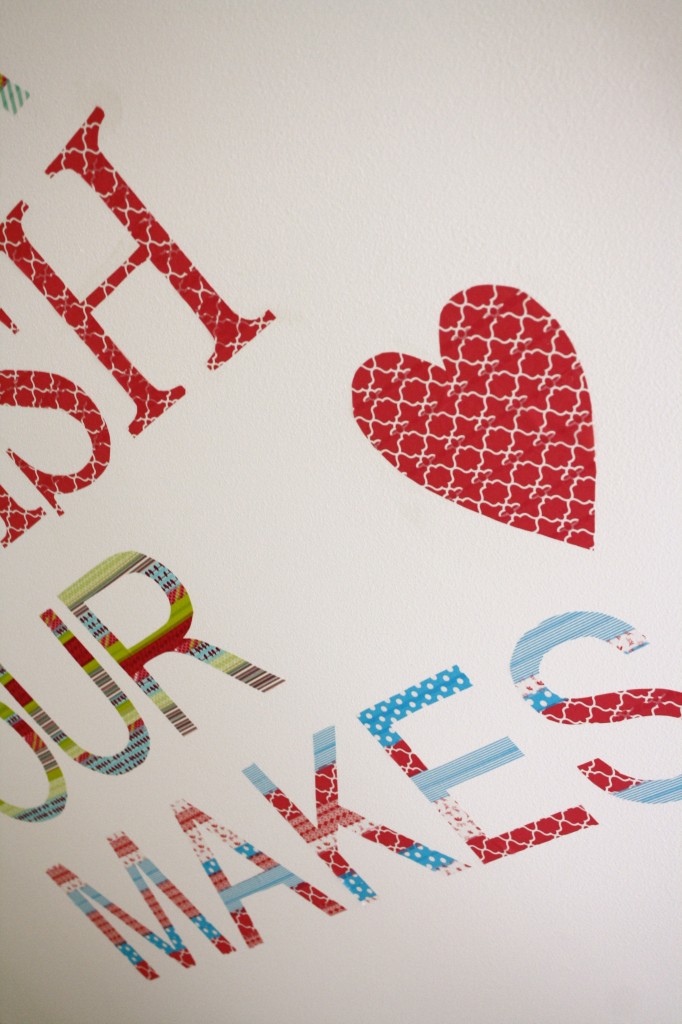
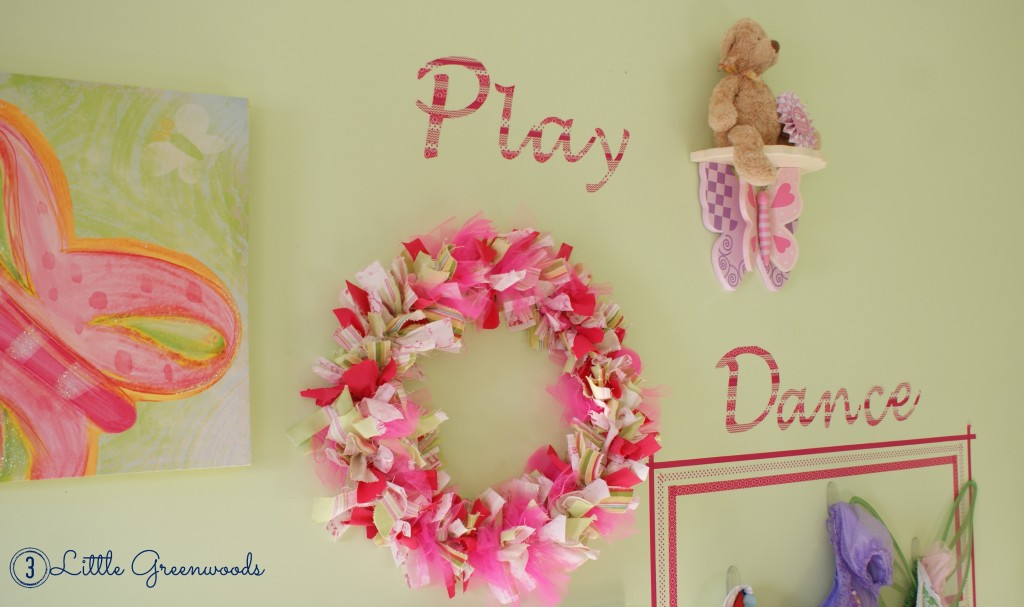
If you’re renting your home or just can’t make up your mind when it comes to decor, washi tape wall decals are the answer! They’re removable and completely customizable! Take a look at how to make your very own for dirt cheap!
Everyone’s going crazy for washi tape and with good reason, too! It’s inexpensive, and you can decorate anything with it! Spruce up your keyboard, notebooks, smartphone, or walls using nothing but these fun patterns. You can get washi tape from any office supply store or you can purchase it in lots for cheap on Ebay. Making your own washi tape wall decals is a great way to decorate your plain walls without worrying about damaging the wall or repainting it when you get bored with your design. When you’re in the mood for a change, simply peel off the tape and start again!
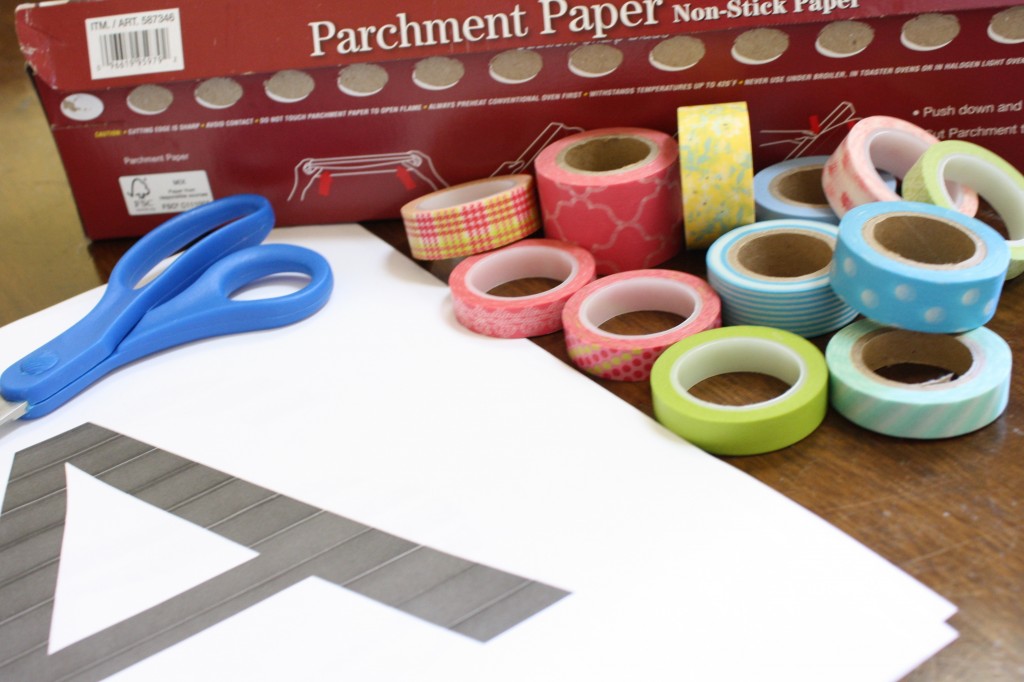
 Supply Checklist:
1) Washi tape
2) Parchment paper
3) Letter templates (print your own using Microsoft Word in any font and size you like)
4) Scissors
5) Craft knife
6) Craft mat
 Step #1:
Print out your letter templates onto regular printer paper. Cut them out along the outer edge leaving any edges inside the letters intact. This will make your template a bit more stable when you’re cutting out your letter out of washi tape later.
Step #2:
Take a piece of parchment paper and place it on your letter. Cut strips of washi tape and place it over the letter. Make sure every new strip of tape you lay down overlaps the previous strip of tape slightly. This will help the letter stay together when you’re peeling it off later.
Step #3
Turn the parchment paper over and place it on your cutting mat. The washi tape should be facing down. Take your letter template and place it on top. Cut your washi tape letter out using your craft knife.
Step #4:
When you’ve cut out all your letters, it’s time to figure out how to arrange them on your wall. Use scotch tape to stick the letters (with the parchment paper still attached) on your wall. Arrange them any way you wish, and when you’re finished, you can begin peeling the parchment paper off and sticking the washi tape onto your wall. All finished!
 Photos: Designer Trapped, 3 Little Green Woods.


Leave a Comment