Post Title Keeping Your Keurig Fresh and Clean

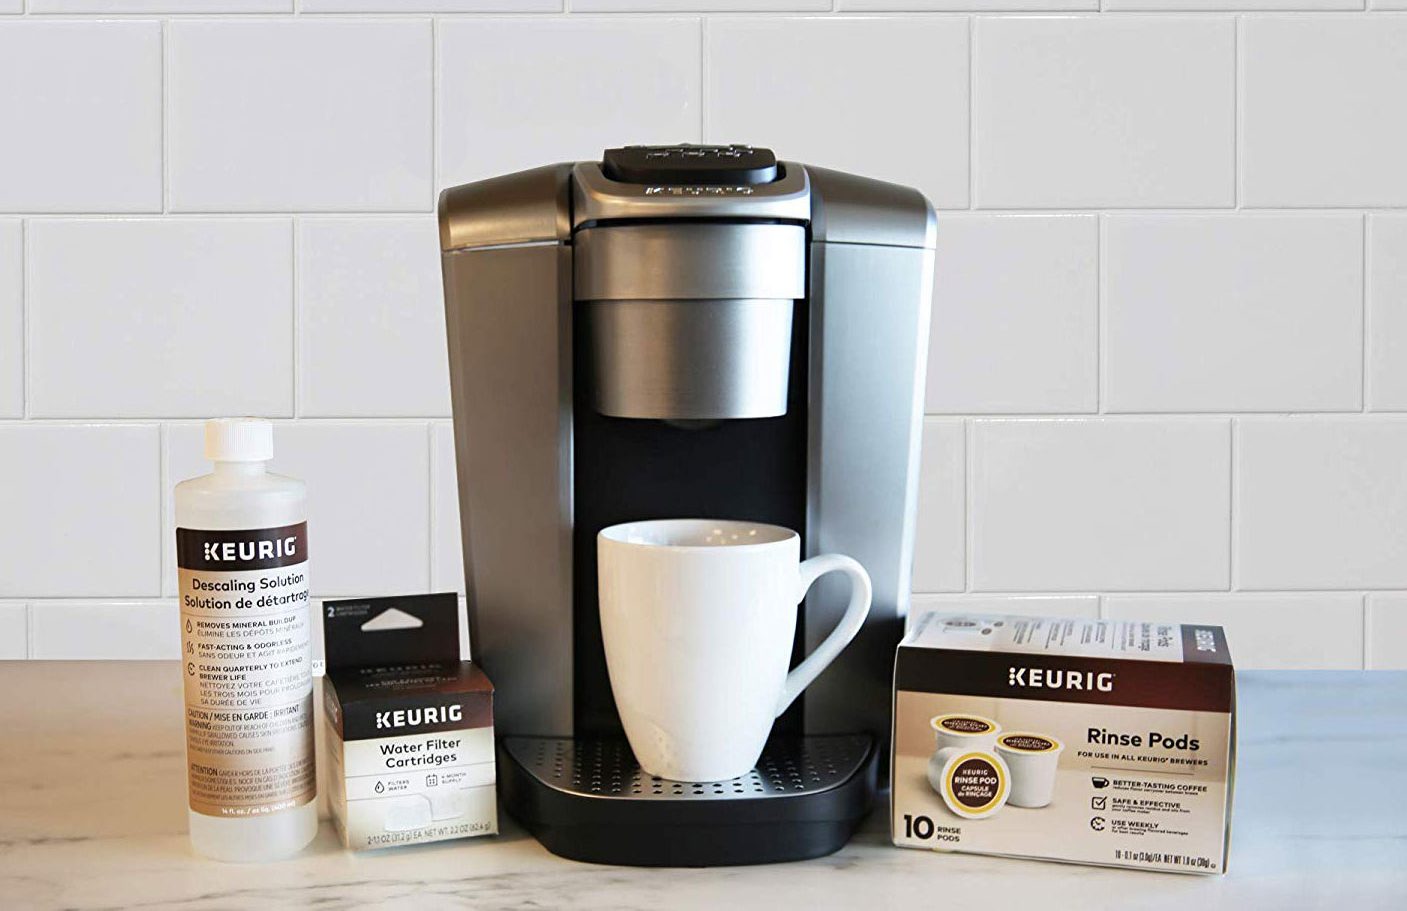
Do you have a Keurig coffee maker? Here’s exactly how to clean it and keep it looking fresh!

There have been tens of millions of single-serve coffee brewers sold globally in the last decade or so, meaning that you probably have sipped coffee from one at some point. It may have been at work or a retail establishment, but more than likely you brewed it on your home machine sitting on the kitchen counter. One of the leading manufacturers of these machines is Keurig. They can be compact, convenient, and make a steaming hot cup of coffee in seconds. However, just like any traditional coffee maker, if it is not regularly maintained and cleaned then it can harbor all sorts of unwelcome bacteria.
Basic Operation
Keurig machines are viewed as little coffee-making marvels, which is why they have become so popular in recent years. They are quick, easy, produce just enough coffee so there’s no waste, and do not require knowing how many scoops of coffee to use. But how exactly do they accomplish this? It is a combination of the brewer itself and the K-Cups working in tandem. In simplified terms, there are some basic steps to make that perfect cup of coffee:
- The user fills a reservoir attached to the machine with water. Some models only hold enough for one large serving, others can make multiple cups without being refilled.
- When the machine is turned on, it automatically goes into a heating mode to warm up water that has been primed within its internal hoses and components.
- At this point, the machine typically has lights that prompt the user to place a K-Cup in the holder and close the chamber.
- When the brew size button is selected, this triggers the machine to pump the correct amount of water to the top of the chamber at a very consistent temperature.
- When the chamber is closed, a hollow “pin” punctures the K-Cup which allows the hot water to flow through it under pressure.
- The pressurized water mixes with the coffee grounds and exits through holes at the bottom of the chamber.
- The empty K-Cup is removed and a hot mug of coffee is enjoyed.
Maintenance and Cleaning
The issue with these devices – and anything that holds water or moisture – is that bacteria and buildup can occur over time. To ensure peak performance and cleanliness they need to be cleaned at regular intervals. This can sometimes be hard to remember to do, especially if you usually grab your coffee and run out the door on the way to work. If you have one of these in your home, you should know how to clean a Keurig coffee maker machine. You will need a few supplies and a bit of time, but it shouldn’t be viewed as a daunting task. Taking these steps will keep your Keurig operating properly and buildup-free for a long time. Here is a brief summary of the process:
- Unplug
- Disassemble components
- Clean the outside
- Clean the inside
- Descale
- Purge with water
The frequency that you need to undertake such cleaning may vary and depend on several factors. It can be influenced by the type of water that your home has, the environment that the machine is subject to, and the amount of use (or lack thereof) the Keurig has. Over the years there have also been reports concerning how bad Keurig machines can be for your health because they get so built up with debris and bacteria. This is true, but in reality, it applies to any type of coffee maker regardless of brand or design. Proper maintenance and cleaning of brewers will produce a consistently hot and fresh cup of coffee for years.


Leave a Comment