You Won’t Believe How Easy it is to Make These Hot Chocolate Mug Ornaments!
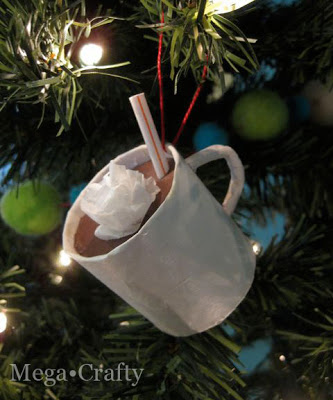
What’s Christmas without hot chocolate? Decorate your tree this year with these adorable hot chocolate ornaments that are so easy to make!
These hot chocolate mug ornaments are just too cute! You won’t believe how easy they are to make, either! You can make them practically for free, since they’re made of paper towel tubes and paper! Make a bunch of them so you can have your very own set that you can reuse year after year!
 Supplies:
1) Paper towel tubes
2) White paper (you need both card stock and regular printer paper)
3) Brown paper (the color of hot chocolate)
4) Cardboard (soft cardboard works best, like the one from cereal boxes)
5) Coffee filters
6) Red and white striped drinking straw
7) Mod Podge
8) Glue
9) A little bit of water in a cup
10) String or embroidery floss so you can hang up your ornament
11) Craft knife
12) Needle tool
Step #1:
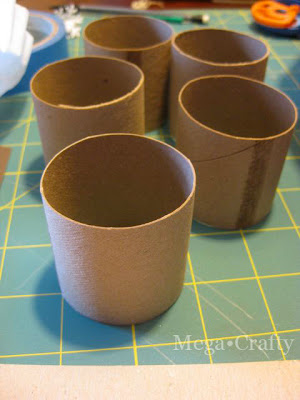
Begin by cutting your paper towel tube into 5 equal parts.
 Step #2:
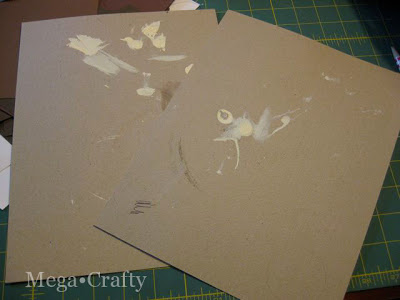
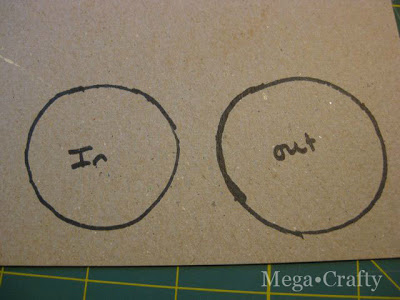
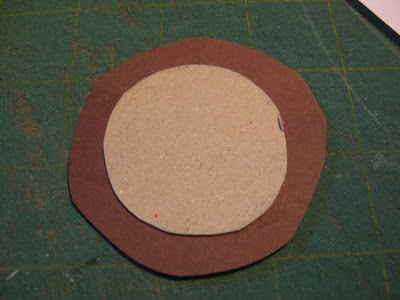
Cut circles from cardboard. Each mug needs 2 circles. One will fit on the tube, the other will be slightly smaller. The smaller one will fit inside the tube.
 Step #3:
Glue the large circle to the bottom of the tube.
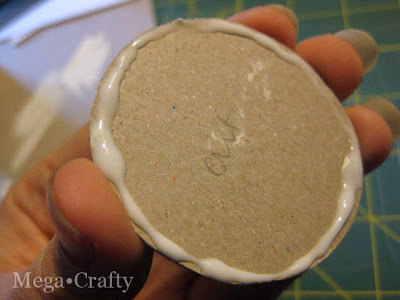
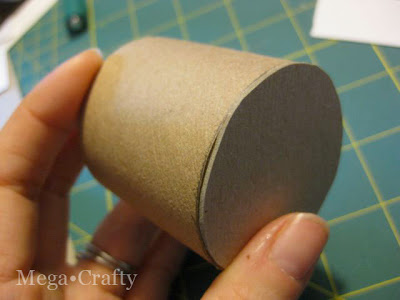 Step #4:
The smaller circle will be glued onto a piece of brown paper. The brown paper will be larger on all sides than the cardboard circle. While the tubes are drying, cut the white card stock. You need a band that is long enough to wrap completely around the tube. The band will also need to be wider than the height of the mug. What you also need is a white card stock circle the same size as the larger circle glued to the bottom of the tube. Use Mod Podge to cover the outside with the band of white paper. Allow the paper to overhang on the top and bottom edges.
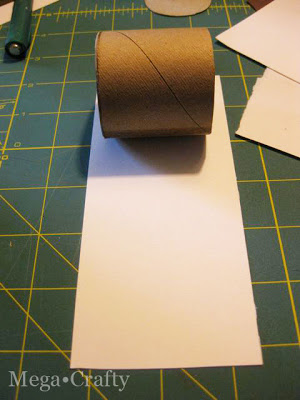 Step #5:
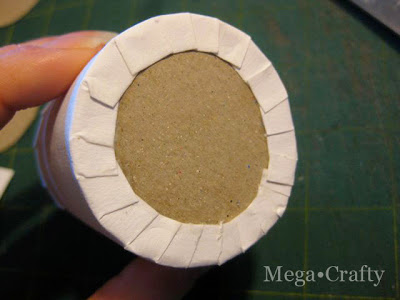
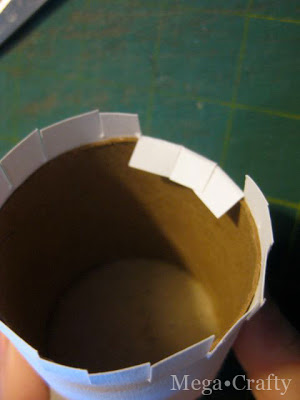
Cut a fringe around the paper on the top and bottom. This will make it easier to wrap around the tube.
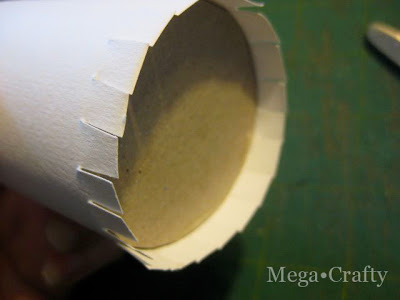 Step #6:
Wrap the paper onto the bottom of the tube and over the top of it. Use Mod Podge to glue the paper down.
 Step #7:
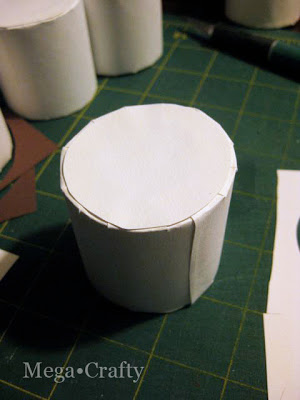
When the glue is dry, glue the circle onto the bottom and cover the wrapped paper ends.
 Step #8:
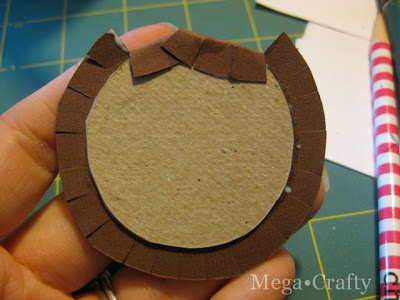
Go back to the small circle that’s glued onto the brown paper. Cut generously around the disc and make a fringe the same way you did above.
 Step #9:
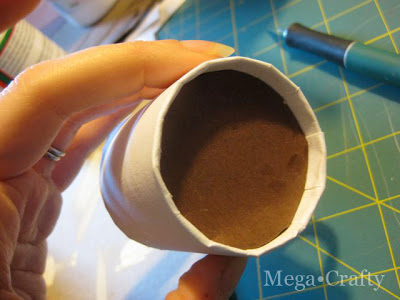
When the disc and the tube are dry, put glue around the edge of the disk and put it into the top of the mug. Don’t worry if the hot chocolate disk isn’t even in the mug.
 Step #10:
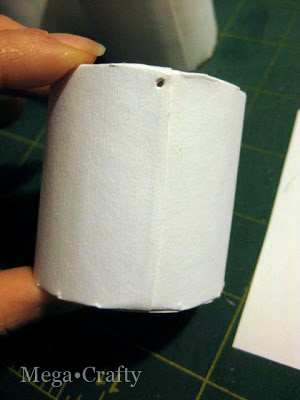
Use your needle to make a small hole near the top of the mug. This is so you can hang your ornament.
 Step #11:
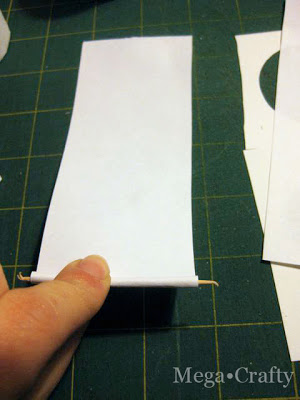
To make the mug handle, roll up strips of printer paper. Use a toothpick to help you get started. Soak them in water until the paper roll bends easily.
 Step #12:
Curve the paper into a C shape, then set it aside to dry.
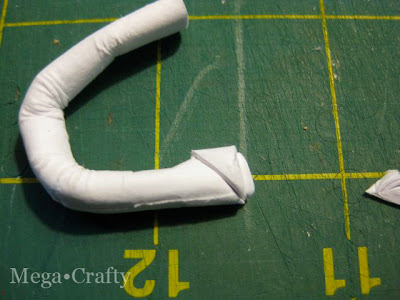
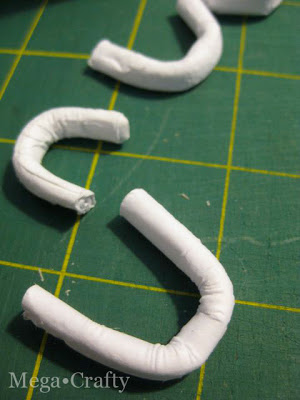 Step #13:
When the handles have dried, use a craft knife to cut the ends at an angle. Glue the handles into place.
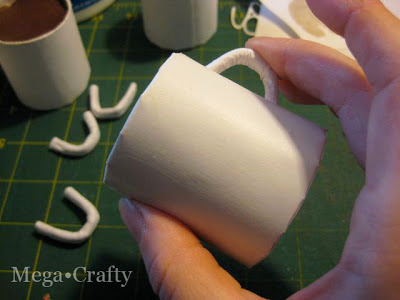 Step #14:
When the handles are dry, give the entire mug a coat of Mod Podge.
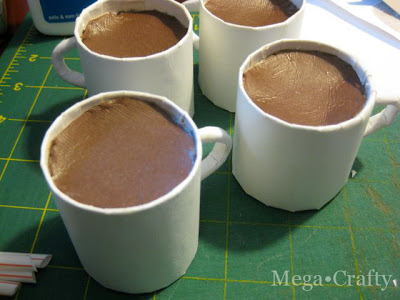 Step #15:
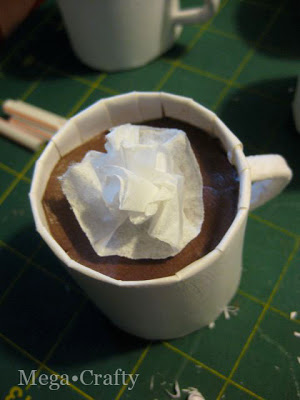
To make the mugs look more realistic, bunch up a piece of coffee filter and glue it on top. This will be the whipped cream.
 Step #16:
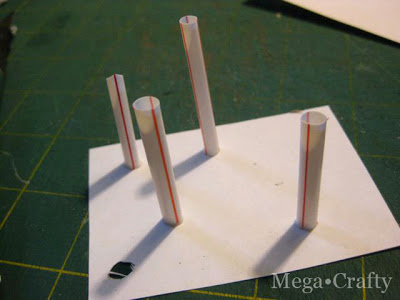
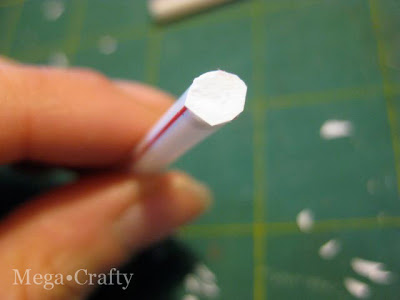
To make the peppermint stick, cut the straw into equal pieces and glue them to a piece of paper. When the glue has dried, trim around the straws. The white circle of paper will close the tip and make it look like a peppermint stick.
 Step #17:
Cut the other end of the straw on an angle and glue it to the top of the mug. Get a piece of embroidery floss and thread it through the hole you poked earlier and make a knot. That’s it! Finished!
 Photos and idea: Mega Crafty.






Leave a Comment