How to Install a Ceiling Fan by Yourself

If you don’t have ceiling fans in your home, you need some!

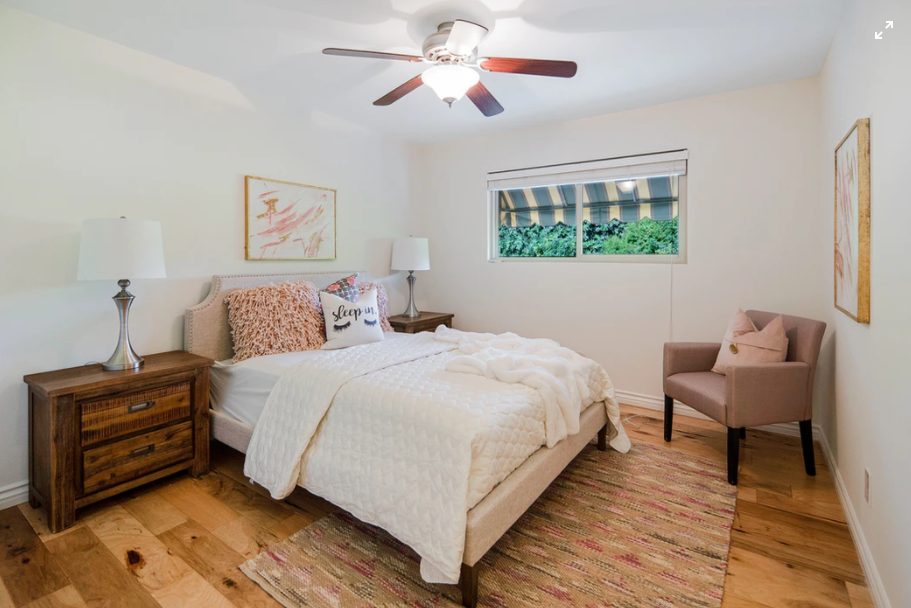
Photos By: Unsplash
Ceiling fans can make your home so much more enjoyable in the summer, thanks to their cooling breezes. You can even reverse the spin direction of the fan blades in the winter, to push warm air down from the ceiling and keep your rooms feeling warmer.
You don’t need to call a contractor to install a ceiling fan. It’s a pretty easy and straightforward job for the average homeowner. Follow these steps and in just a couple of hours, you too could be enjoying the refreshing breezes of a ceiling fan.
Turn Off the Circuit
Installing a ceiling fan is a wiring job. It’s very important to make sure you’ve turned off the power to the circuit before you start, or you could give yourself a very nasty shock. Turn off the circuit at the breaker and use a voltage tester in the room where you’ll be working to make sure that the correct circuit has been turned off.
Clear Away the Old Fixture
If you’re replacing an old fan, you’ll need to take it down a piece at a time. Remove the light shades and bulbs first, then remove the blades and the rest of the light kit. Then you can remove the canopy and disconnect the fan body from the ceiling plate. Hang the fan body from the hook on the ceiling plate while you disconnect the wiring by removing the wire nuts and pulling apart the twisted ends of the wiring.
To remove an old light fixture, take down the globe or glass shade and find the screws that secure the light fixture to the electrical box. Pull the light fixture down from the ceiling and undo the wiring connections.
See What’s in the Ceiling
You might need to install a fan brace and fan-rated electrical box, especially if you’re replacing a plain light fixture (as opposed to an older ceiling fan). Ceiling fans are heavy, and you don’t want your new fixture from Hunter Fan to come crashing down on your head. A ceiling fan should either be mounted directly to a ceiling joist, or to a fan brace anchored between the joist. If you need to install a fan brace, you can use an expanding metal brace that you can insert through the hole in the ceiling, or you can go up in the attic and attach a piece of two-by-four lumber between the joists, using 1.5 inch screws to anchor it in place.
You’ll also need to make sure you’re using a fan-rated, pancake electrical box. Fasten it directly to the joist or to the fan brace. Pull the wiring from your house down through the junction box.
Place the Mounting Bracket
The mounting bracket comes with your fan. It should be screwed to the electrical junction box, according to your fan manufacturer’s instructions.
Put the Fan Body Together
Do this step with the fan body and components on the floor before you try to hang the fan motor. Your new ceiling fan should come with instructions to help you connect the downrod to the fan motor (usually with the help of cotter pins and/or clevis pins) and the canopy to the downrod. Make sure you pull the fan wiring up through the downrod. If you’re installing a flush-mount fan that doesn’t have a downrod, pull the wires through the top of the fan motor housing, through the trim ring, and then through the canopy.
Hang the Fan Body
Once you have assembled the fan motor body on the floor, you can carry it up the ladder and hang it from the mounting plate you previously attached to the ceiling. There should be a convenient hook on the mounting plate that will act as a third hand, giving you a place to put the motor body while you work on connecting the wiring.
The wiring in your fan should look the same as the wiring in your house. The black wire is the “hot” one and should connect to the black wire coming out of your ceiling. The white wire is the “neutral” one and should connect to the white wire coming out of your ceiling. The green or bare wire is the ground, and should connect to the corresponding wire coming out of your ceiling (with a detour to loop around the ground screw in the junction box). Twist the bare ends of the wires together. If it’s difficult because the bare ends are short, strip off a little more of the insulation. Secure the ends with wire nuts. Tuck the wiring back up into the junction box, then swing the motor body into place and fasten it to the mounting bracket.
Mount the Blades
You will need to put the blade irons onto the blades. Then you can attach them to the fan motor housing. Make sure all of the blades are the same distance from the floor, or your fan could be out of balance.
Put on the Light Kit
If your fan came with a light kit, you can put it on now. You may need to connect the wiring from the light kit to the wiring in the fan, using the same process you used to wire up the motor. Then you can add the light shades and bulbs.
Balance the Fan
Turn the power back on and test your new fan. If it wobbles, you need to balance it. Use the manufacturer’s instructions for balancing the fan. It might involve tightening the screws that attach the fan blades to the blade irons, the irons to the motor housing, the canopy to the mounting bracket and the mounting bracket to the junction box. If that doesn’t work, you’ll need to get a fan balancing kit. Depending on what model of fan you bought, yours may have come with a balancing kit. Install it according to the manufacturer’s instructions.
Congratulations! Now you’re all ready to enjoy the cool comfort of a ceiling fan. Summertime is looking better than ever!