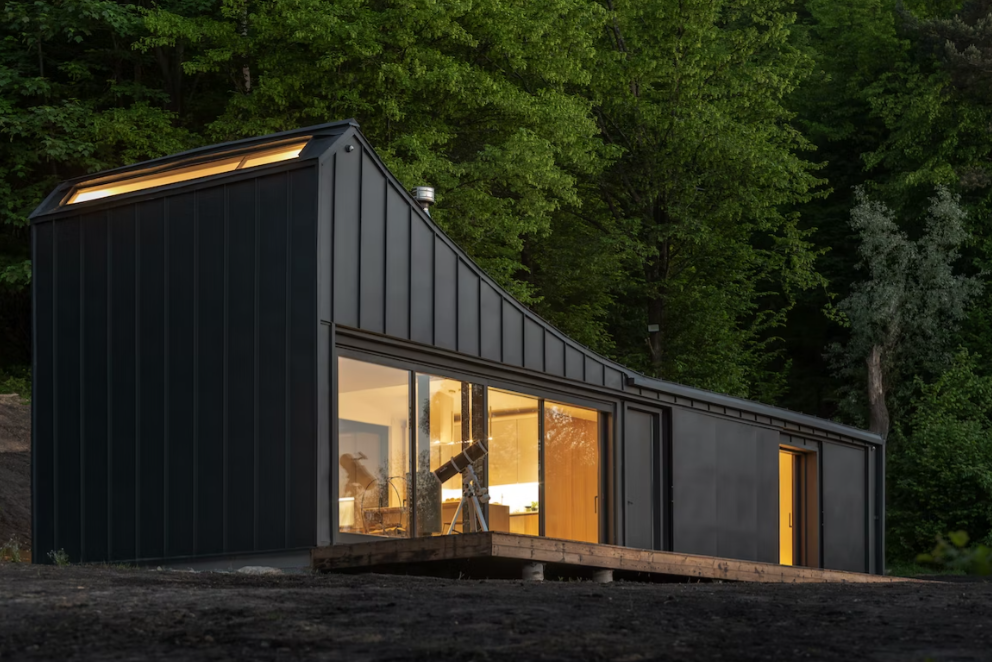
Creating Good Air Quality in Container Homes

Air quality is really important when you’re living in a smaller space especially a container!
Photos By: Unsplash
It’s easier to notice trapped odors, dust and other pathogens floating around. So, if you’re planning on building a tiny container home, you’ll want to prioritize certain projects that will keep your indoor air healthy and clean. Here is how you can manage that.
Choose a New Container
If you’re planning on building a shipping container home, you should pick a new container (often called a one-trip grade container).
Why shouldn’t you pick a used one? It’s never a wise decision to pick a heavily used container when constructing a living space because it has accumulated more wear and tear over its years of shipments. It will have more damage (for example, rust patches) to repair before you even get started.
What’s more pressing is that you can’t be sure what the shipping container has transported before you’ve purchased it for construction. It could have transported hazardous substances before it officially went into retirement. You don’t want to ignore that risk. Doing this could impact the air quality of your home from the very beginning.
So, a one-trip container is your very best option to ensure optimal air quality. You can also inquire about what shipment was in your container. Make it clear to the shipping container seller that you intend to build a shipping container home with your purchase. Since the container has only been used for a single shipment, this can be easy to track.
Ventilate the Space
Proper ventilation will direct stale air, dust, smoke and various pathogens out of the building and direct fresh air into it. It will prevent moisture from building up indoors, which can prevent problems like mold and mildew from surfacing. Mold and mildew are not good to breathe in, especially if you’re living with allergies, asthma or other respiratory issues.
So, proper ventilation is crucial for establishing good air quality indoors. You should find out how to ventilate a shipping container before you start your construction. You’ll want to plan your ventilation strategies ahead of time. The strategies you pick will influence the types of openings you’ll have to cut into the container walls for installations.
Add Insulation
Ventilation isn’t the only way that you can prevent moisture build-up indoors. Effective insulation can also prevent moisture build-up from happening inside your container home.
During the construction process, you will want to add layers of insulation along the interior walls. Be sure to add vapor barriers between the insulation and the walls. This should stop condensation from forming along the interior of the container.
Without insulation, condensation can get out of control and make the interior of your home damp. It can encourage the growth of mold and mildew. It can even attract pest infestations. These are all factors that can make your air quality unhealthy.
Skip the VOCs
Volatile organic compounds (VOCs) are harmful gasses that are released into the air when you use certain products, like house paint. To guarantee that your home’s indoor air quality is safe right when you move in, make sure to use low-VOC paints and finishes instead.
Design for Odor Control
Finally, you’ll want to design your container home with certain odors in mind. Your kitchen might be steps away from your bedroom, so you’ll want to make sure that you don’t let the trash pile up. Build a trash shed directly outside of the home so that you can take out the garbage often and keep the kitchen smelling good.
If you’re planning to live with a cat, you can build a hidden compartment for the litterbox that should contain the odor and prevent it from spreading through every room. The bathroom might be the best room for this feature.
Follow these tips when you’re building a brand-new container home. You’ll be able to breathe easily when you move in!