How to Wrap the Perfect Christmas Gift
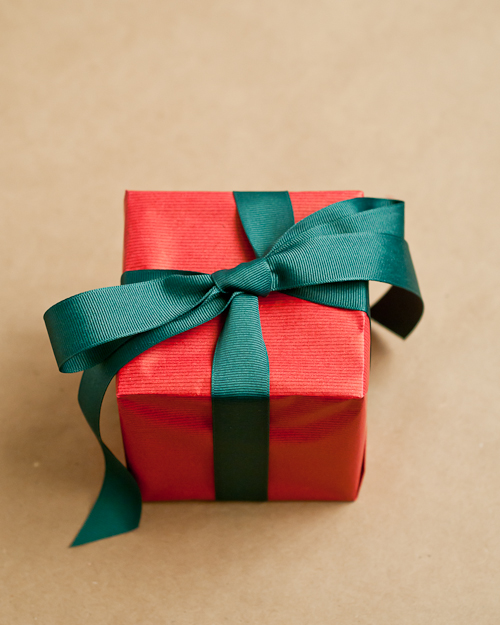
Everyone knows that wrapping Christmas gifts can be tricky. But don’t worry about a thing, because we’ve got a step-by-step tutorial on how to wrap up your gifts like a pro!
Everyone loves a beautifully wrapped gift! Sometimes the way the gift is wrapped provides more excitement than the actual gift itself! If you’re not sure how to wrap a present, or just need to brush up on your gift-wrapping skills, this tutorial is for you!
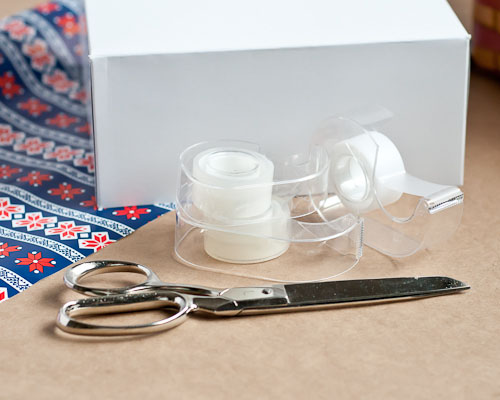
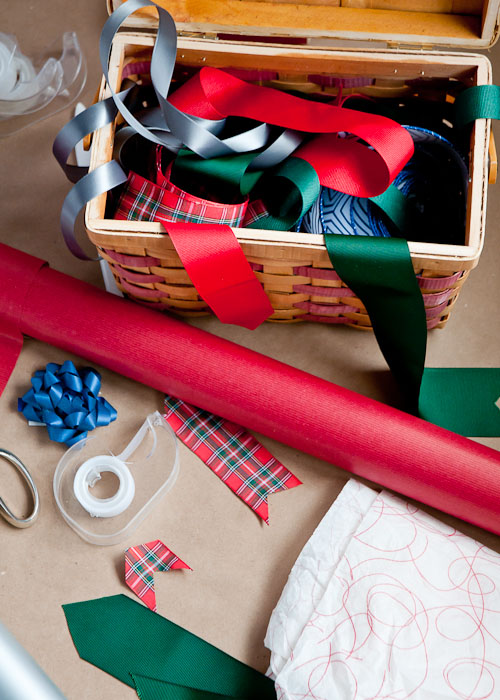
 Before you get started on wrapping your present, you’re going to need a few essential items. Scotch tape, a sharp pair of scissors, sturdy wrapping paper, ribbon, and a gift box are items that everyone needs when they’re wrapping their gifts. Sturdy wrapping paper is a must because the flimsy kind rips too easily, and your nicely wrapped presents can start looking scruffy fast. Gift boxes are another must-have item. A nicely wrapped box looks much better than a gift that’s oddly-shaped. It also makes it easier to wrap.
 Step #1:
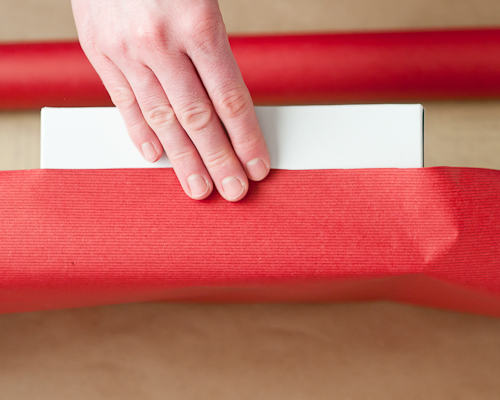
Start by measuring the paper to the correct size for your present. Lay the box down onto the paper and pull the paper up a little, more than halfway up on the end of the box. A simple way to measure is to lay down the box and roll it around on all four sides across the width of the paper. Always leave an overhang, at least 3/4″ -1 1/2″.
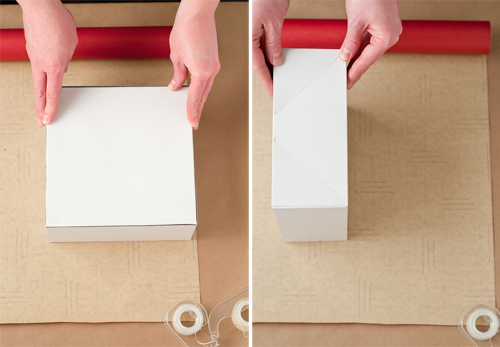
Step #2:
Once you’ve measured your paper and your gift, it’s time to cut the wrapping paper. Cut the wrapping paper all the way across the roll. If you’re scissors are sharp, you should be able to hold the scissors partway open and run them across the paper to get a clean line.
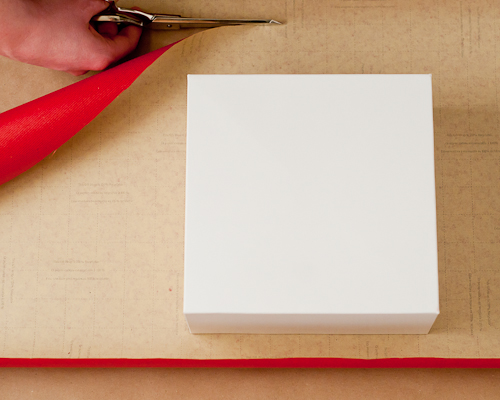 Step #3:
Trim off the ends. The ends will be folded in, but you don’t want them to be too long.
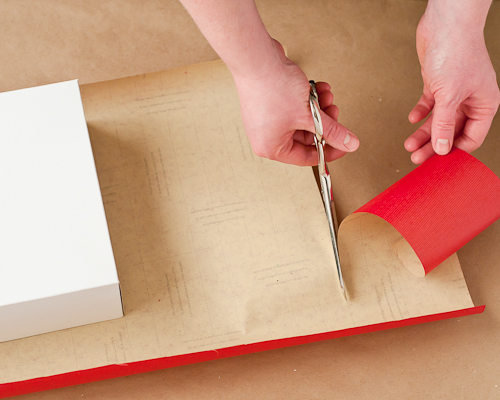 Step #4:
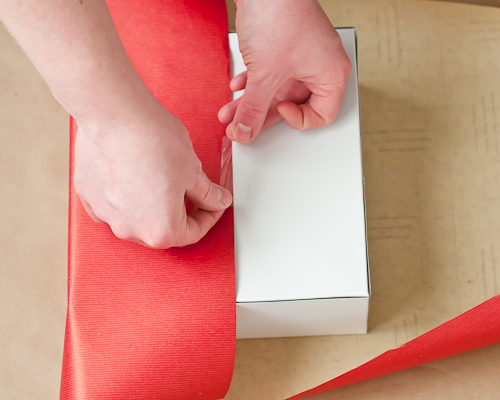
Place the package, top side down, so that the seam is on the bottom. Makes sure the box is centered and bring one side of the paper up.
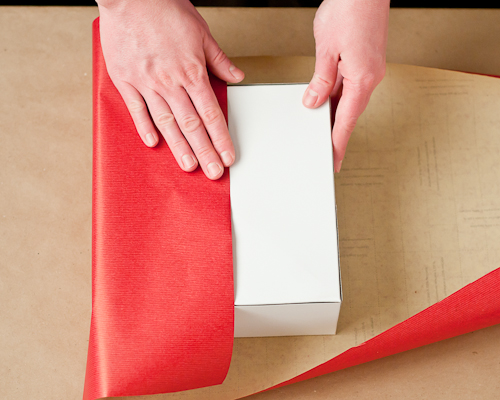 Step #5:
Secure the paper with a piece of Scotch tape in the center.
 Step #6:
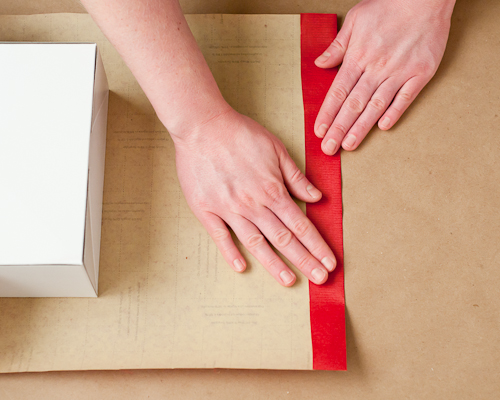
Take the other side of the paper and fold the edge down. Crease it well. If you cut the paper unevenly, folding down the edge will fix it.
 Step #7:
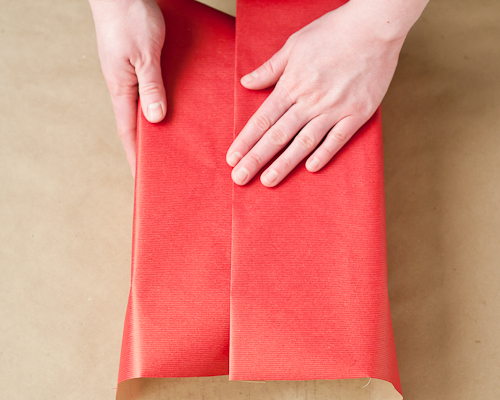
Fold the side of the paper to the center of the box and pull so that it’s taut.
 Step #8:
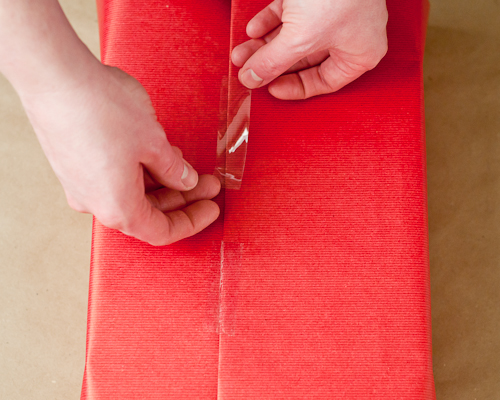
Secure with tape.
 Step #9:
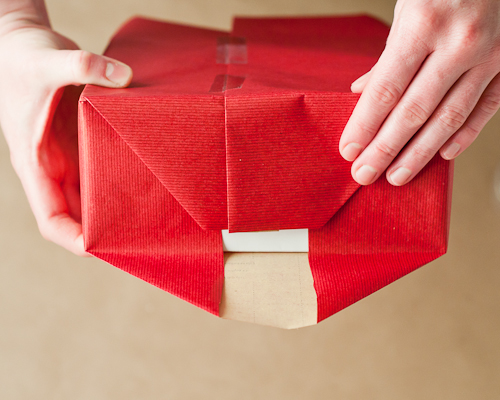
Now it’s time to fold the ends. Make sure you hold the seam towards yourself and fold both ends toward the center. The top and bottom flaps will become triangular.
 Step #10:
Fold and crease the flap ends so that they will lie flat and leave a clean edge.
 Step #11:
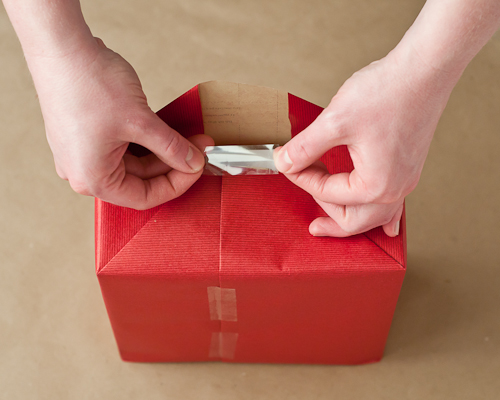
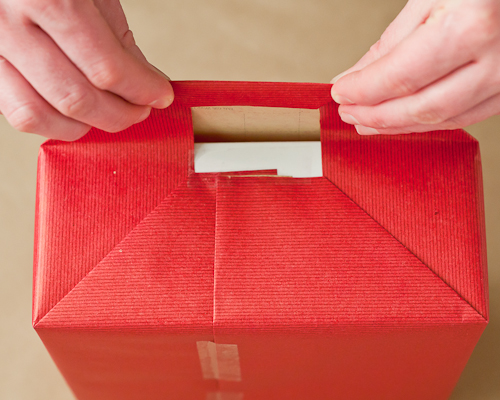
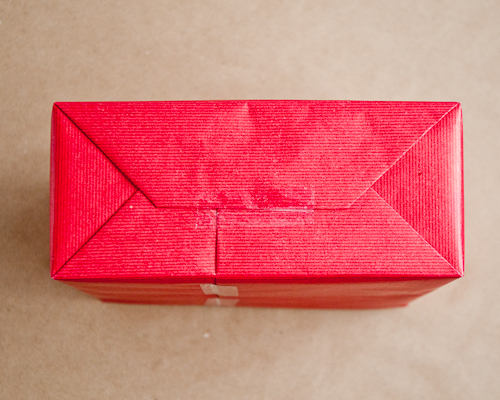
Repeat the same process on the other side and secure with tape.
 Step #12:
Decorate your gift with a ribbon and make a bow. Now stand back and admire your gorgeous gift! Good luck!
 Photos: Design Mom.





Leave a Comment